
If you hit a rock or even heavy snow or ice, belts on your snow blower can either come off or even break. Correcting this problem is not as complicated as it seems.
Purpose
How to re-seat or replace the auger belt on a John Deere 1330SE Snow Blower.
Applicability
This solution should apply to John Deere 1330se, Simplicity L1730e, Murray 1330se and other similarly equipped models.
BACKGROUND
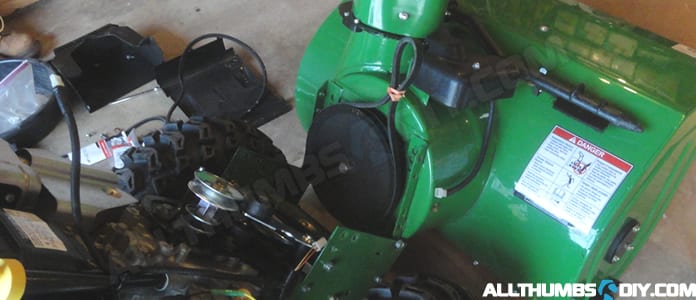
As you may have read in my previous post, my snow blower had a “date” with a large rock and lost. In addition to bending one of my “fin tabs” on the impeller, the accident also forced my auger belt to jump off the pulley, getting mangled during the process.
 I thought I licked the problem when I repaired my impeller and wrestled the old belt back on to the auger pulley, but the belt kept jumping off the track. I visually inspected the belt with the auger running and noticed a significant slack, forcing the belt into a whipping motion.
Since I wasn’t sure exactly what was causing this problem, I decided to replace my belts first, then triage the problem.
Please note that I originally planned on replacing both the engine and auger pulley belts. I ended up replacing the auger pulley belt alone because the other belt was in excellent condition.4
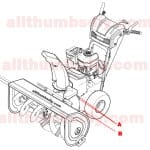
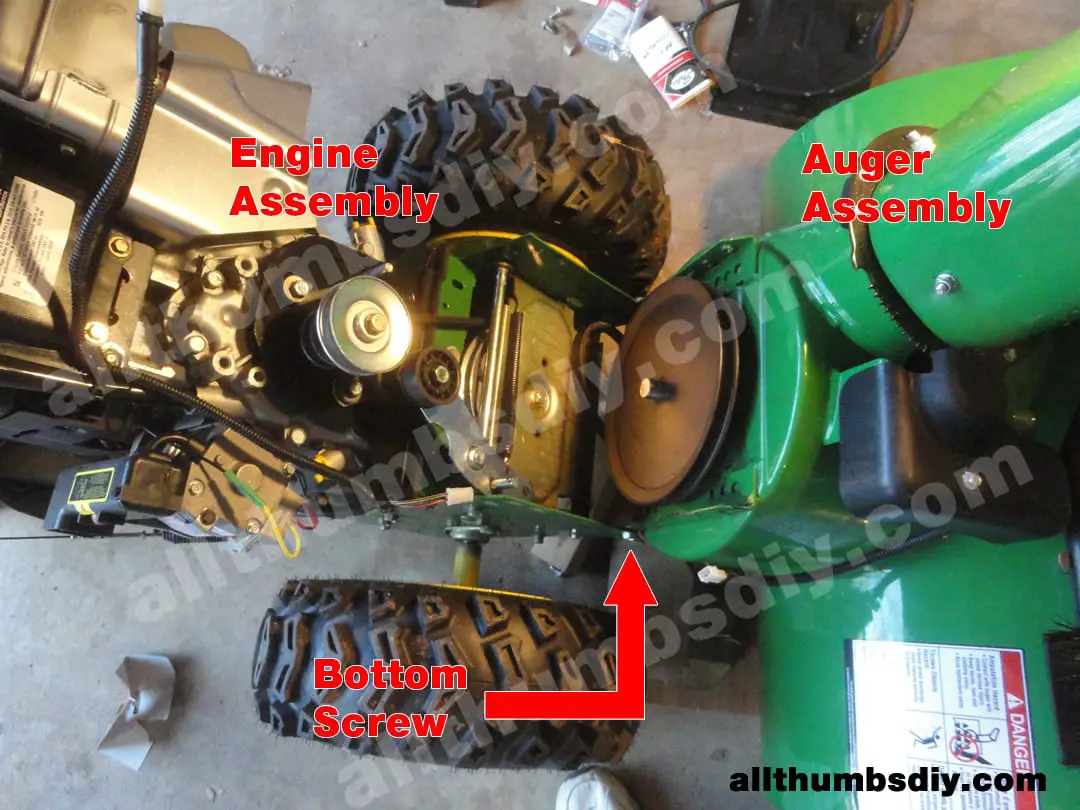
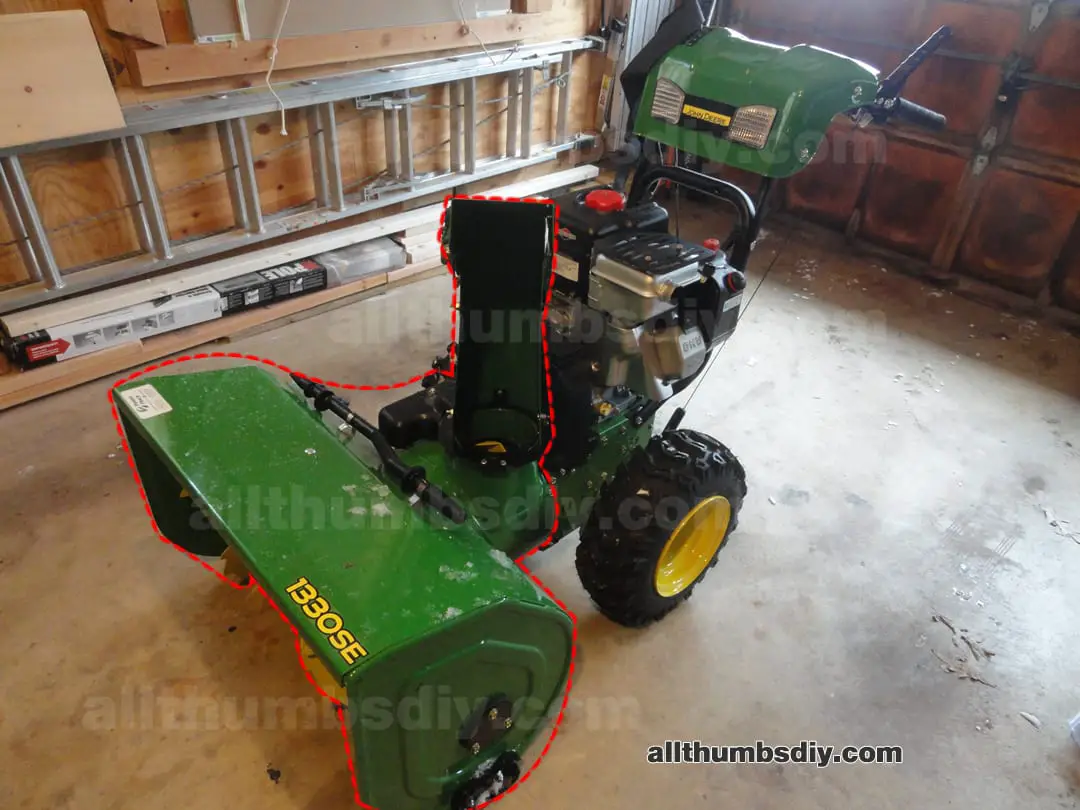 The process of replacing the belt seem daunting at first, but it really wasn’t that hard with the snow blower basically splitting in half after removing few screws (one side of this split is shown inside the dashed line).
REQUIRED PARTS AND MATERIALS
- V-belt, 4L, 38.35, impeller pulley (Part No. 1736421YP)
- V-belt, 3L, 33.13, engine pulley (Part No. 1733324SM)
- Large, adjustable Velcro straps (to hold down the auger control lever/handle – 24 x 2 Inch Cinch Straps – 5 Pack
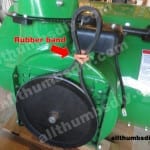
- Ordinary rubber bands (2 or 3) or black electrical tape (to hold the belt in place during replacement)
- You can check out this one at Amazon (Medline Sensicare 200 Non-Sterile Powder-Free Latex-Free Nitrile Exam Gloves, Large, 200 Count) or if you belong to BJs, they have a similar item for around $30.
REQUIRED TOOLS
- Mini and large ratchets and socket extenders
- 10 mm / 1/2 inch sockets
- 9/16″ and 1/2″ wrench
- Scrap blocks of wood (to support the auger hood assembly)
- Box container, chair, or short ladder (to support the engine assembly)
ALL-THUMBS-DIY-STEPS
There are two ways to remove the auger pulley belt: 1) via the traction control cover panel (accessible only from the bottom of the machine) or detaching the engine side from the auger hood assembly. I chose the latter method because:
- It was much easier to remove the belt;
- I didn’t have to empty the gas tank (in order to access the traction control cover panel, I have to tip the machine 90 degrees)
STEP 1 – Remove the spark plug wire;
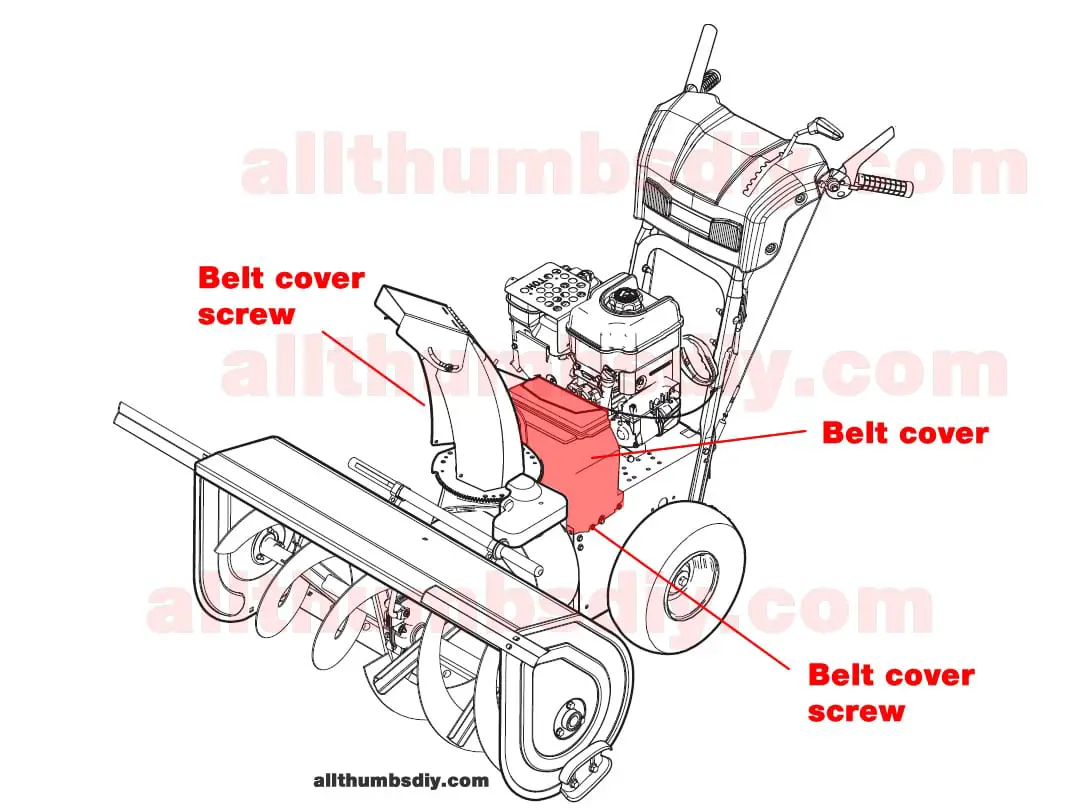
STEP 2 – Remove two screws (one from each side) using a 10 mm socket to remove the belt cover. If you hear a rattling noise while removing the cover, you may have some extra shear/cotter pins stored inside the cover! Just pop off the top lid to access them (fig. 1);
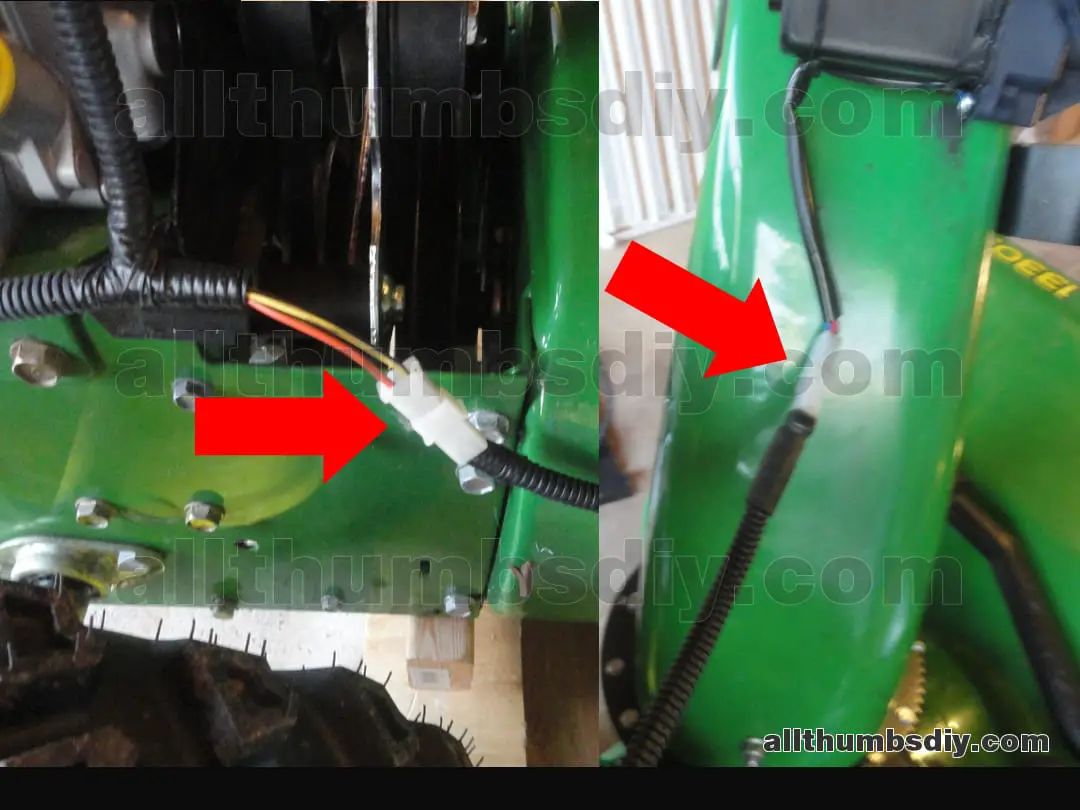
STEP 3 – Disconnected two wires that control the chute movement (fig. 2);
STEP 4 – At this point, we are ready to separate the auger hood assembly from the engine side. To control the separation rate (each side will tip away rather quickly if not supported), I positioned some scrap wood blocks underneath the augers and a container box under the handles on the engine side;
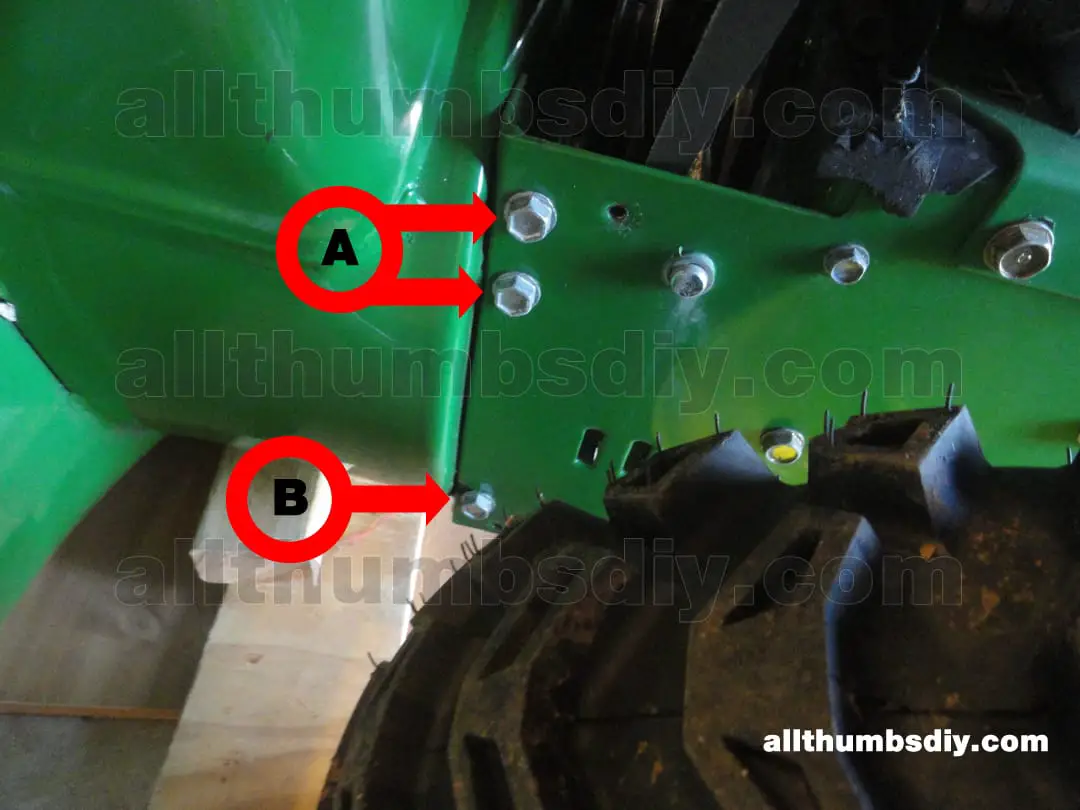
STEP 5 – Each side has 3 hex screws (Fig 3a and 3b) that are holding the auger assembly to the engine assembly. Please note that unlike 2 top screws marked “A”, the bottom screw “B” is seated on an open slot;
STEP 6 – Remove top 2 “A” screws (Fig. 3a & 3b) from each side. Then carefully loosen 2 bottom “B” screws, making sure NOT to remove them all the way. Once the bottom screws are loosened, each side will tip away from each other until hitting the support we placed in Step 4;
-
- fig. 1
-
- fig. 2
-
- fig. 3a

-
- fig. 3
STEP 7 – Fig. 4 shows the end result from removing the top 2 screws from each side. I carefully lifted the handles by about 2 inches to “unhinge” the two bottom screws from the open slot brackets, allowing me a clear path to remove the mangled auger driving belt;
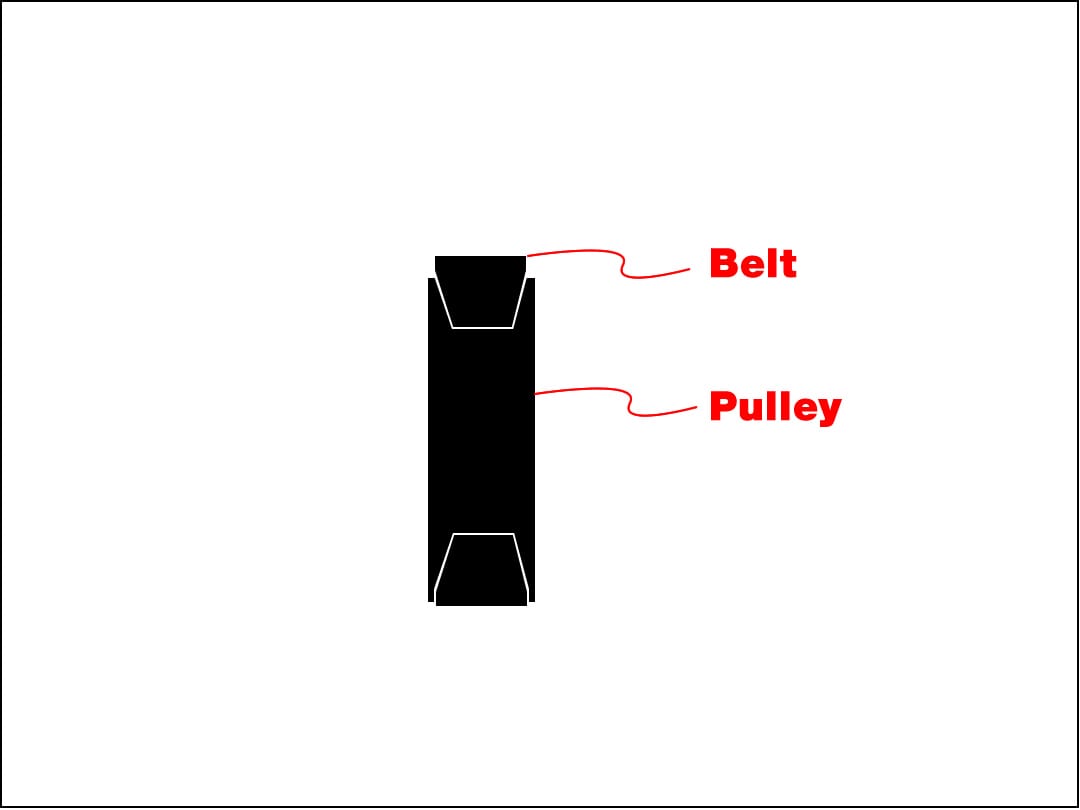
STEP 8 – Examine the new replacement belt carefully and made sure the narrow end (usually a grooved side) was installed face down (this side made contact with the pulley) (Fig. 5);
STEP 9 – Used a rubber band to tie the belt so that it would stay in its place and not get in the way when I re-assembled my snow blower;
STEP 10 – At this point, I started to re-assemble the snow thrower by “re-hinging” the bottom screws and tightened them (not the all the way). I then lined up the remaining screw holes for screw installation. Make sure to never force the screws back in! When that happens, the holes need to be re-aligned;
-
- fig. 4
-
- fig. 5
-
- fig. 6

-
- fig. 7

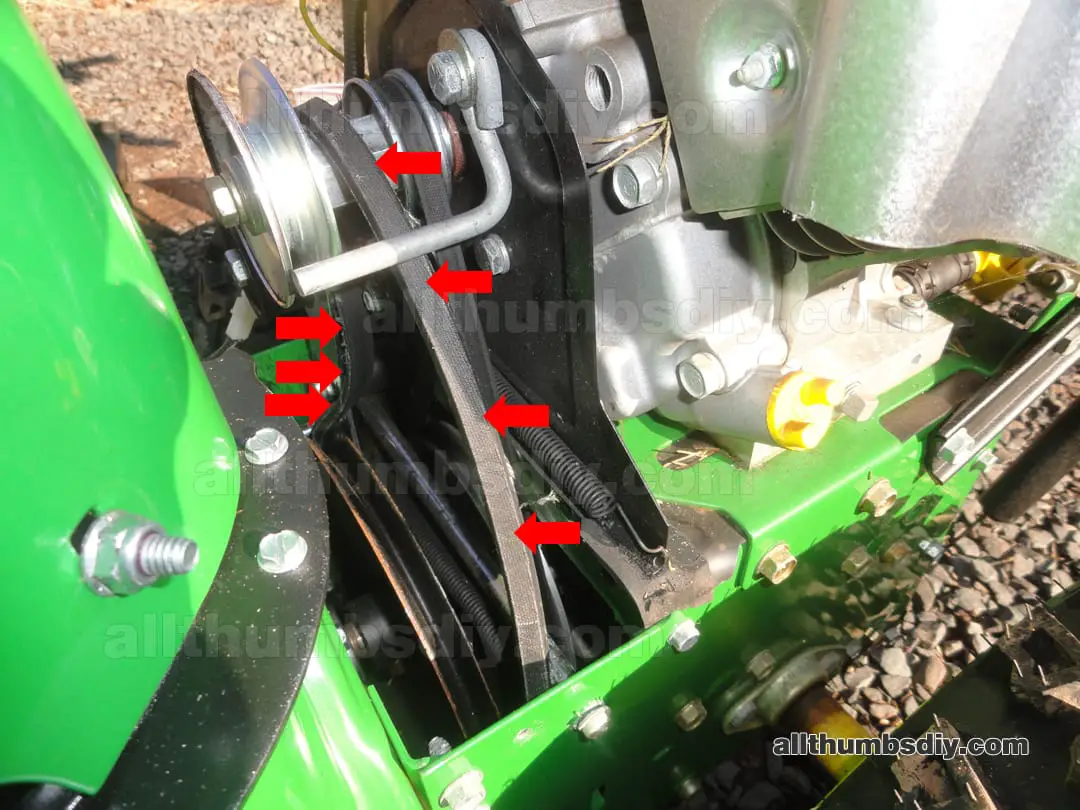
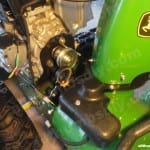
STEP 11 – Removed the rubber band then routed the auger driving belt around the idler pulley, then around the engine pulley. Idler pulley assembly (consisting of pulley and metal bracket) is attached to a spring so it can easily be pressed down to create some space to route the cable. The pulley itself sits on a flat metal bracket that can slide 4 inches or so horizontally (fig 10).
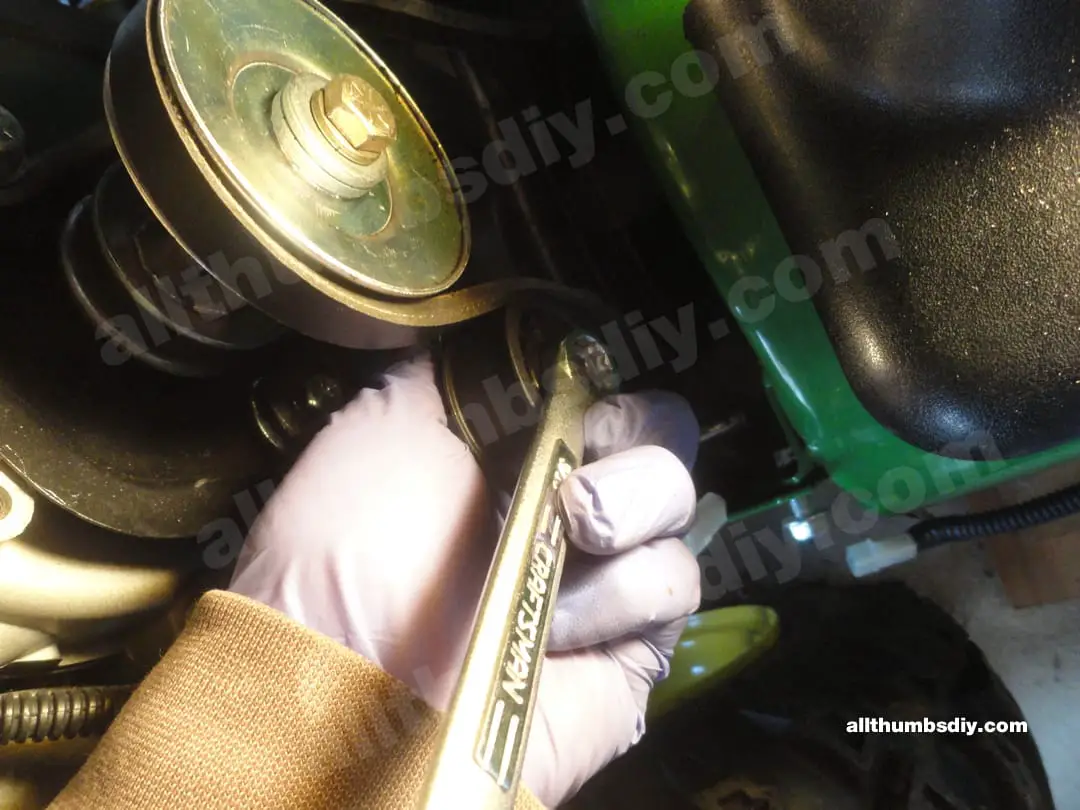
STEP 12 – To adjust the belt tension, I simply have to loosen the bolt on the pulley (I used a Craftsman 9/16″ wrench – fig 11) to allow it to slide on the metal bracket. Two things of importance:
- The belt SHOULD NOT be spinning when the Auger lever is NOT ENGAGED.
- The auger SHOULD STOP TURNING within 5 seconds of letting go of the auger lever
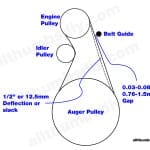
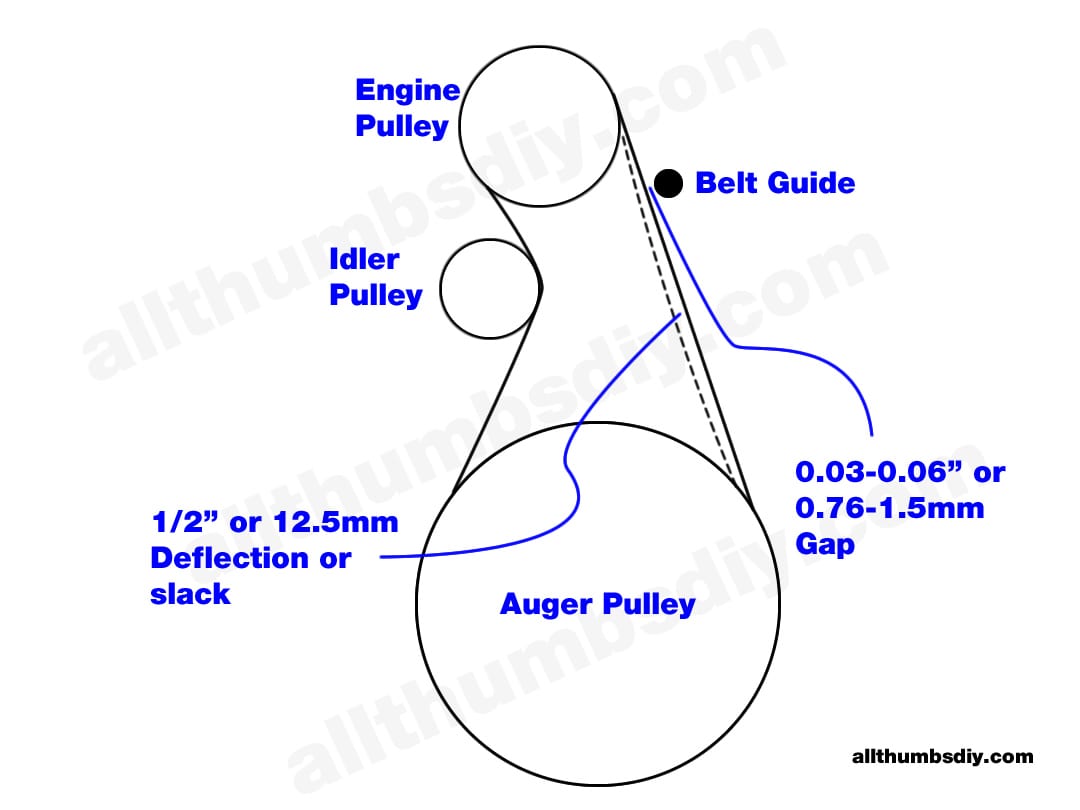
If these conditions do not happen, it means the belt tension IS TOO TIGHT. See fig. 9 for detailed spacing requirement.
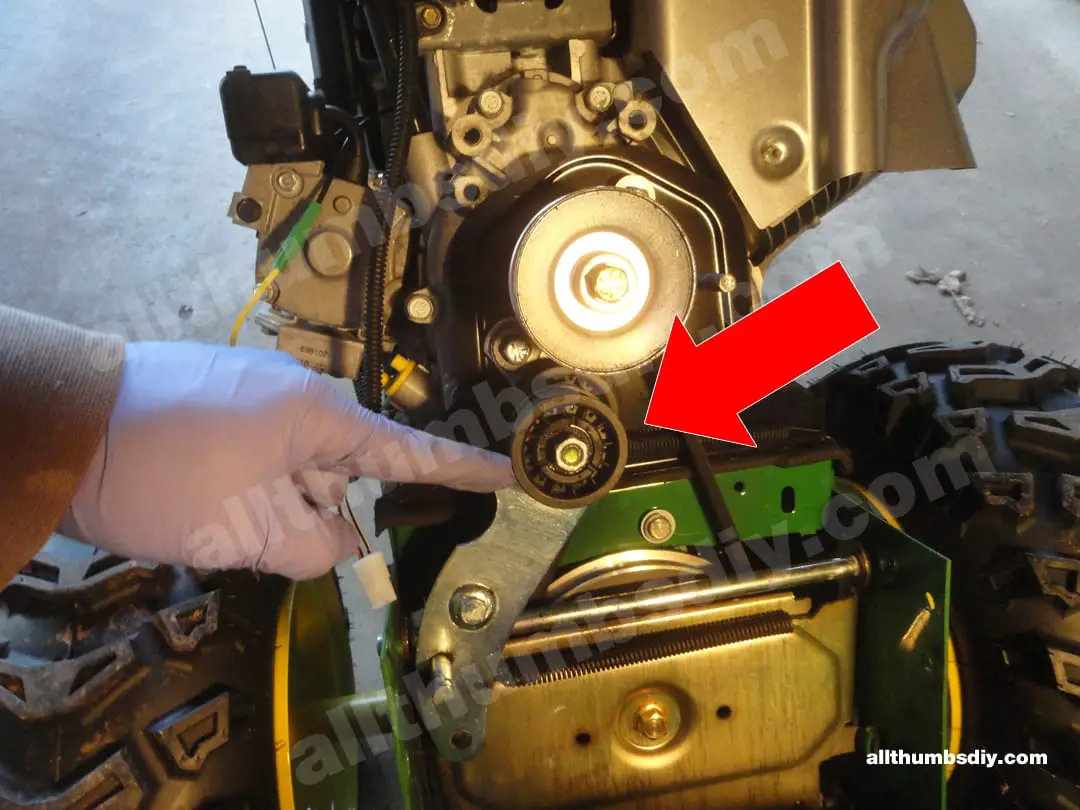
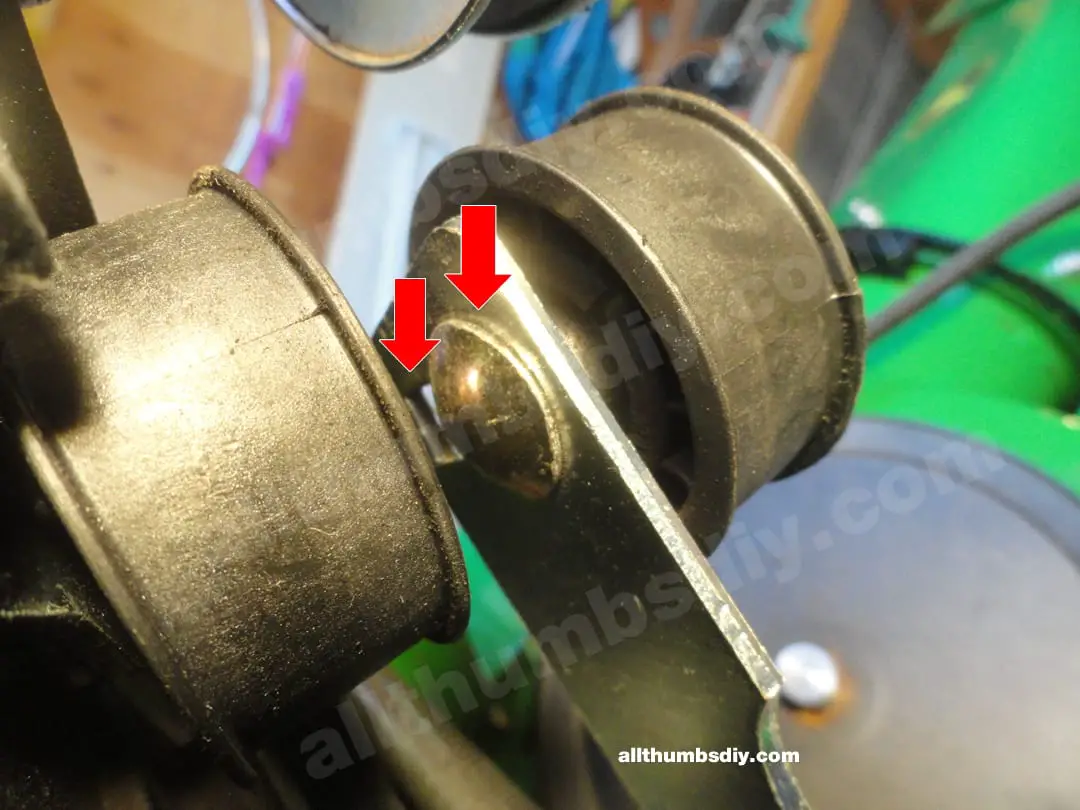
STEP 13 – I also noticed the belt guide, which prevents the belt from jumping off the pulley, had moved quite a bit, probably from the last damage. To adjust the spacing, I used a Craftsman 1/2″ wrench to loosen its bolt and slid the guide closer to the belt, using the spacing requirements stated in the JD operations manual (fig. 9).
-
- fig. 8
-
- fig. 9
-
- fig. 10
-
- fig. 11
STEP 13 – With the cover off, I re-attached the spark plug wire, started the snow thrower then held down the auger lever with a Velcro so that I can visually confirm that everything was working correctly (Keep your hands away from any moving mechanisms!!)
STEP 14 – Satisfied with the result, I turned off the engine, reinstalled the cover and had a nice cold beer.
WRAP UP
Rather than spending over $300 to do get this repair done by someone else (one dealer’s quote), I saved a ton of money by doing it myself with a little bit of elbow grease and $25 in parts.
Hopefully I was able break the information down logically to show you that it really was not that complicated.
If you have any questions or comments, please feel free to leave me a comment.
Lastly, if you if you found this article to be useful, it would be awesome if you can sign up for my free newsletter. A signup form in located on the upper right side of the page.
Thanks and good luck with repairs!

Charles Scheffold
Sunday 14th of February 2021
Very useful tutorial! Thank you.
The Ultimate Resource Guide for John Deere 1330SE Snowblower — AllThumbsDIY.com
Monday 8th of February 2021
[…] How To Change the Auger Belt for John Deere 1330SE Snow Blower […]
Greg L
Sunday 27th of September 2020
Kevin, I really appreciate the time you spent making this tutorial for the repair. The instructions and pictures were perfect. I just did my repair this morning and it was flawless thanks to you. Also saved a few hundred dollars too! Just waiting for a dump of snow now to try it out.
Terry
Saturday 21st of December 2019
Hi Kevin,
I want to just add my thanks for your excellent instructions. When I was told from my dealer that you had to split the snow blower in half to change the belt, I didn't think it was a DIY project. Not only was the repair expensive, but worse yet was that it would take weeks until they could get to it. Your detailed yet simple instructions gave this relatively inexperienced DIY the confidence to tackle the job, which took me about 45 minutes. If my belt breaks again I could probably replace it half that time now. Thanks again.
kevin
Sunday 29th of December 2019
Hi Terry-
Thanks for your kind words. Great job!
George Smullen
Tuesday 5th of March 2019
Thanks, Kevin, for this well written guide to change the auger belt on my John Deere 1330SE. Have you thought of making a video regarding the same? Thanks, again.