Summary #2 – Correct Replacement part and installation steps are included in this article
I am very frugal and full hardheartedly buy into reduce, re-use and recycle mantra.
So when I changed from a GE Profile (click here to read about installing GE profile dishwasher) to Bosch dishwasher (click here to read about installing Bosch dishwasher), I saw that GE 6 foot water supply hose was still good so I decided to use it again.
Unfortunately, fast forward 5 years later and I ended up with a ruined floor because I did not discover this very slow leak at the dishwasher connection until it was too late.
So if you are replacing your dishwasher (or making a repair and you need that hose is 8+ years old), don’t cheap out and replace that dang thing!
Which Hose Should You Buy?
I always recommend a water supply hose that is at least 6 feet or longer. And trust me when I tell you that this extra long hose makes a world of a difference when making repairs!
Currently on the market, the most common hoses are:
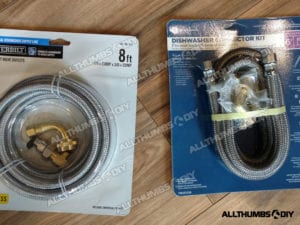
Universal, 10 ft Dishwasher Supply Line (click for the latest price)
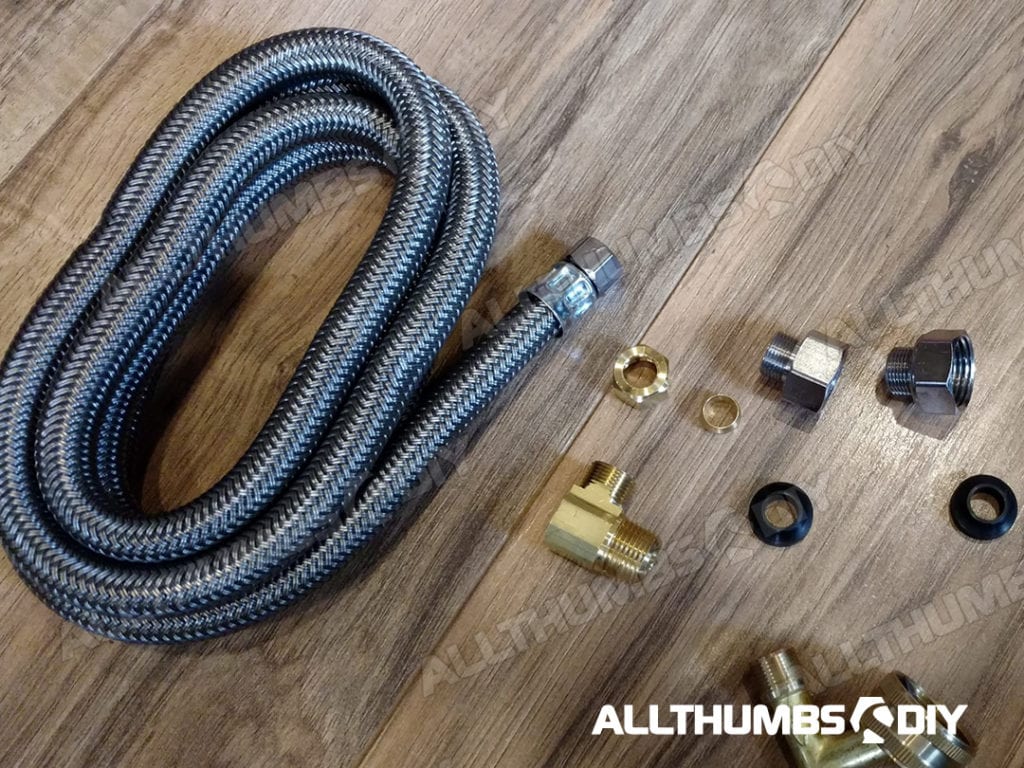
GE, 6 ft Universal Dishwasher kit, Model #PM28X326 (click for the latest price)
Both kits come with:
- 3/8″ compression fitting ends
- Braided polymer hose
- Lots of adapter fittings
- One year limited warranty
I went with a GE kit and paid extra $ because my previous experience was very positive (the slow leak thing was my own fault) and the fact that it is made in the USA.
Replacing a Leaky Water Supply Hose
Tools
- Crescent wrench
- Pipe thread tape (Teflon tape)
- Screwdrivers
- Towels
- Scraps of wood blocks
Installation Steps
- Step #1 – turn off power to the dishwasher
- Step #2 – shutoff the water shutoff valve and place a towel underneath
- Step #3 – Using 5/8″ crescent wrench, disconnect the water supply hose from the shutoff valve; let water drain out (won’t be much)
- Step #4 – Remove side (or top) screws to detach from the cabinets (or countertop)
- Step #5 – Gently wiggle out the dishwasher, making sure that waste and water hoses are not kinked
- Step #6 – Once the dishwasher is clear from the countertop, place four, 2×4 scrap blocks underneath (two per side)
- Step #7 – Place another towel where water hose is connected to the dishwasher
- Step #8 – Using the same 5/8″ crescent wrench, disconnect the water supply hose and let water drain out (will be about 1/4 cup full); remove the old hose and place in a new hose
- Step #9 – Using an old toothbrush, remove any remaining pipe thread tapes (a.k.a. Teflon tapes)
- Step #10 – Apply new pipe thread tape (not sure how to do it? read my article “How To Correctly Apply Teflon Tape to a Thread“)
- Step #11 – Carefully hand-screw on the new water supply hose on to the elbow
- Step #12 – Using 5/8″ crescent wrench, tighten the nut (do not over tighten)
- Step #13 – Repeat Steps #9-12 for the water shutoff valve
- Step #14 – Turn power and water back
- Step #15 – Use a piece of paper towel and gently wipe the connections to test for water leaks; if there is a small leak, tighten the nut by 1/4 turn
- Step #16 – remove the wood blocks and reinstall the diswasher
Conclusion
Sometimes, it just does not pay to be frugal. So if you are about to replace your aging dishwasher, make sure to replace your water hose at the same time!


george
Wednesday 9th of February 2022
You do not use plumber's tape (a.k.a. telflon tape) if the water intake hose has the black rubber gasket in it. It doesnt need it, and if it gets between the rubber can cause a leak. Read the instructions from the manufacturer and they all tell you not to use the tape.