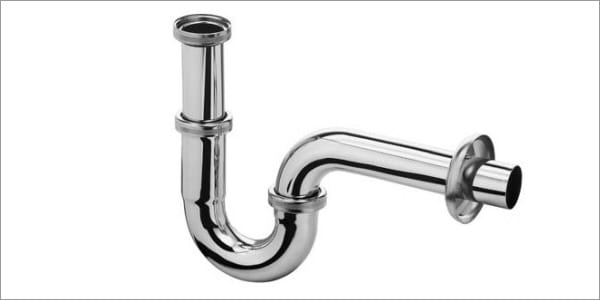
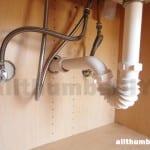
Take a look under your kitchen/bathroom sink. If your p trap is original the house (in my case, from 1960s), it probably needs to be replaced. Yes, you may see a brass or chrome fitting(s) that look sturdy ad in good shape but what I found out was that looks can be deceiving.
P-TRAP KITS
There are multitude of available options such as the a la carte of piecing everything together, brushed bronze, chrome, brass, ABS, PVC, plastic, etc, etc. There is so much, it can actually give you a headache, trying to figure out what is needed for your p-trap replacement project.
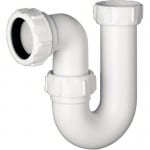 Instead of paying some crazy $100 dollar setup for a brushed bronze p-trap, I went with a lowly $6 plastic kit. What I did not like about this setup was the use of multiple slip joint connections (which can be leak prone), as well as the thin, translucent plastic material which looked pretty flimsy (I actively use the storage space under the kitchen sink, storing dog food and dog toys, so I wanted the p-trap to be sturdy against bumps and remain leak-proof).
GATHERING PVC COMPONENTS
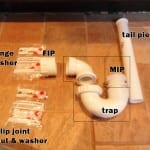
I wanted the ability to full disassemble the connections (All components are for 2″ PVC schedule 40, except for the tail piece)
REMOVING OLD P-TRAP
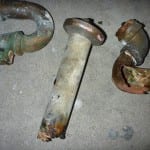 When I first detected a sign of water leakage under my bathroom sink (warped or bubbled wood surface inside the cabinet), I figure I would just replace it with one of those $5 p-trap kits and spend about 15 minutes.
15 minutes turned into 1 hour when every single component of the drain (tail pipe, slip joint, p-trap, etc.) all disintegrated in my hands.
After using my hacksaw, chisel, hammer, pliers, channel locks and plenty of choice words, I was finally able to get started on installing my new p-trap.
Your job will go considerably faster and easier if your current setup is plastic or ABS. Otherwise, budget some extra time bring plenty of patience!
ACCORDION STYLE DRAIN?
At first, I found this nifty accordion style drain (Dearborn Brass, 1 1/2″ coupling, SKU 04119314788) from one of the large box retailers and installed it in my mudroom. Well, to make the long story short, just because it is available for sale does not mean it is code approved for your location.
Before buying and installing this type of pipe, make sure to call ahead and ask to save yourself a headache!
STEP-BY-STEP GUIDE
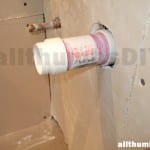
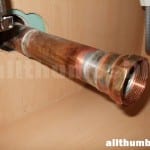
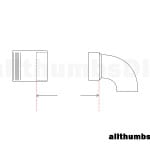
STEP 1 – For a PVC male fitting stubout (fig.7.2), you will need a female PVC fitting.For a stubout with a copper female fitting (fig.7.3), you will need a male PVC fitting. In general, I like to use male fittings on the pipe portion that will be permanent (i.e. stubout) as female couplings made from PVC may crack if tightened too much.
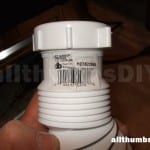
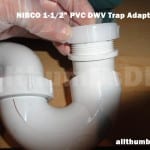
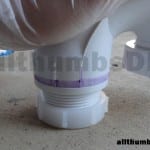
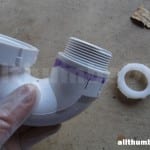
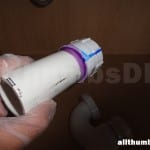
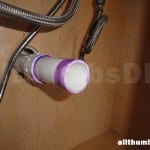
STEP 2 – Apply purple primer, cement to the MIP side (not threaded) of the p-trap, then insert the NIBCO trap adapter. I placed the fitting upside down and pressed down on them for tight fittting (fig.8.1) (Note to NIBCO – please DO NOT apply hard to get off stickers on the gluing side! It took me unnecessary 15 minutes to scrape and sand off that label!)
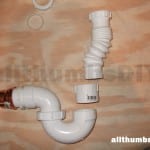
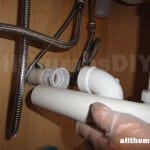
STEP 3 – Now I needed to figure out a distance between the stubout to p-trap for my horizontal pipe so I temporarily attache the tail piece and p-trap together and screwed in the NIBCO 4 in. PVC DWV Street Spigot x FIPT Female Adapter. Whatever the measurement is, I usually add 1/2″ in extra length because I seem to lose about that amount when I solvent weld joints.
STEP 4 – With pipe cut to proper length, use purple primer + cement to glue it to the FIPT female adapter.
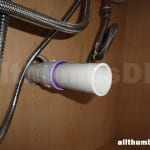
STEP 5 – Wrap some white Teflon tape to the stubout thread, then twist on the pipe+FIPT
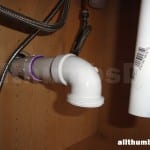
STEP 6 – With the piece still attached, glue on the 90 degree elbow from the p-trap assembly.
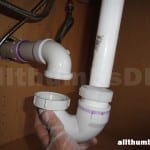
STEP 7 – Finally attach the rest of the p-trap
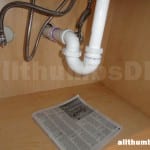
STEP 6 – Do a quick newspaper-leak-test and you are done!
Unlike some other setups, the entire assembly (up to stubout) can easily be removed for maintenance.
With schedule 40 PVC, the setup is very strong so that accidental bumps will not cause it to leak.


Clumsyfingers
Friday 15th of November 2019
Hello Kevin, I searched for making your own P trap but found that you use a P trap kit which doesn't work for me because I want to plumb in the dishwasher drain properly compared to what it was before - between the two kitchen sink drains. To do this and line up with the existing plumbing a P trap kit won't work. So my question is, can I simply build a P trap out of 2 elbows and a very short straight pipe? Also, is there any potential problems with a very deep P trap? Thanks, Merlin
kevin
Wednesday 20th of November 2019
Hi there-
thanks for your question. unfortunately, i will need to see your setup to possibly answer your question. do you think you can take a photo?
kevin
David Sarvadi
Sunday 22nd of April 2018
Have a double sink set up and use the same system. The threaded connector between the p-trap and drain leaks every so slightly. I've only hand tightened, and cleaned the threads from the prior installation. I added Teflon tape to try to fix the leak, but so far no luck. Any suggestions?
Good clear description.
kevin
Sunday 22nd of April 2018
@ David-
I would apply a thick layer plumber's putty (I use Oatey like this one) on the thread.
Adam Smith
Monday 4th of December 2017
Just wanted to say thanks for this post! My drain isn't pretty, but it's much stronger now than that paper-thin tubing they sell at Big Boxes!
kevin
Monday 18th of December 2017
@ Adam-
Awesome! Thank you for letting me know!
Kevin
Carl
Wednesday 14th of December 2016
I have a couple of rental units I've owned for almost 30 years. Kitchen sink drains have been my nemesis for years. All units have double bowl stainless sinks and dishwashers. Original drain lines through the wall are high for allowing a dishwasher tail, so I've started gluing up a PVC assembly with a 'T' between the bowls and a hose connection for the d/w. I have found I can have a very solid assembly and eliminate slip nuts and washers. The plastic assembly doesn't rot the way the old chrome assemblies do. Only catch is that the sink tail pieces are all made of polypropylene and can't be glued to PVC with a solvent cement. Best solution I've found so far for that last connection is hot glue. No pressure or excessive temperatures at the sink tail, and it makes a good bridged joint. Time will tell if the hot glue joint fails.
kevin
Wednesday 14th of December 2016
Hi Carl-
I think the reason why p-trap uses slip joints is so that it can be taken apart to recover a small object (i.e. ring) and put back together with ease.
Admittedly I haven't worked with double sink drains so I don't have a good alternative suggestion to your glued joints.
However, my particular setup has worked without leaking for a long time, even when being repeatedly bumped with heavy snow boots (the storage space under sink is used to store all our extra shoes).
Thanks for sharing your info though. If you have additional DIY projects you want to share, you can contact me at info at allthumbsdiy.com
Kevin