About 2 weeks ago (beginning of March), we got about 4 inches of snow and towards the end of clearing my driveway, my snowblower stopped working.
After confirming that my shear pins were intact, I put the snowblower away thinking:
- the impeller/auger belt came off the engine pulley again (as it has happened frequently in the past after damaging my impeller – Repairing a bent impeller blade) and;
- I would no longer need the snowblower (it had been a pretty mild winter so spring couldn’t have been too far off?)
- I will take my sweet time and fix it during summer
So of course, Dr. Murphy promptly showed up and proved to me that it is wrong to be lazy.
With snow projections of up to 2 feet, I had to hurry up and get my snowblower back up and running (by the way, we ended up getting “only” about 10 inches of snow).
HUNTING FOR THE RIGHT BELT
First, I disconnected two set of wires by gently separating plastic connectors:
- one set of wires connecting to the chute rotation motor; and
- one set of wires connecting to the chute deflector motor
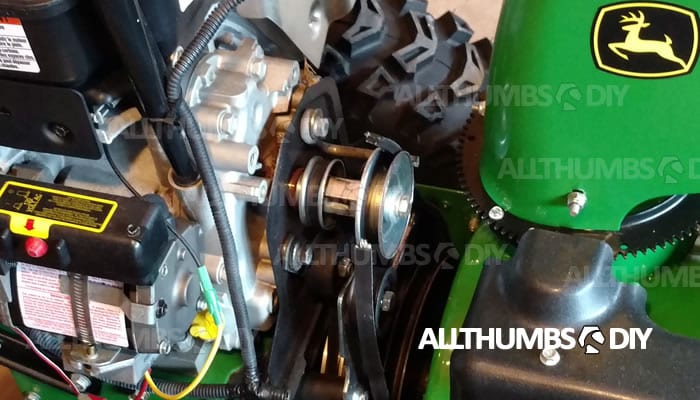
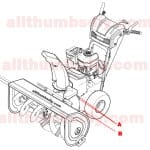
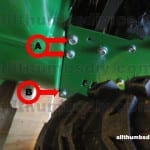
I then removed the belt cover (see pictures below) using a 3/8″ socket + socket extender + socket wrench (tool reviews – link tbd)
My heart instantly sank when, instead of finding a belt that was off the pulley, I discovered it had actually snapped in half.
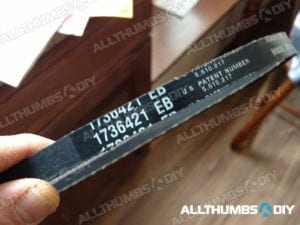
I normally buy replacement belts from Amazon (OEM # 1736421YP – fits Simplicity, John Deere, Murray models) but with about 24 hours before the snow storm, I didn’t have the time on my side.
After spending 3+ hours driving around visiting countless number of repair shops in the area, I finally bought one, even though it looked like a generic no-name brand.
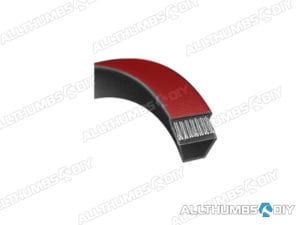
You will find that most repair shops will carry a 4L V-belt in standard sizes (belts come in 1 inch increments, like 38″, 39″, etc).
As you know, John Deere (or Simplicity / Murray) 1330SE’s auger belt length comes in an odd size of 38.35″.
Since using a belt that is too tight or too loose may damage engine pulley, bearings and other things, using the correct length belt is crucial.
CHANGING THE AUGER DRIVE BELT
I have a detailed step-by-step instructions in my previous post, “How To Change the Auger Belt for John Deere 1330SE Snow Blower” – click here
PROBLEMS AFTER INSTALLING THE NEW BELT
After replacing the broken belt and starting the snow blower, I noticed some odd behavior:
- When turning the snow blower for the the first time, my new auger belt started turning right away without me pressing down the auger handle which is no good.
- After adjusting the idler pulley (see Step #12 in the “How To Change the Auger Belt for John Deere 1330SE Snow Blower” post to find out how), I was happy to see that the belt did not turn immediately. Unfortunately, after about 20 seconds, I heard some loud clanking noises and the belt started to turn without my input (again);
- In both instances, I observed the belt to be “flopping around” quite a bit while turning and after 10-15 seconds, the belt started to smoke;
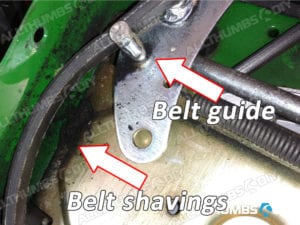
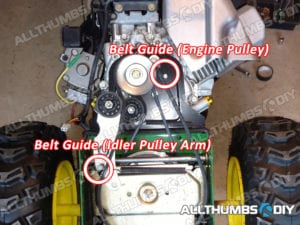
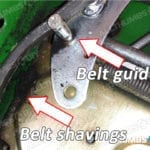
- Upon separating the impeller hood from the engine side, I noticed a bunch of rubber shavings near the belt guide (the one that is part of the idler pulley assembly – see pix below);
POSSIBLE CAUSES
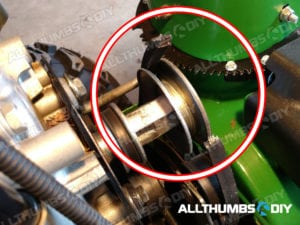
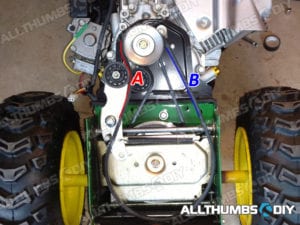
It is pretty obvious that if the belt is smoking, then something is either causing the belt to slip or rubbing against it. A close inspection of the entire belt (top and bottom) should show telltale signs of wear, probably attributed to a non-operational pulley or one of the belt guides:
- Belt wearing on the outer flat side (Side A that is in contact with the idler pulley)
- May indicate a problem with an idler pulley that is not spinning freely when engaged, causing the belt to get hot;
- May be caused by improper contact with one of the belt guides.
- More wear on one side of the v-belt – may indicate a drive pulley that is not aligned and thus pulling the belt more on that side.
- Even but excessive wear on both sides of the v-belt – may be caused by a loose belt, or dragging idler pulley.
- fig. 3a
- fig. 3
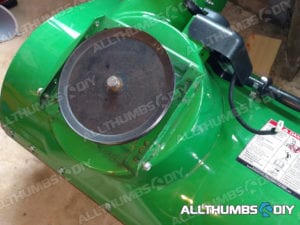
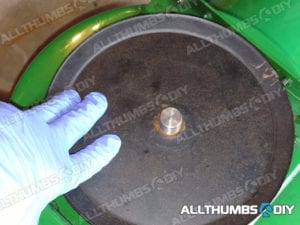
- Step # 1 – Detach the auger housing from the engine side then check the auger pulley by rotating it clockwise and counter-clockwise. It should turn without much resistance.
- Step # 2 – Check the pulley itself to make sure that there are no significant dents or nicks. Also, observe the pulley from the narrow side to make sure that it turns with minimal amount of wobble.
TROUBLESHOOTING STEPS
For these troubleshooting steps, I will completely detach the auger housing from the engine side.
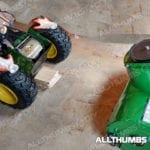
If you don’t know how, read Step #4 through #7 in the “How To Change the Auger Belt for John Deere 1330SE Snow Blower” post.
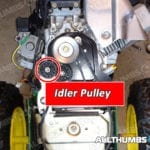
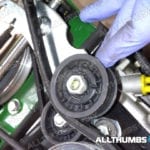
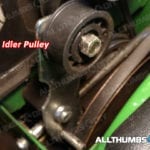
- Step # 3 – Check the idler pulley by hand turning it clockwise and counter-clockwise to make sure that it spins freely; if you feel any kind of resistance you will need to replace it since the pulley has sealed, non-serviceable bearings; Note: one of the pictures has the belt still on the pulley. I would remove the belt first, then do the rolling test; this is the replacement idler pulley (OEM # 1502120MA)
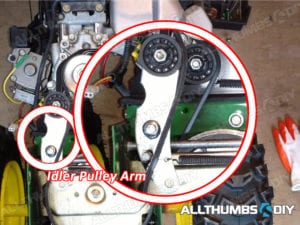
- Step # 4 – Visually check the idler pulley arm to confirm that it is not bent; it is highly unlikely that this arm is bent.
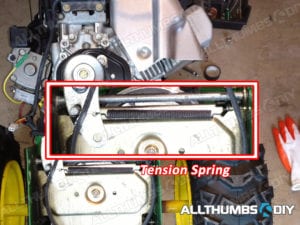
- Step # 5 – Visually check the idler pulley arm tension spring to confirm that it is tight and not broken/loose; replacement part # Murray Part 165X159MA (click here);
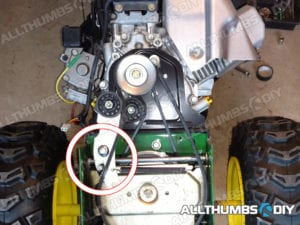
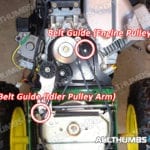
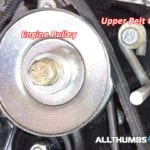
- Step # 6 – There are two belt guides: one that is part of the idler pulley arm and the other one located to the right of the engine pulley. The one by the engine pulley is the only one that can be adjusted. It should be approximately .20″ away from the belt;
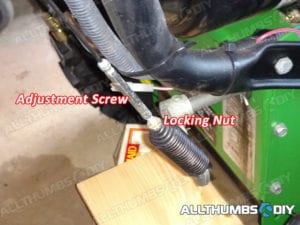
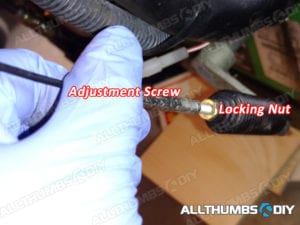
- Step # 7 – Auger Handle Tension Spring is attached to the auger handle. The cable should NOT be too tight as the auger operation must stop within 5 seconds of letting go of the lever; adjust the tension spring screw as necessary by first loosening the nut counter-clockwise (which will “slide” down the threaded post), then turn the adjusting screw (long metal cylinder) clockwise to tighten. Once you have it adjusted, turn the nut clockwise so that it butts against the adjusting screw;
FINAL WORDS
Before I was able to fix my belt issue, I had to hold down the auger lever the entire time when the engine was running to prevent my belt from smoking (I ended up clearing three driveways and sidewalks for my elderly neighbors so my forearm was rather achy!).
Other than replacing the belt, adjusting the belt guide and idler pulley tension, nothing else was replaced. So when everything was put back together, I was happy to see that the snowblower was back in working condition.
However, one thing I did notice was that there were some clanking or vibration noises coming from the engine assembly. When it gets little bit warmer, I will break down the snowblower again (this time down to transmission) for further investigation.
Hope this little bit of info will help with your snow thrower.

PS. If you found this article to be useful, why not sign up for my newsletter? Just look for a signup form on the upper right hand side of your screen. Thanks!

The Ultimate Resource Guide for John Deere 1330SE Snowblower — AllThumbsDIY.com
Monday 8th of February 2021
[…] John Deere 1330SE Snowblower – Broke My Impeller Pulley Belt the Second Time […]
Paul Messina
Tuesday 21st of January 2020
Hi Kev, I really appreciate your step by step instructions including some really great photos. Last week a shear pin broke as I was almost done so I replaced it and in my haste neglected to clear what the stone that cause the problem. Overnight the temps plummeted and the slush froze solid around the stone. When I attempted to use the blower the belt started slipping and smoking. I cleared the obstruction but the belt kept slipping. Your guide has been invaluable and now I know how to change the belt. Thank you. Shear misery: in 9 years with this unit I have had at least 50 shear pins break all but 2 on the same side. Left side when looking from using the controls. Seems like gravel or ice but why always the same side. I have inspected the auger and housing. No signs of unusual wear. Your thoughts please? Thanks again. Paul
Dave Bernas
Friday 17th of January 2020
Installing new belts. Friction drive and Auger belt. Noticed some wear that is on the idler pulley assembly fixed belt guide . Tried to adjust lever cable so the guide isn't rubbing but no luck. Appears to be a design flaw. Guide runs too close and will rub on the back of the belt and possible the pulley itself.. There are indications of this. Nearby on the housing the frayed rubber was accumulating due to rubbing. the back of the belt and the edge of the auger pulley is indicating contact with this guide.. What is the fix for this flaw? Thank you, Dave
Erica
Monday 8th of January 2018
Excellent and easy step by step instructions. I was able to fix my impeller belt all alone without having to ask my father for help or take my snow blower to a repair shop! Thank you so much!
kevin
Monday 8th of January 2018
@ Erica-
Congrats on your handy work & thank you for your kinds words.
Kevin