
Surprise, surprise. When we returned from our week-long vacation, we were greeted by a soggy kitchen floor. I usually shut off the water supply valve to the dishwasher when we we go away for more than few days but this time, I had totally forgotten about it!
SYMPTOMS
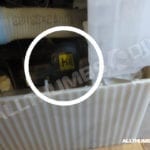
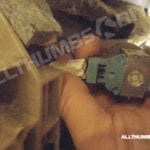
The water inlet valve allows water to enter the dishwasher. Because my water is “hard” (i.e. the water contains lots of minerals, usually seen as green stains around faucets and drains), faucet valves tend to live a short life in my house. With the water inlet valve stuck open, the water gradually filled until the door insulation wicked it up and dripped on to my kitchen floor.
The opposite is also true if the inlet valve does not completely open. In this case, the dishwasher will under-fill, resulting in longer run-time as well as dirty dishes.
OPTIONS
The water inlet valve is not a serviceable part so if is is faulty, it must be replaced.
CONFIRM YOUR REPLACEMENT PARTS
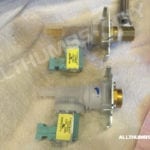
Because this particular Bosch Integra dishwasher has had many revisions over the years, I highly recommend that you physically examine the inlet valve to visually confirm that what you are about order matches your current part. Speaking from a personal experience, there is nothing worse than taking apart the dishwasher to find out that your new replacement part does not match the old one.
It will only take about 20 minutes to check:
- Turn off electricity and water
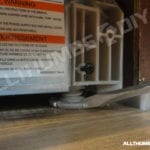
- Remove the toe kick panel by unscrewing two Phillips head screws
- On the left side, you should see a water hose connection to the dishwasher. DO NOT remove the hose
- You should see two Torx screws holding down the inlet valve bracket. Remove these screws using a Torx T20 bit.
-
-
-
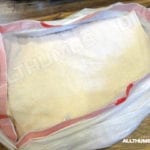
- Detach the inlet valve+bracket+hose connection assembly by gently lifting the bracket from the dishwasher’s plastic base. You may have to push the insulation blanket out of the way
- Take a picture of the inlet valve to capture the part #
REQUIRED MATERIALS
Again, parts listed here are for the Bosch Integra dishwasher model, SHX45P06UC / 64.
- Water Inlet Valve – Bosch OEM Part #00622058
- White “Teflon” Tape (Made in USA!)
- Brass 90 degree compression fitting elbow 3/8″ OD x 3/8″ X MIP (Like this Watts LFA129) – Please note: the size of the fitting must match to the fitting size on the water hose!
TOOLS
- Pair of adjustable pliers
- 5/8″ Crescent wrenches
- Phillips screwdriver
- Lots of Towels
- Trashbag
STEP-BY-STEP INSTRUCTIONS
- Shutoff the electricity and water supply to the dishwasher
- If your water supply and waste hoses are long enough (like my setup), you may not need to disconnect them. Otherwise, disconnect both (make sure towels are laid out catch water)
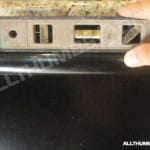
- Remove the toe kick panel
- Detach screw from the counter and/or side cabinets
- Lower the leveling legs, if necessary
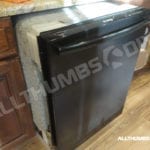
- Slide out the dishwasher
-
-
-
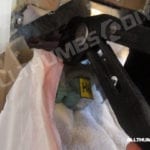
- Remove two screws holding down the inlet valve bracket
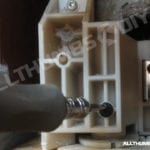
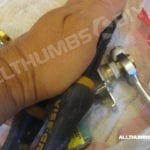
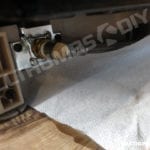
- Push the insulation blanket out of the way and locate the spring clip at the rear section of the inlet assembly
- Using a pair adjustable pliers, squeeze the spring clip ends together and slide it way from the inlet then gently pull the hose off
-

-
-

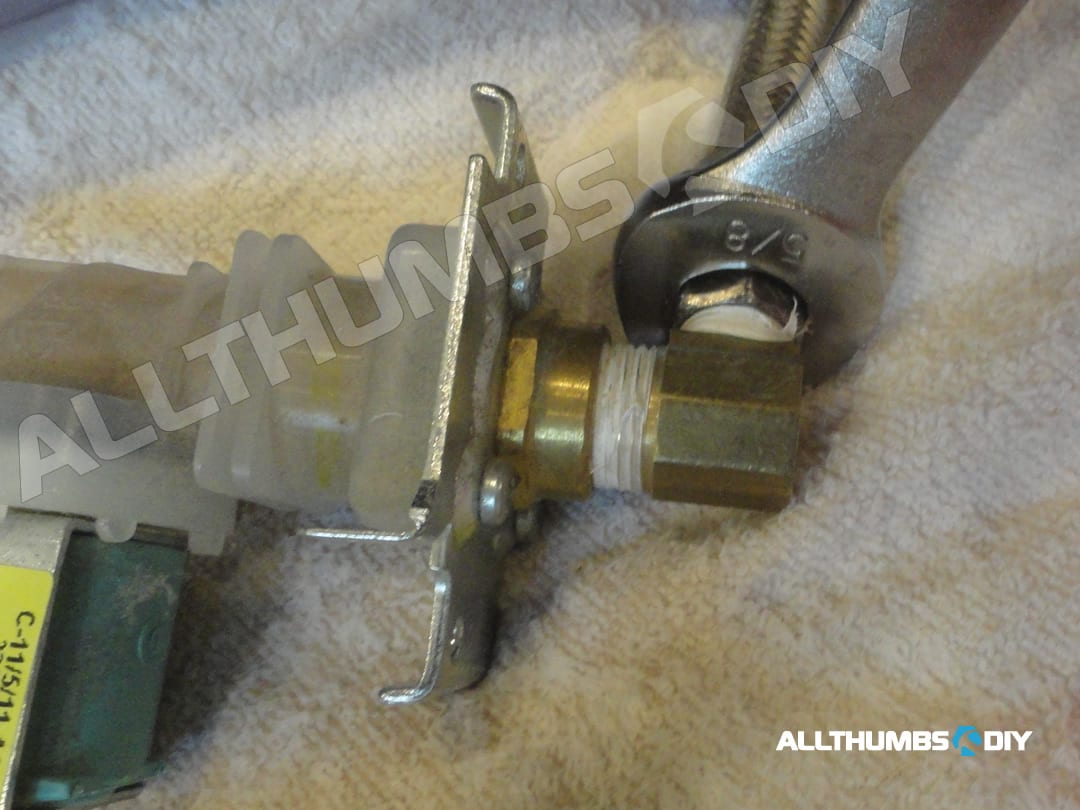
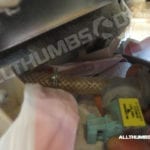
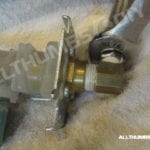
- Using the 5/8″ crescent wrench, disconnect the water supply hose from the inlet valve
- Using the 11/16″ crescent wrench, disconnect the 90 degree brass elbow from the inlet valve
- Using a soft wire brush, remove old Teflon tape from the elbow
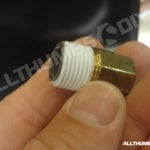
- Apply the new sealant tape to the elbow that will be attached to the inlet valve(if the thread on the elbow is damaged, use the spare one you have)
- Carefully hand tighten it into place, then turn in 1/2 way using the crescent wrench (you do not want to over-tighten by being a Hulk!)
- Apply the Teflon tape to the water supply side of the elbow
- Re-attach the water hose by first with your hand, then with the crescent wrench
- Re-seat the new inlet valve assembly onto the dishwasher and re-install two bracket screws.
- Re-attach the rear hose and install the spring clip back into its original spot
Before we end our project, we want to make sure our new inlet valve assembly is leak-free. To check for any leaks:
- Place a piece of paper towel underneath the water connection
- Turn on the water supply valve
- Observe the elbow and paper towel for any leaks and further tighten as necessary over 15 minute period
- Also, double check to make sure that the dishwasher is level after pushing it back under the counter
I had a leak between the elbow and the inlet valve so I ended up undoing the whole thing and install a new elbow (hence the reason why I wanted you to have a spare on hand).
FINAL WORDS
Withe the new inlet valve, it was gratifying to hear that swooshing sound of water swirling inside the dishwasher with no leaks!
If you found this article to be helpful, can you do me a favor and sign up for my newsletter (form is on the upper right side of the screen). Thanks!
