KEY POINTS
- You can use your Pancake Air Compressor at home to inflate your car tires at your convenience
- Only few extra parts outlined in this post are required to get you going
Introduction
If you are like me, you are probably tired of searching for a gas station with an air pump. It seems like there are less and less gas stations with an air pump these days.
And when you do locate one, you are often faced with a waiting line.
Worse yet, some of these privately owned air pumps charge you exorbitant money, usually requiring you to feed $2 in quarters that lasts only three minutes or so.
If you own a pancake air compressor like this one (if don’t own one, I recommend the one I own, a ), you buy few inexpensive parts and take care of your tires at home.
Required Parts and Tools
- Any air compressor like this Porter-Cable 6-Gallon Oil-Free Pancake Air Compressor
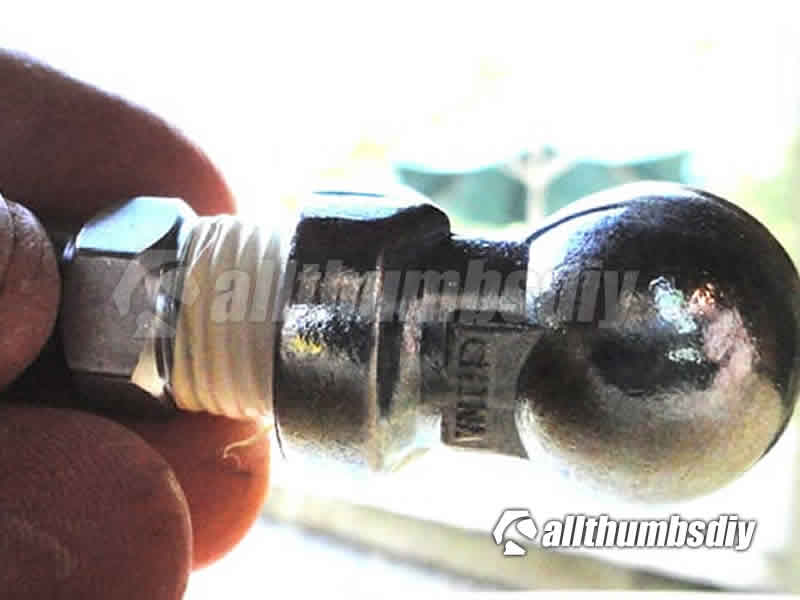
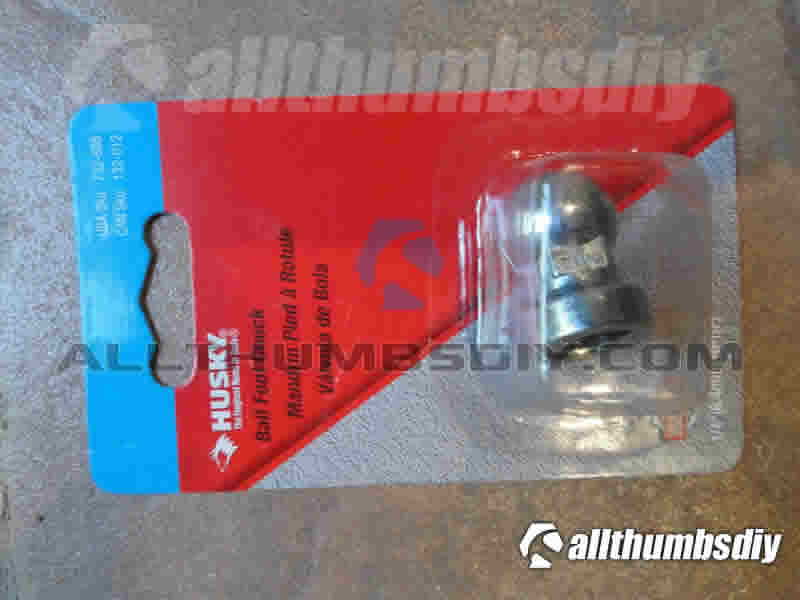
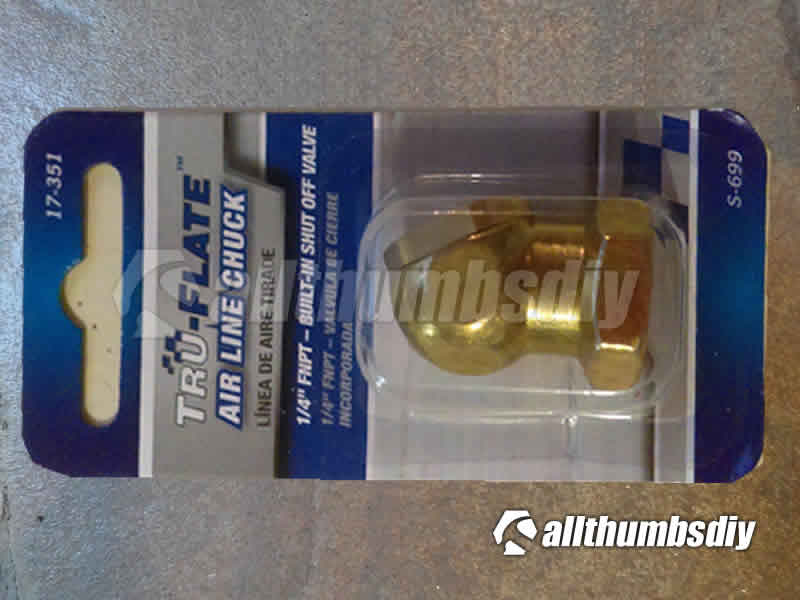
- Husky Ball Foot Chuck (Part # 732-667) or Tru-Flate 1/4 in Female NPT Direct Air Line Ball Chuck With Shut-off
- brass construction to minimize corrosion risk
- features direct air line or closed type, which means that it comes equipped with a built-in shutoff valve (little pin in the ball foot chuck)
- maximum pressure rating of 300 pounds per square inch or psi (greater than my Porter Cable pancake air compressor rated at 150 psi; good safety margin)
- Please don’t get confused by NPT or FPT designations as Female NPT threads can be noted as FPT
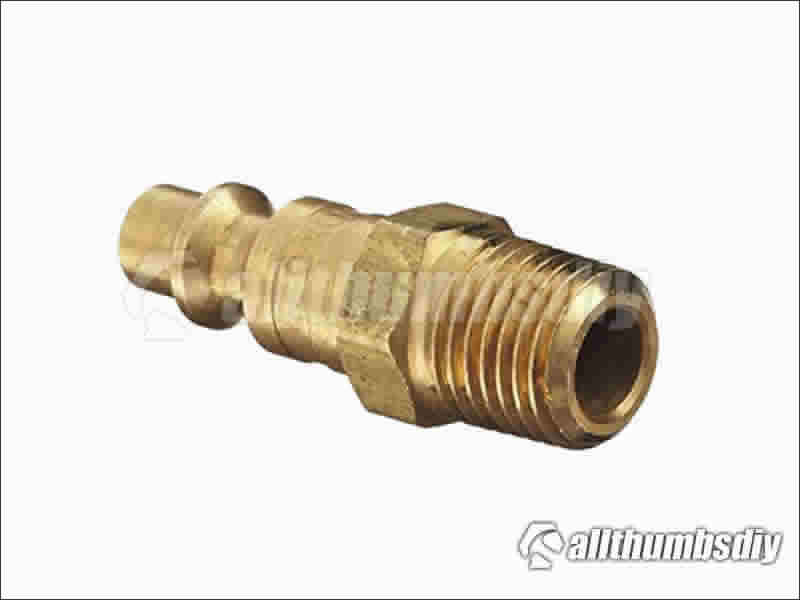
- Dixon Valve & Coupling Brass Air Quick-Connect (around 7 bucks)
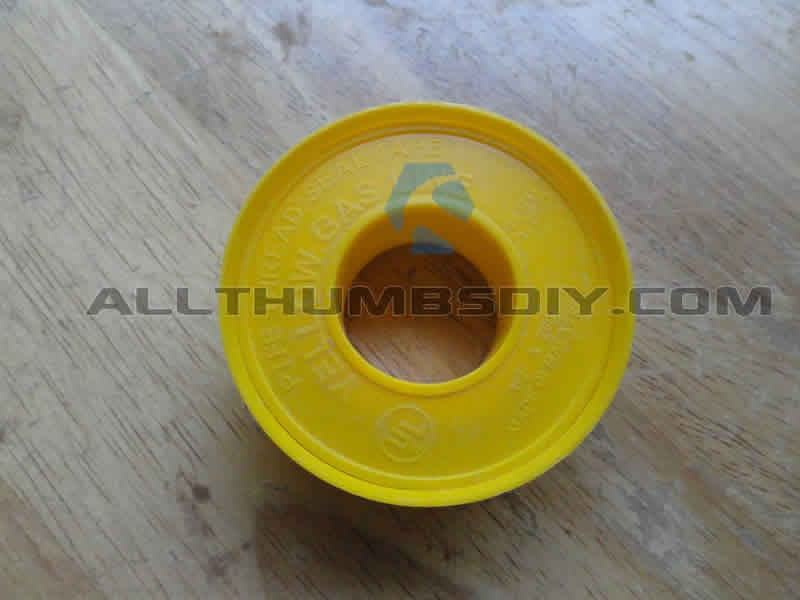
- Thread Sealant Tape
- You can get any yellow tape but I recommend a Oatey Gas-Line Thread Seal Tape, 1/2 inch x 260 in (approximately 21.7 feet)
- For more detailed information on why I chose this yellow tape, please read my post, “When to use PTFE Teflon Yellow or White tapes or Pipe Dope“
Step-by-Step Instructions
- STEP # 1 – Wrap some thread sealant (PTFE) to the thread on the quick disconnect (If you’ve never worked with PTFE tape before, you may wan to read How to Correctly Apply Teflon Tape to a Thread post);
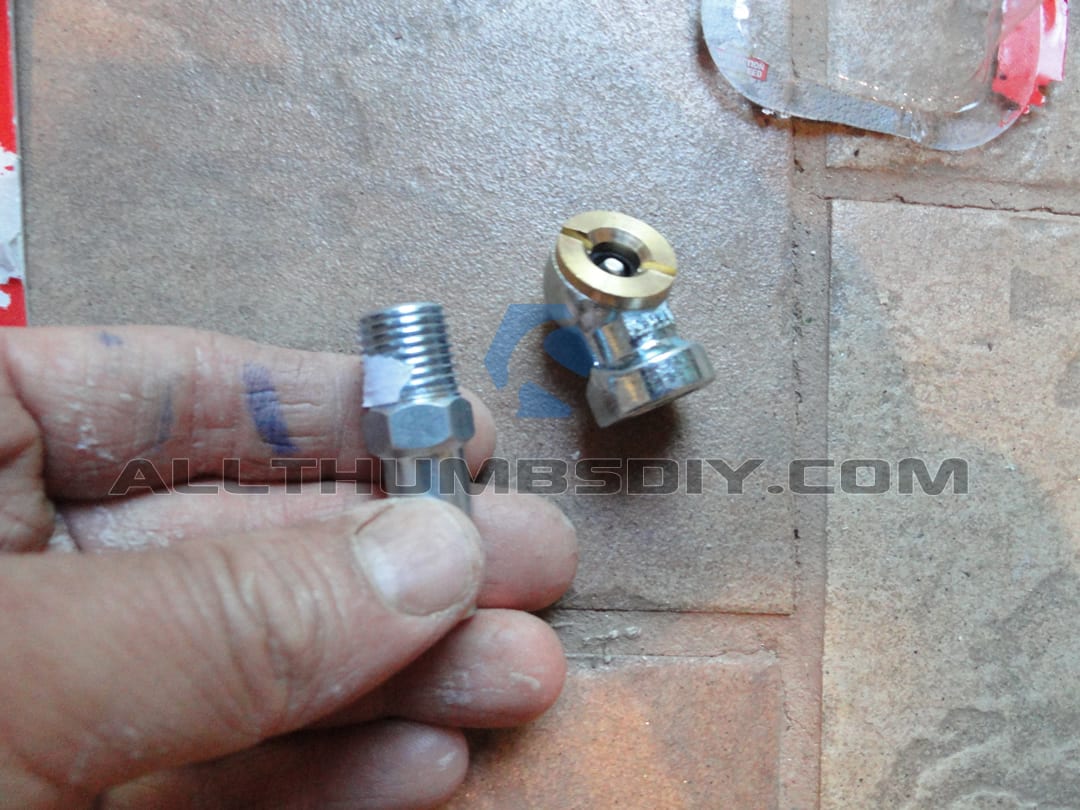
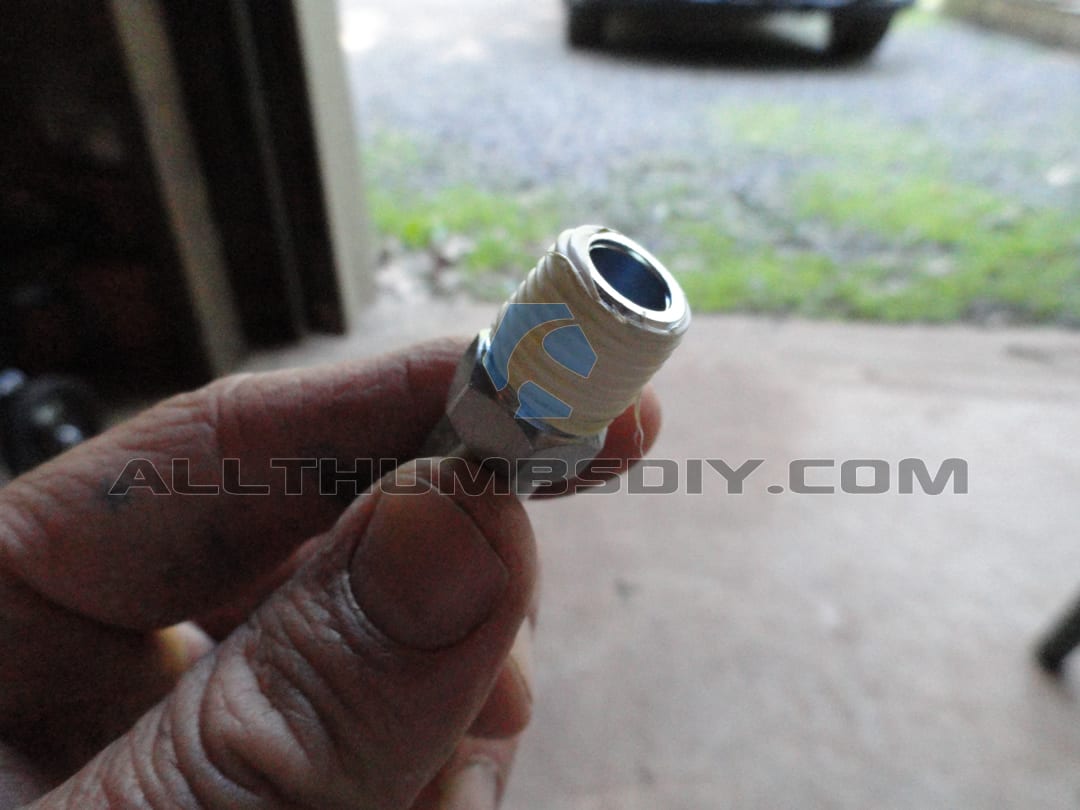
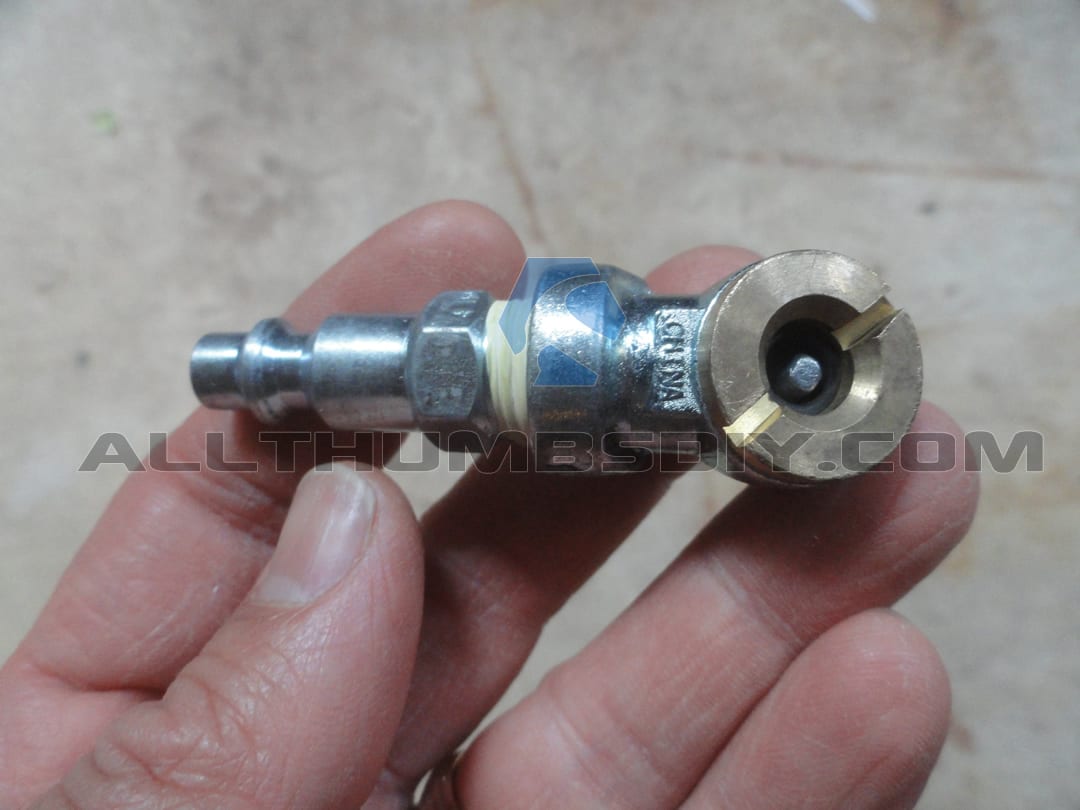
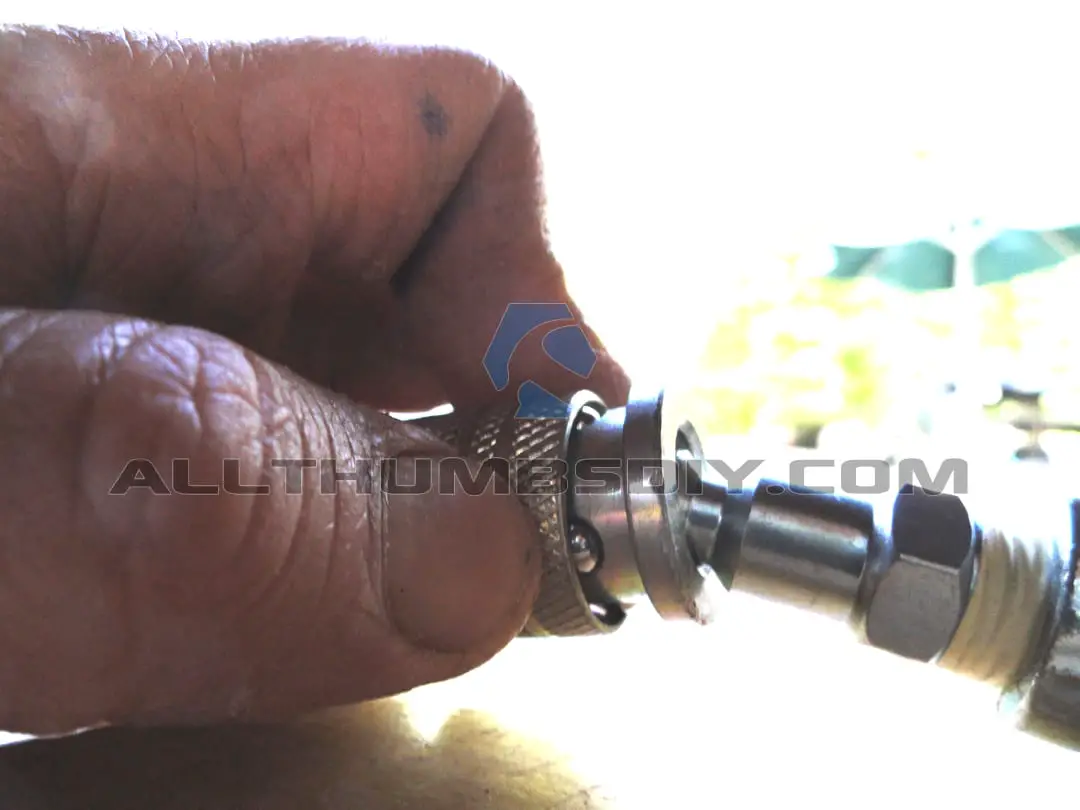
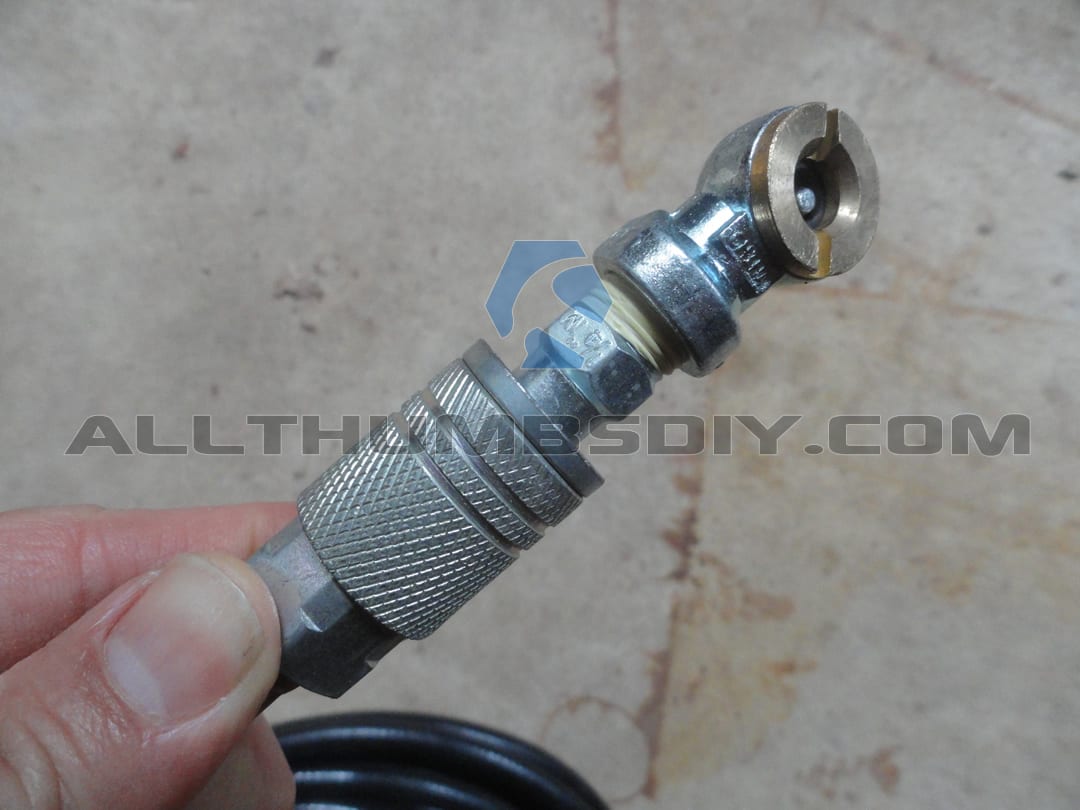
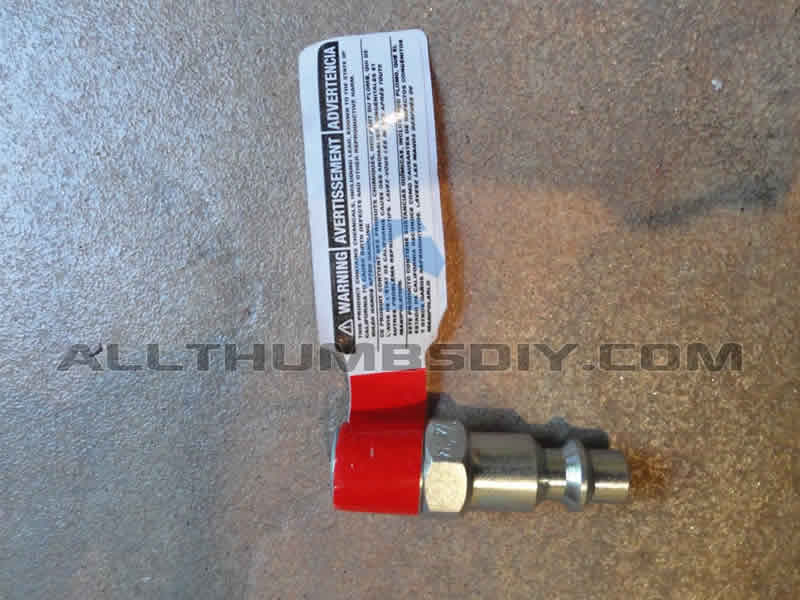
- STEP # 2 – Hand thread the ball foot chuck onto Quick-Disconnect, while making sure NOT to reverse out during the process (if you do, you need to re-apply the PTFE tape); Use two wrenches to tighten;
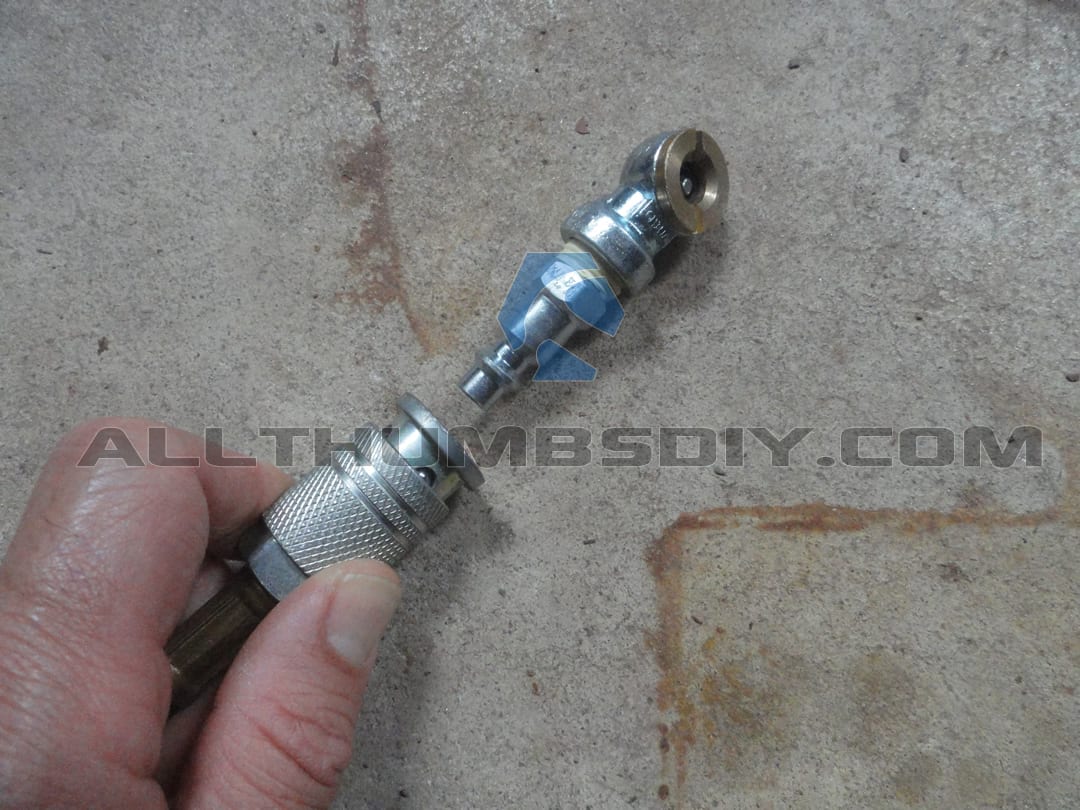
- Now you can attach / detach your female quick disconnect assembly from male quick disconnect port to inflate your tires for free!
Summary
Please note that this setup is for AUTO tires only. Please DO NOT use your compressor to fill bike tires or wheelbarrow tires as you can instantly damage them
When filling your car tires, don’t set the compressor’s psi to match your tire’s psi (usually around 30-35 psi). It will take too long to fill this way. Instead, set your compressor to 100-150 psi (I usually leave it at 150 psi) and use a tire gauge like JACO ElitePro Digital Tire Pressure Gauge – Professional Accuracy which is rated to 100 PSI
Well, I hope you found this article to be useful. If you agree, may I ask for a small favor and ask you to sign up for my newsletter? A sign up form is found on the upper right screen. I promise it will be spam free.
Thanks and good luck with your DIY project!


Rodney
Sunday 31st of July 2022
@john. If you’re putting that much air in a wheel barrel or bike then you’ve got bigger problems then running a pancake air compressor
John Callas
Monday 27th of March 2017
It seems from my recent attempts to fill some tires that the tire inflator piece that I have stops working after a certain psi is reached. I gather that is a protective measure to prevent over filling bike and wheel barrow tires. To fill these, the compressor must be filled closer to around 50 pounds to work. I had my compressor and that did not work.
kevin
Saturday 1st of April 2017
@John- 29-32 psi? I think most tires fill around 29-32 psi? what kind of car do you drive?