
My house is over 50 years old at this point and I noticed an upward trend in little things around house needing repairs.
One of the most nagging repair was a drip from my bathtub faucets. I kept on putting it off because quite frankly, I was afraid of it turning into a humongous bath remodel project.
Well, I could not put it off and bite the bullet to make repairs because this small drip turned into a steady stream.
Faucet Identification
For most tub faucets, parts are very specific to a brand and models.
Yes, there are generic replacement parts but even for them, you need to have some idea about your current parts.
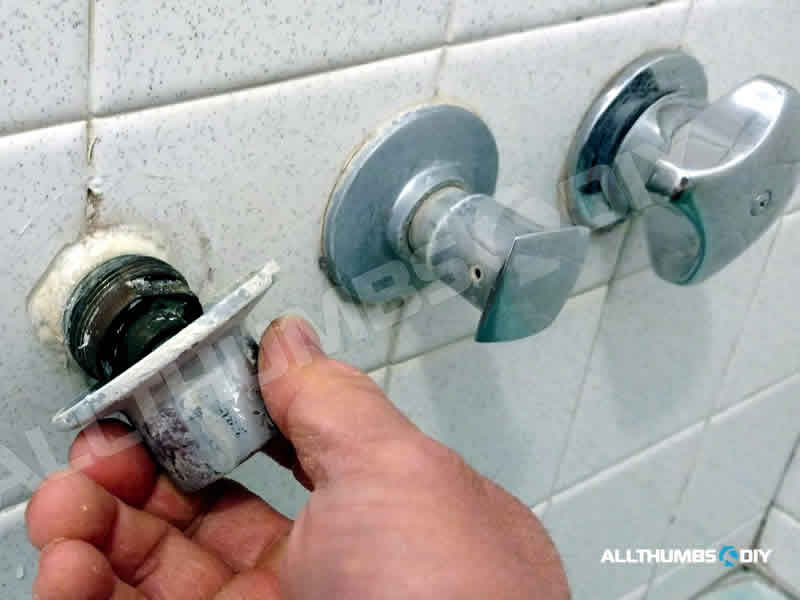
Fortunately for me, I was able to closely examine the faucet handle and identify the word “KOHLER”.
If your handle is crusted you may want to try to clean it up first
Required Materials
- Kohler Replacement Faucet Stem kit, Model# 1066559, UPC# 650531630391
- Teflon tape (white)
Required Tools
- Adjustable wrench or pliers
- #2 Phillips screwdriver
- brush
- Pair of chopsticks
- Gloves
- 4 plastic containers
Instructions
- A – Unscrew the handle screw and remove the handle
- B – remove the escutcheon cover by turning it counterclockwise
- C – use a wrench to turn the brass fitting and remove from housing (stem will also come out at the same time)
- D – gently scape off any rubber O-rings and install new ones from the kit
- E – insert the new stem kit into the brass housing and reinstall into the wall housing
- F – reverse steps C, B, A
- G – check for leaks
Final Words
In the end, this repair job was not as bad as my mind made it out to be (I got lucky?).
After spending about 30 bucks and 2 hours (mainly to de-mineralize parts), the repair was complete.

Related Posts
- How to Identify A Faucet Brand
- Now my powder room’s faucet is leaking!
- How I Installed High Flow Under Sink Water Filter Filtration System for My Kitchen – Installation Steps
- SharkBite vs GatorBite vs TecTite
- Installing A New Hot Water Heater – Part 1