
Like most birds, woodpeckers breed in the spring, but they roost in holes (one bird per cavity) each and every night of the year. Hammering (a.k.a. bexcavating or chiseling) is when either males or females construct a nest or roost hole with a chamber typically in trees (I wrote a detailed blog post titled “Background Information on Woodpeckers”). The focus of this blog is to show you how I made my woodpecker house to see if we can somehow a way to co-exist.
Problem
Unfortunately for me, this destructive behavior has been most troublesome. While searching for an off the shelf solution, what I found was that current “solutions” on the market are mainly driven by companies trying to make a buck, not necessarily focused on solving my problem (read “How Do I Stop A Woodpecker from Damaging My House” here)
Approach
After limited success with patching up the holes and putting up some CDs as a scarring tactic, I read the Texas Parks and Wildlife article titled “Woodpecker Damage – A Simple Solution to a Common Problem” (click to download a PDF) where it said:
…When aggressive woodpeckers are a problem, all one has to do is provide a man-made nest box directly at the site that is being damaged. People often put up bluebird boxes or purple martin houses to attract those species; this is basically the same thing, but more to accommodate the woodpecker…
So after thoroughly reading the pamphlet, I decided to make a woodpecker house of my own with couple of tweaks to see if it will work in my situation.
Construction Plan
Materials
Although this post shows only one woodpecker house, I purchased 2 cedar planks to make 2 houses. You may want to build two or more houses as woodpeckers usually come in pairs (I have 2 downy woodpeckers).
- One, Cedar plank, 1 in x 8 in x 8 ft
- actual dimension is 0.5″ x 7.5″ x 8 ft; you probably will NOT be able to find this at a local box store; instead you should contact your local lumberyard; make sure to pick one that is straight and NOT “cupped”
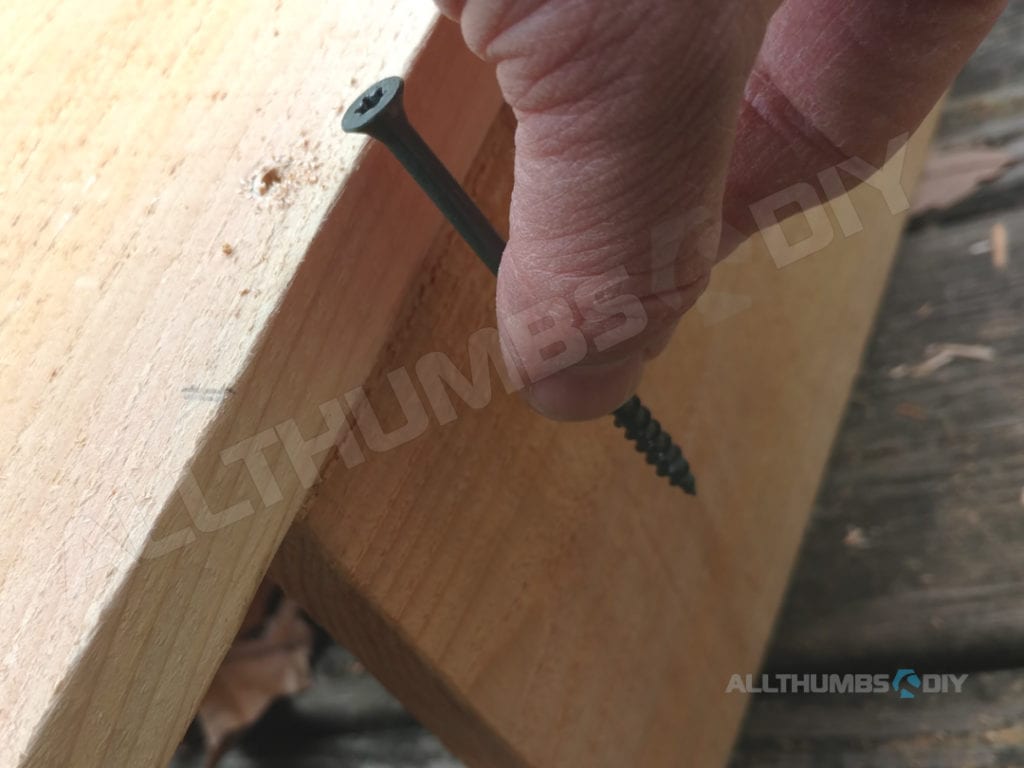
- One box, Deckmate 3″ screws (click here for the latest price)
- One box, Deckmate 2″ screws (click here for the latest price)
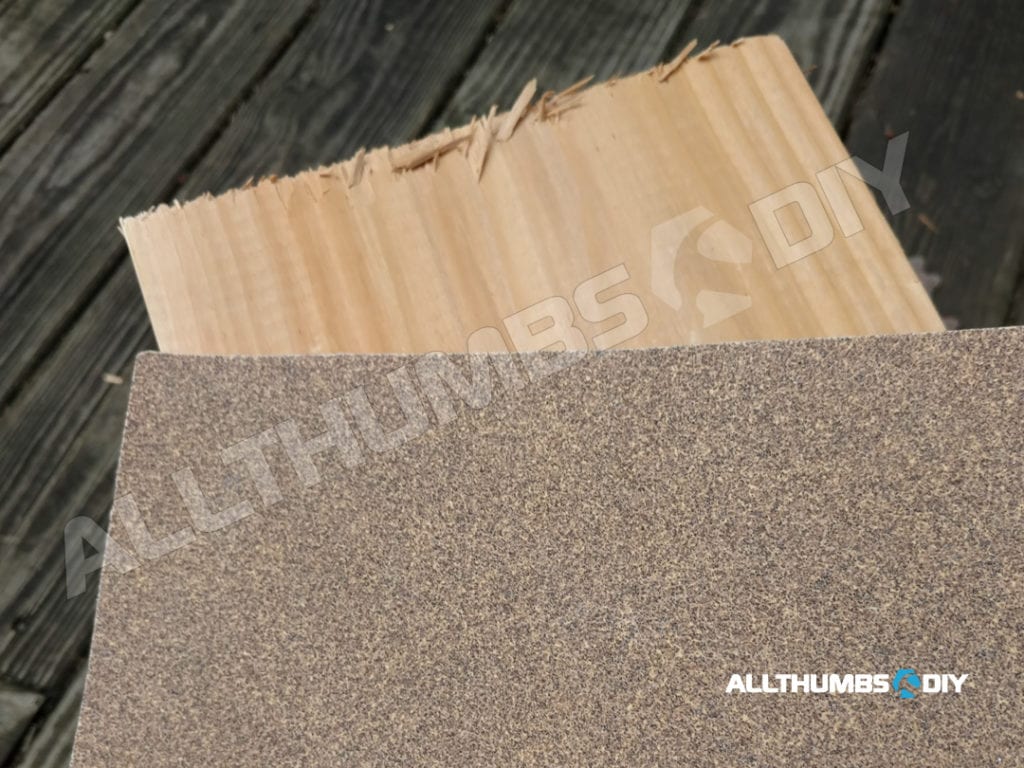
- One sheet, 60 grit sandpaper (click here to see the product)
- One pack, 3″ piano hinges (click here for the latest price)
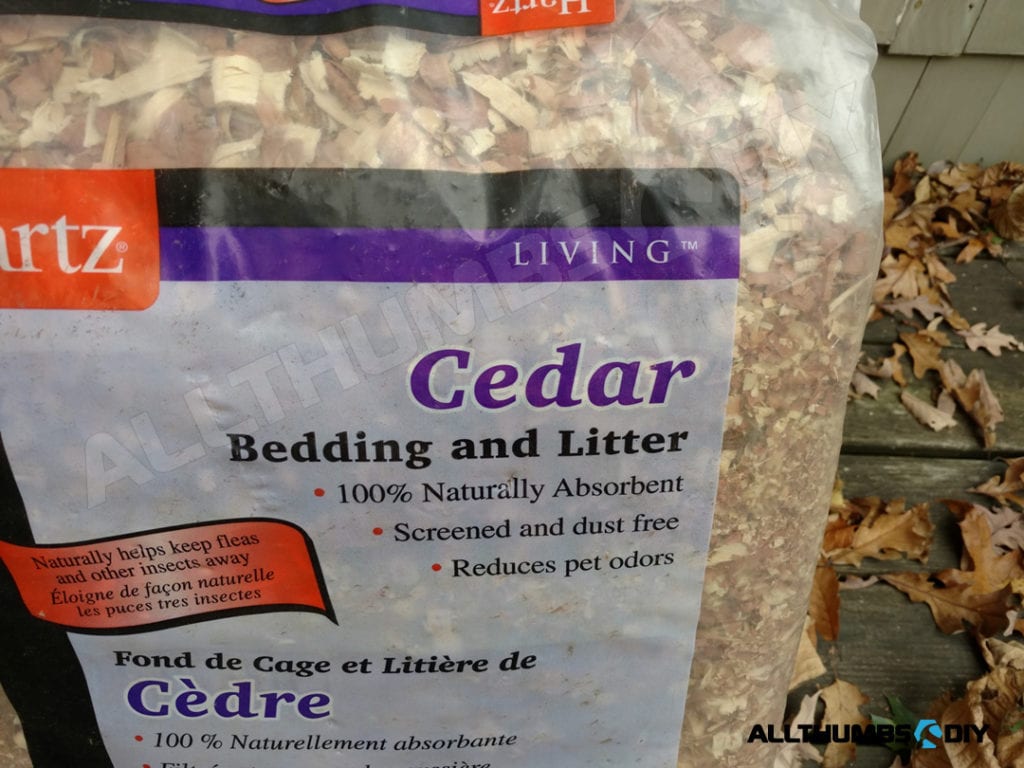
- One small bag, Cedar chips (click here to see the sample product)
- Four, 1/2″ eye rings / eyehooks (click here to see the product)
- One, 1/4″ x 12″ dowel (click here to see the product)
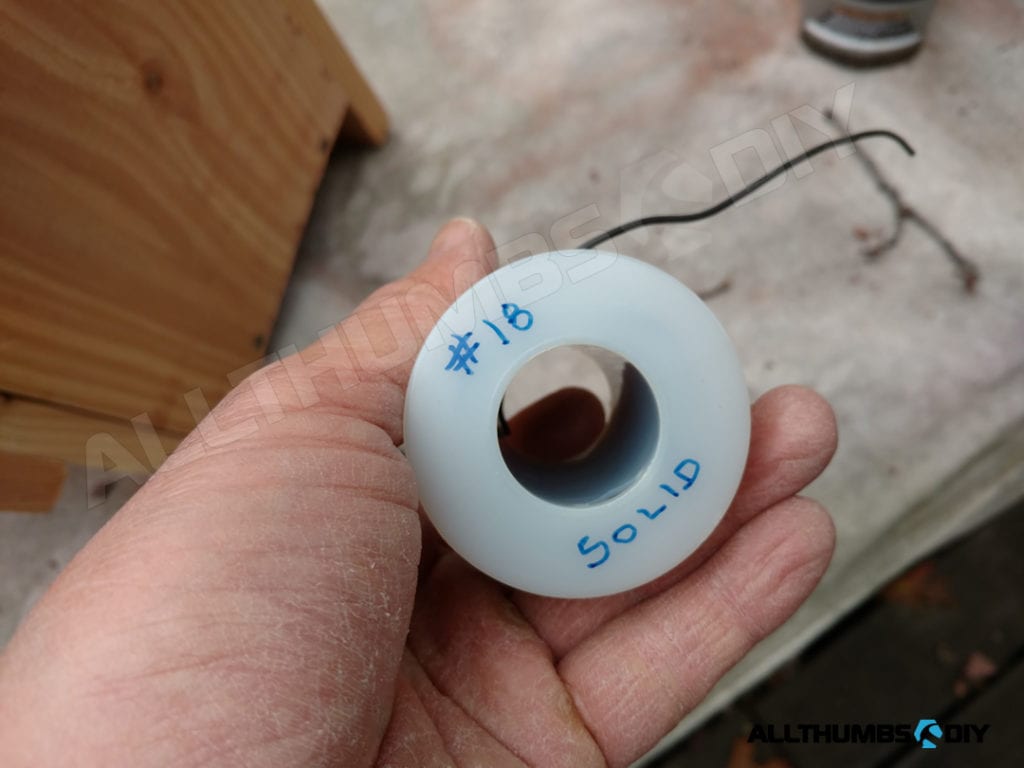
- Two, 9″ #18 gauge wire (click here to see the product)
Tools
- Cordless drill
- Torx drill bit (comes with Deckmate screws)
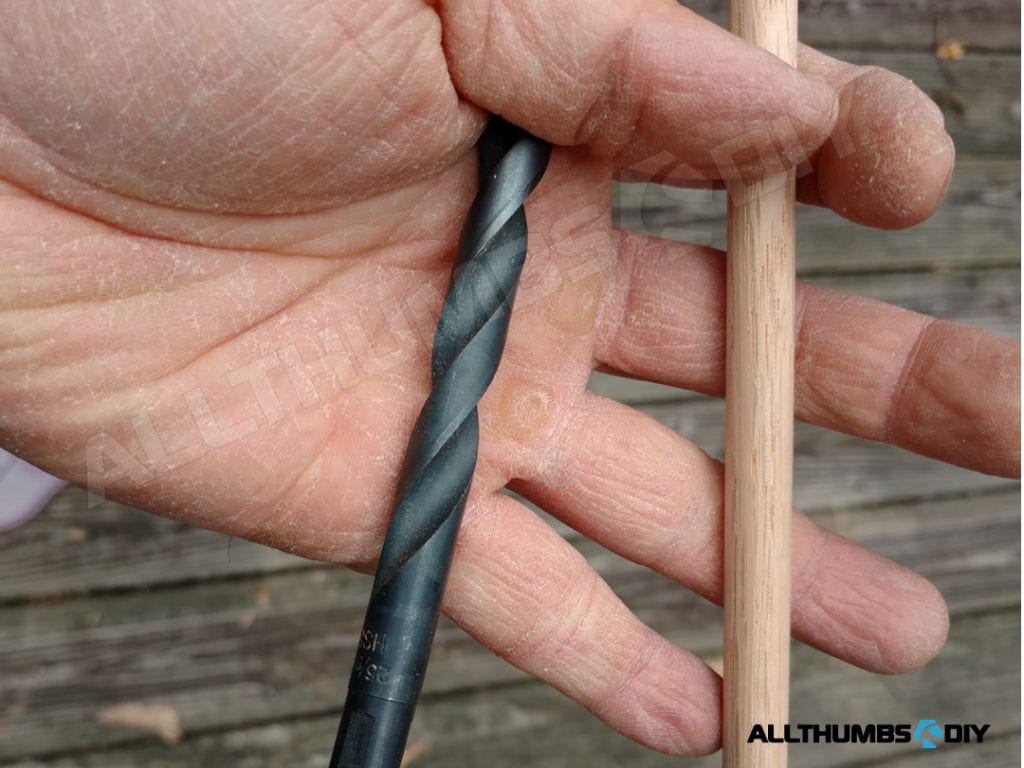
- One, 3/8″ drill bit
- Adjustable pliers
- Chop saw
- 1.25″ hole cutter / saw (click here to see the product)
- Gloves
- Goggles
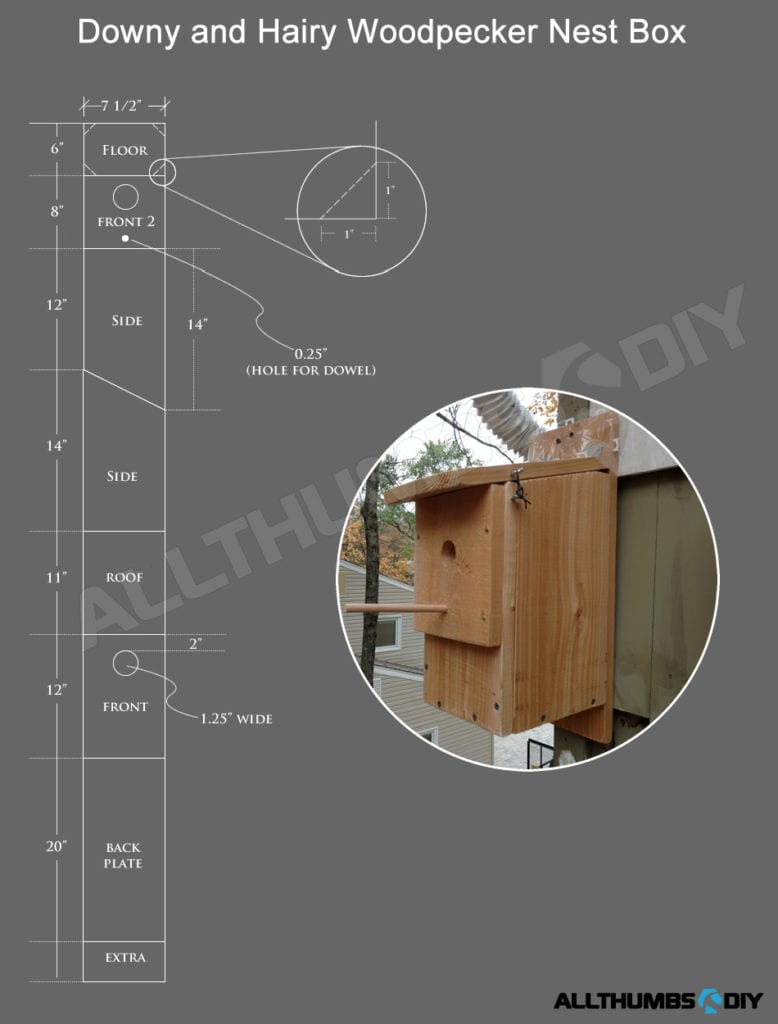
Cutting
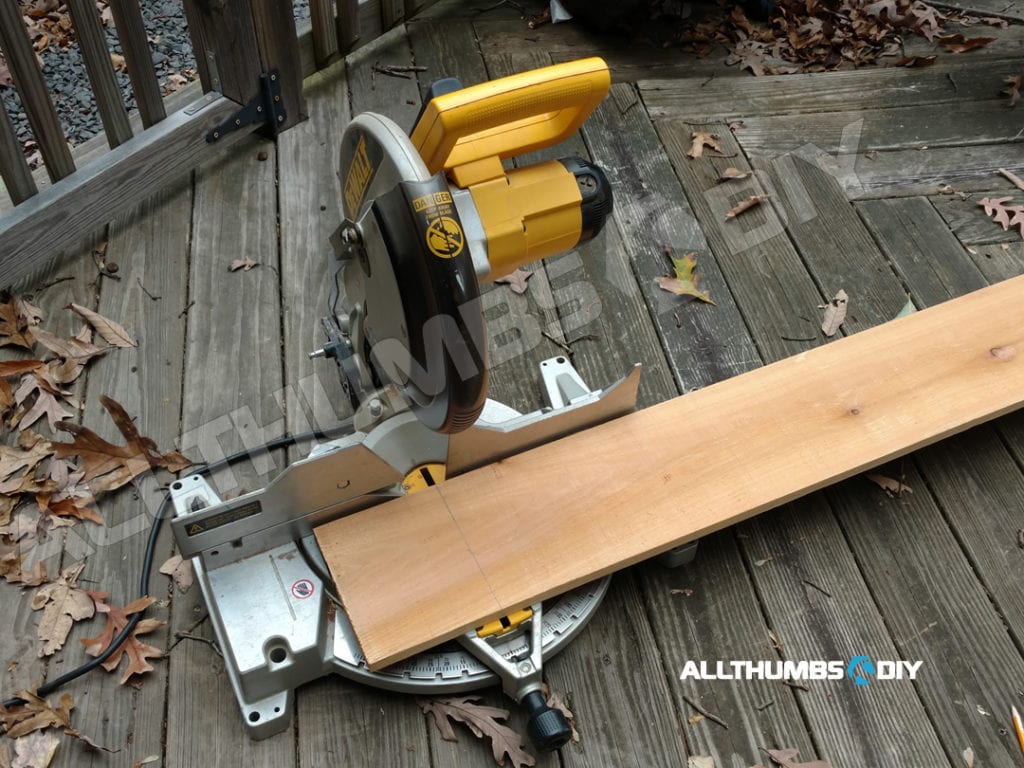
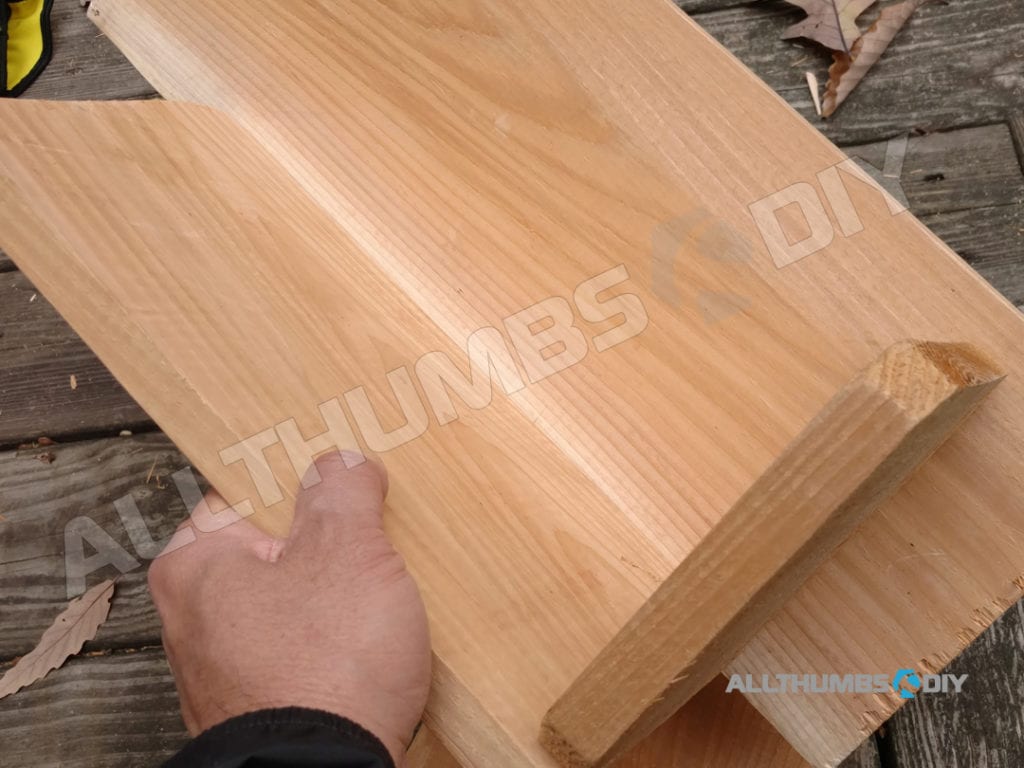
As far as cutting wood pieces are concerned, I *DO NOT* like to cut all of them at once but cut one at a time. It is more time consuming but this way, I do not have to factor in the width of the cutting blade for a tighter fit.
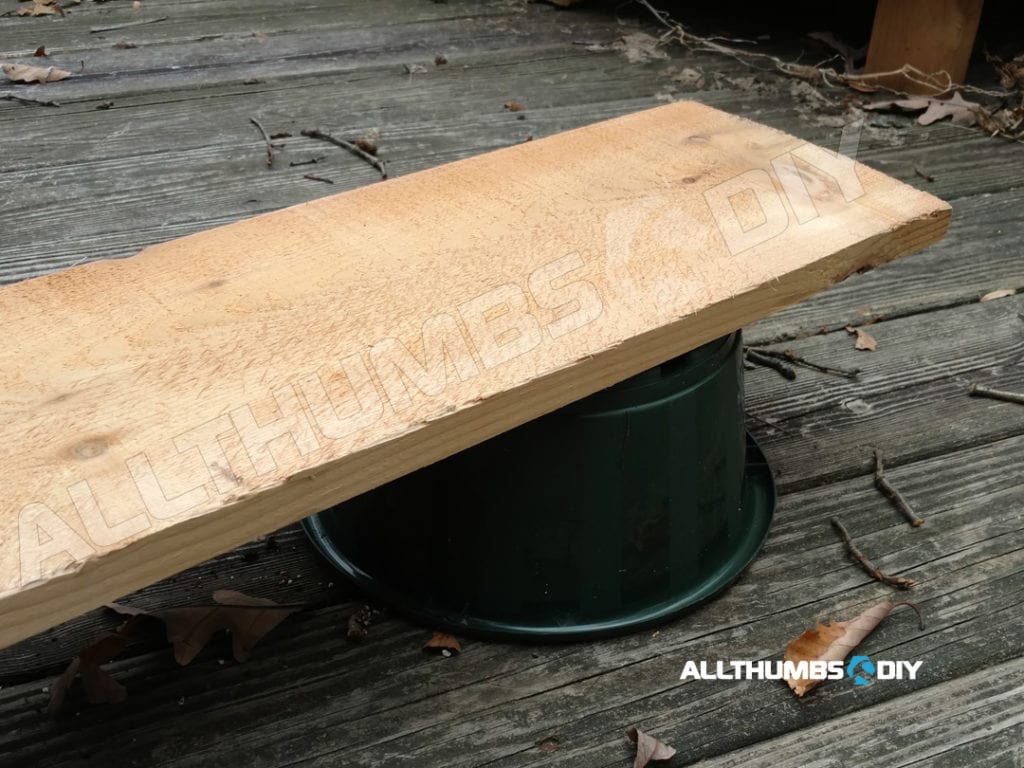
- Mark and cut 6″ off the cedar plank on the chop saw (I supported the other end with an upside down planter for support);
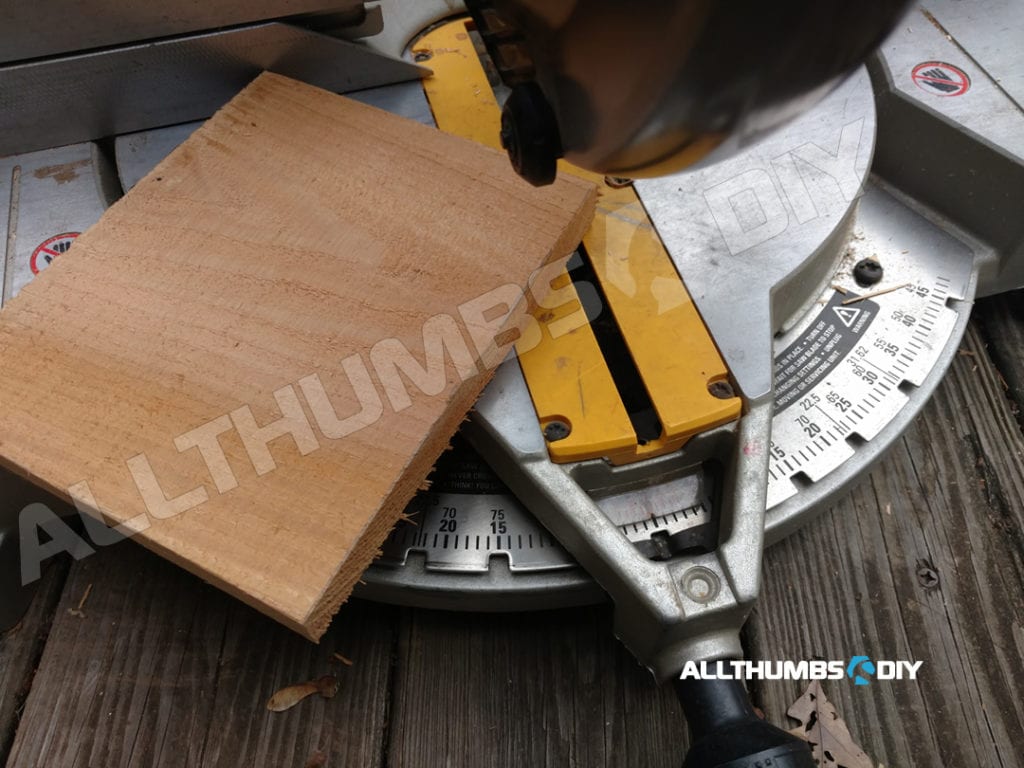
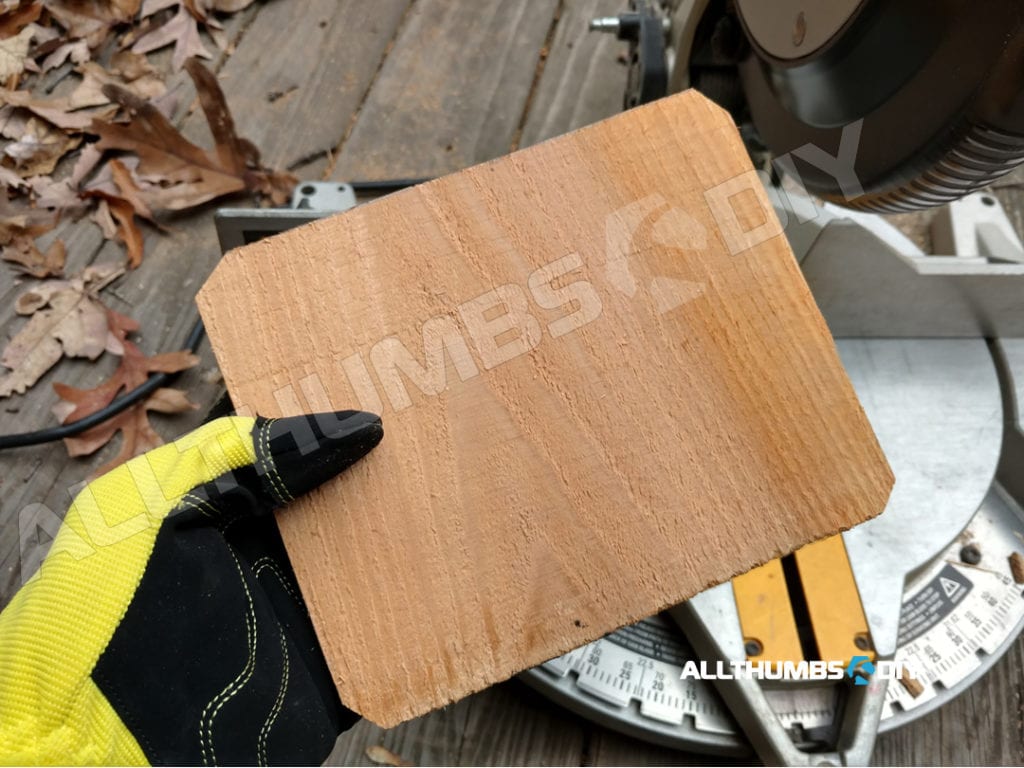
- Measure and mark 1″ on each corners; diagonally trim off corners (this is done to allow any liquid to drain);
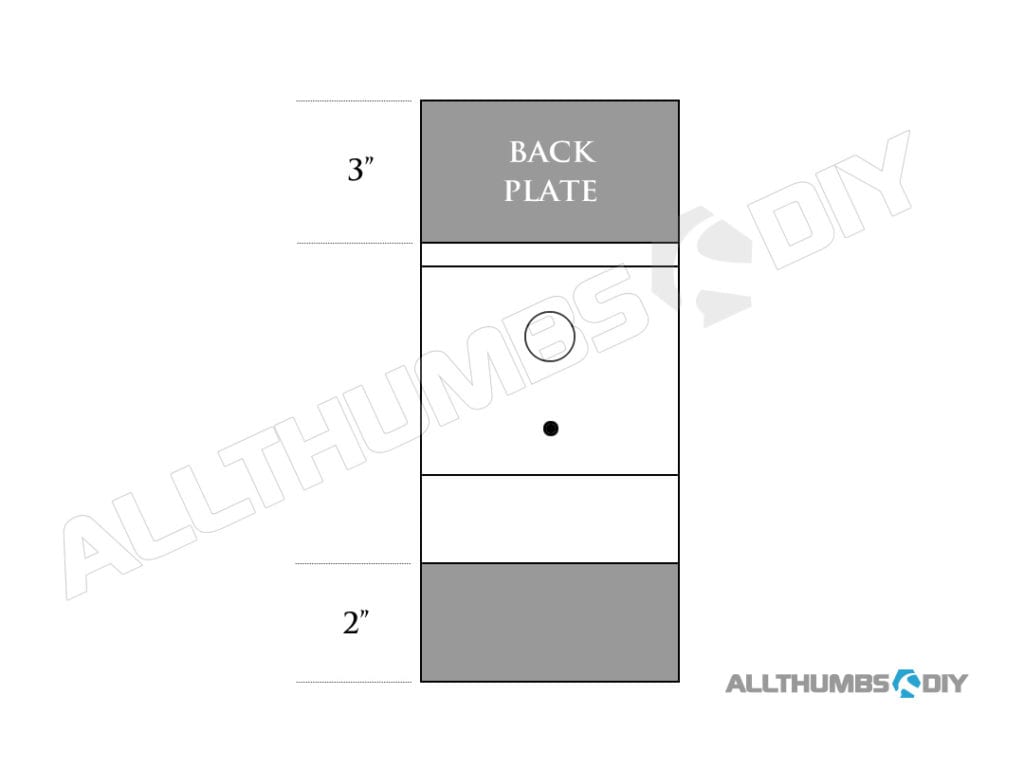
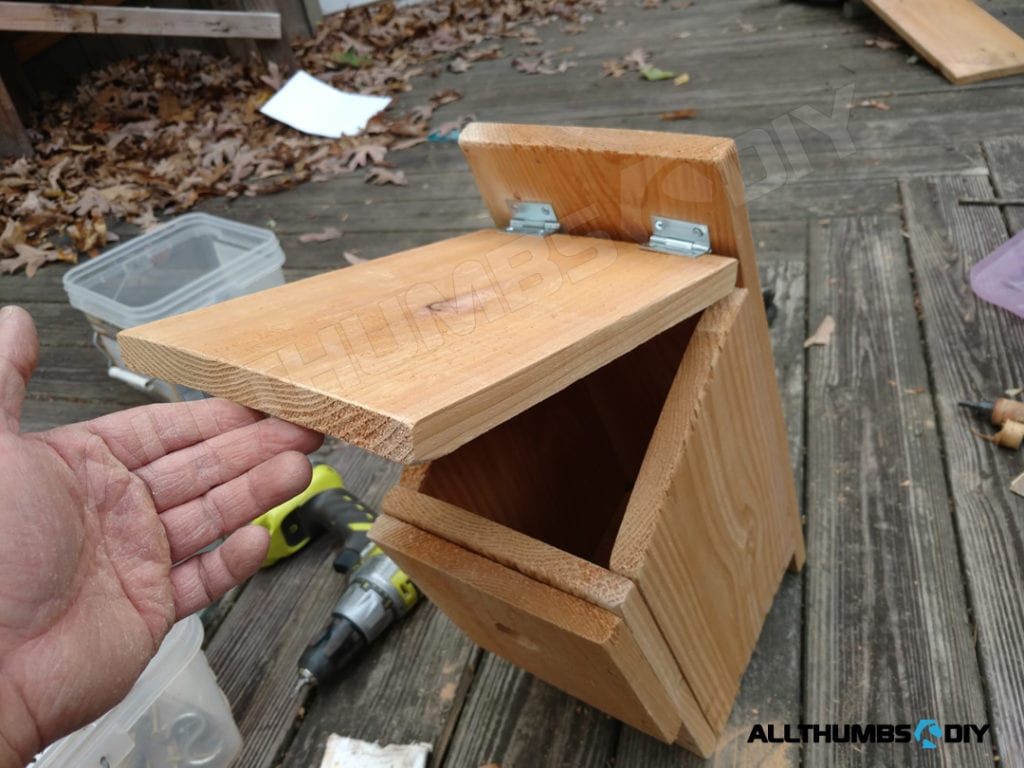
- Cut off the 8″ section and mark it FRONT 2. Do not drill holes for now;
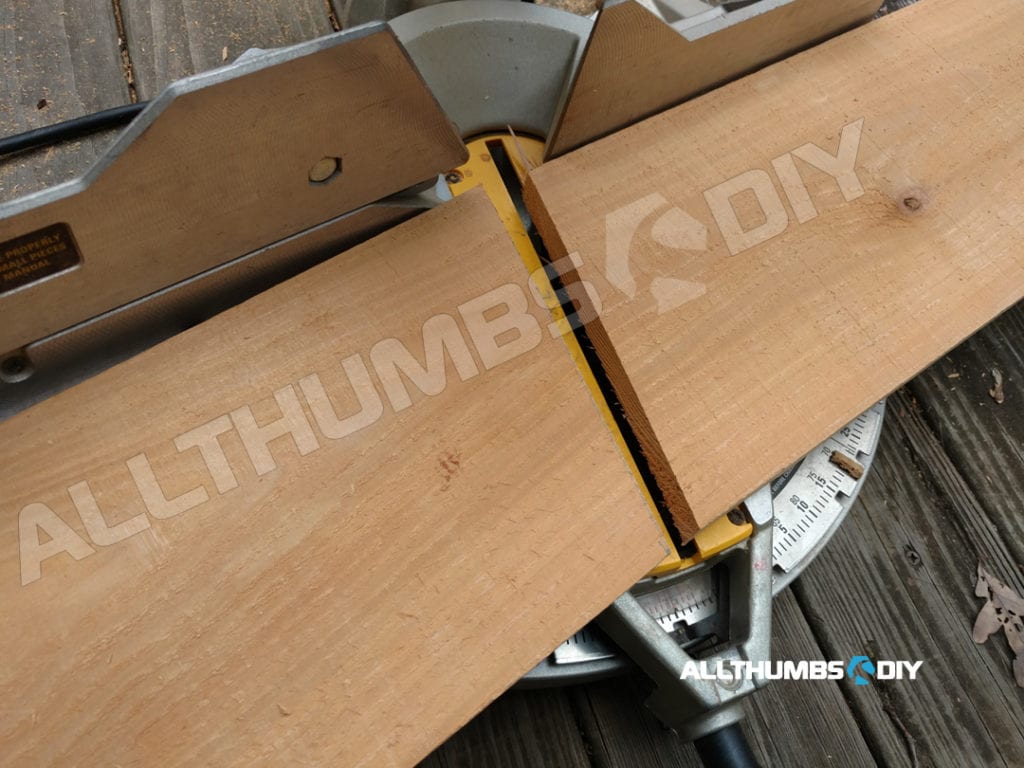
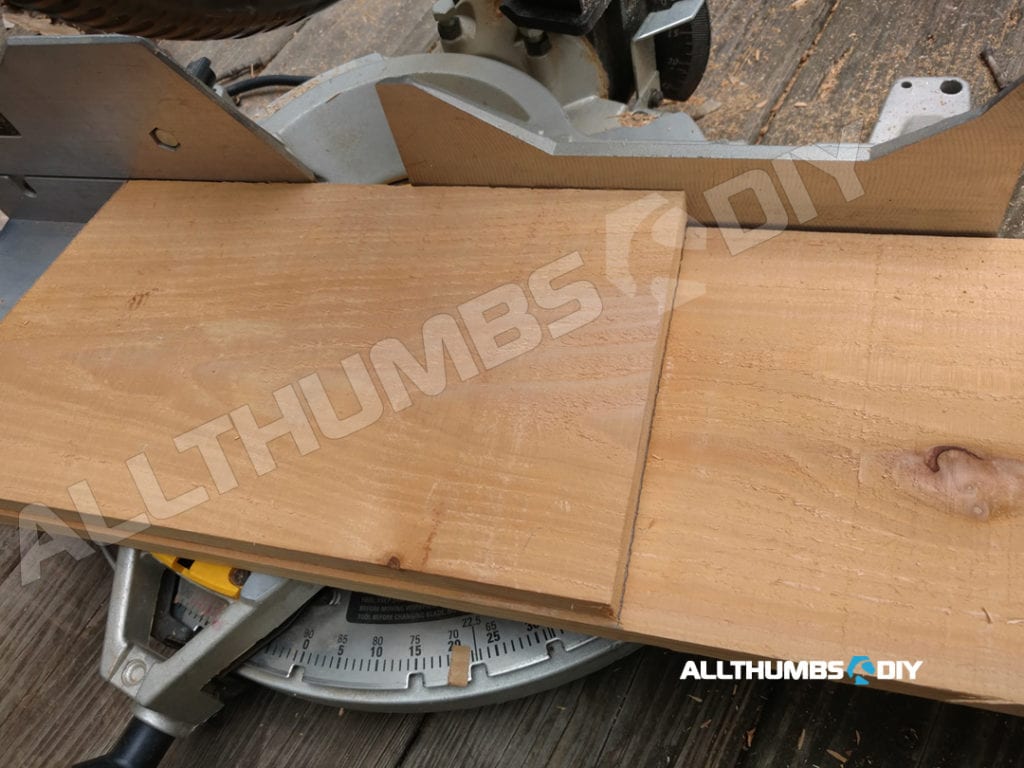
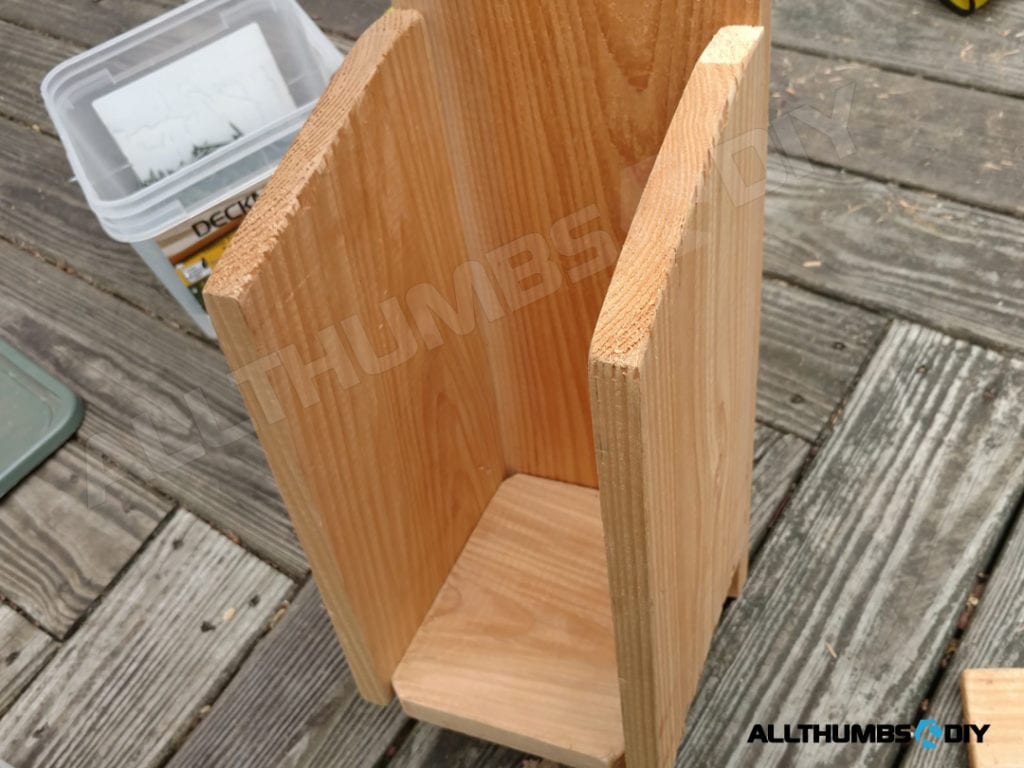
- Next two angle cut pieces are for side walls. Make the first cut with a 15 degree angle then use this piece as a template to cut the second piece; I notched top corners to allow hot air to escape;
- 11″ cut is for the roof; Once the cut is made, the side that meets the rear mounting panel should be cut at 15 degrees to ensure a tight fit;
- Make a cut for the 12″ front plate; do not make a hole for now;
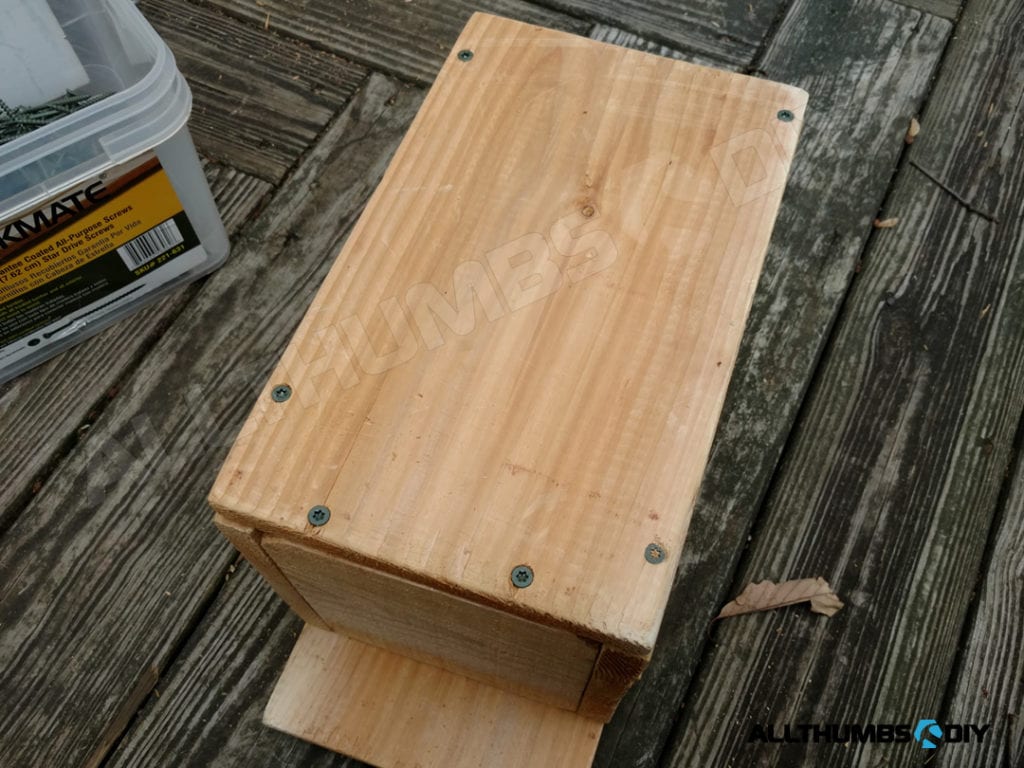
- 20″ rear cut is the back mounting plate
Assembly Instructions
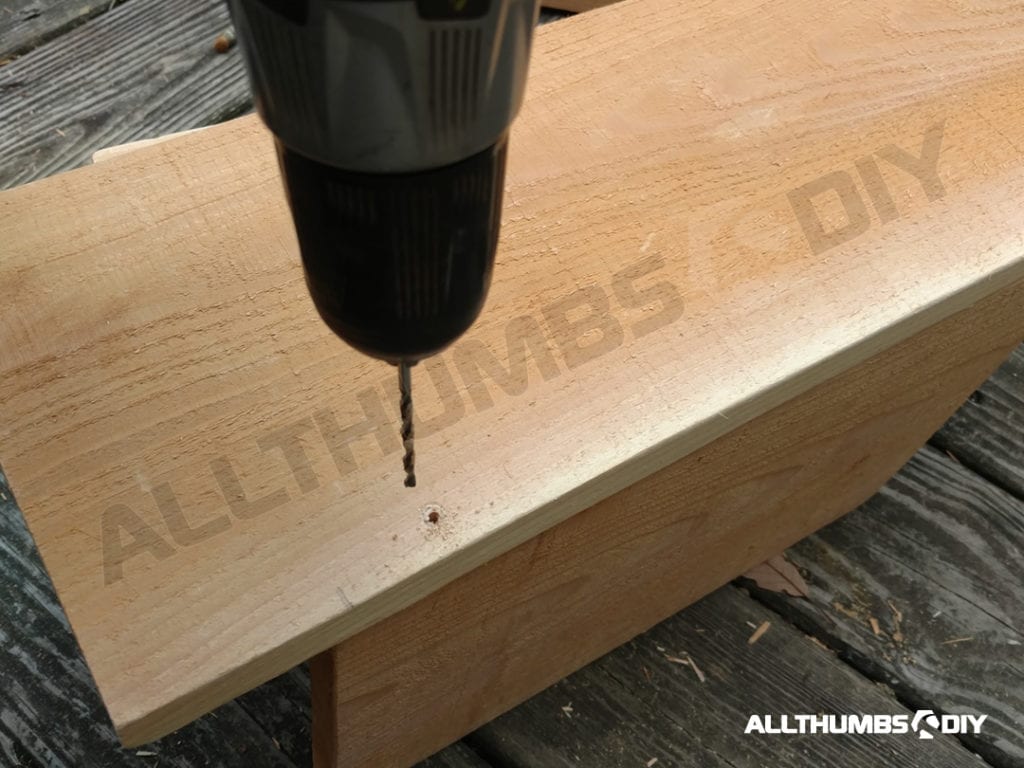
The assembly is fairly straightforward. Depending on the wood moisture, I highly recommend pre-drilling holes to minimize splitting.
- STEP # 1 – My cedar plank was fairly dry so it had lots of small splinters from cuts. I used a 60-grit sandpaper to knockdown rough edges on all cut pieces;
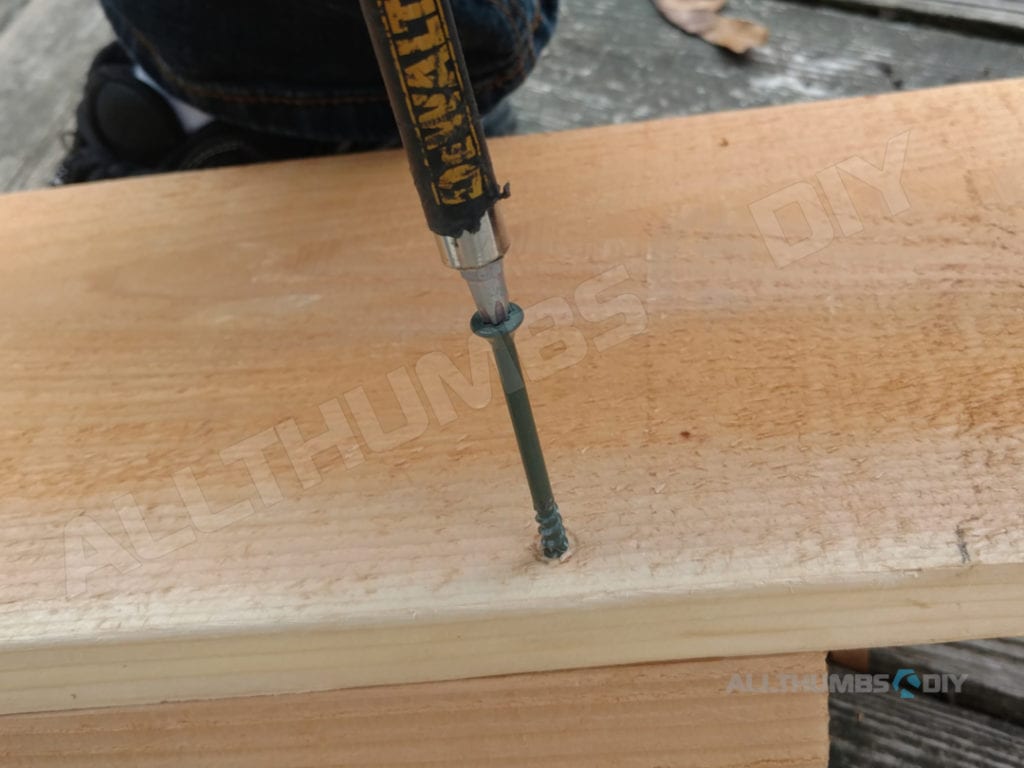
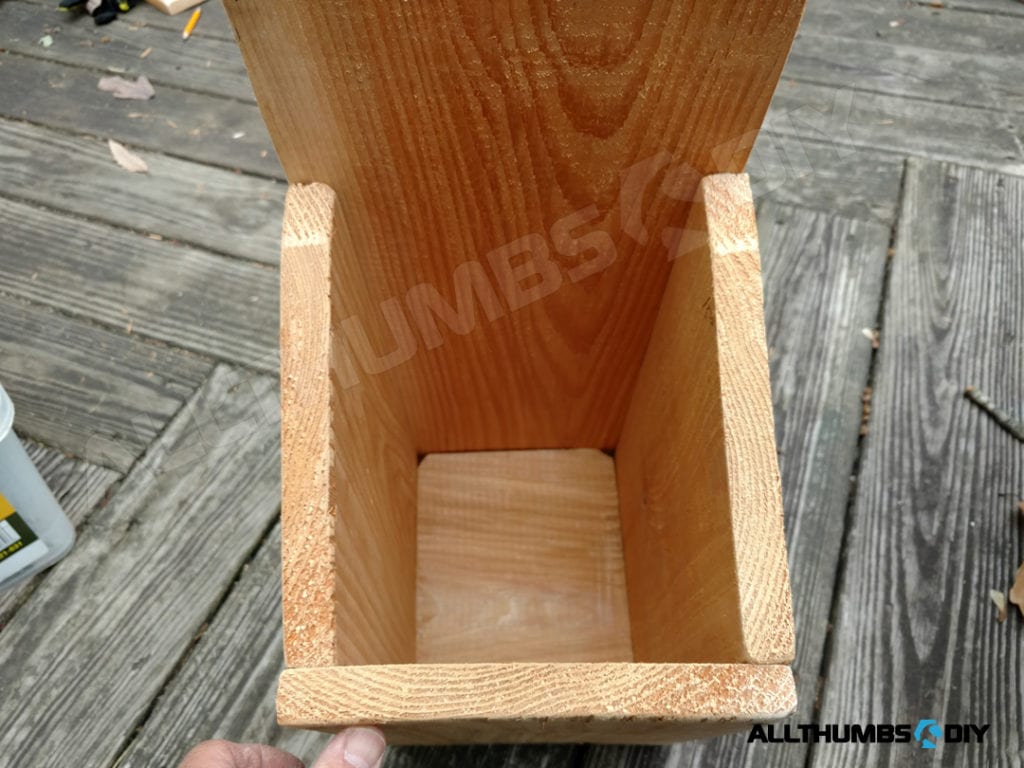
- STEP # 2 – I lined up left side wall against the back wall plate, pre-drilled holes and installed a set of screws. Try to drive the screw in slow and straight, stopping intermittently.
- STEP # 3 – Using the same method, install the bottom floor, right wall and finally the front wall;
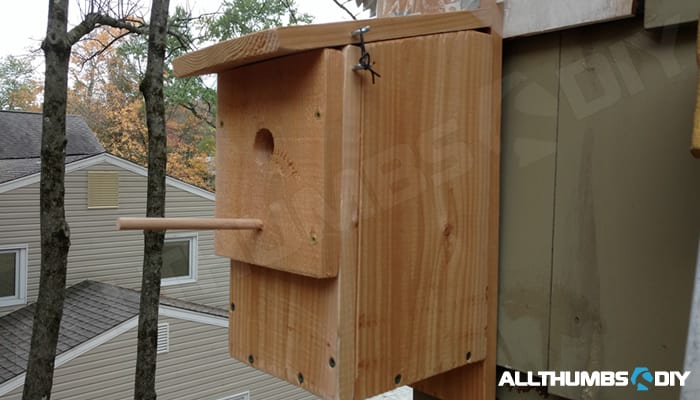
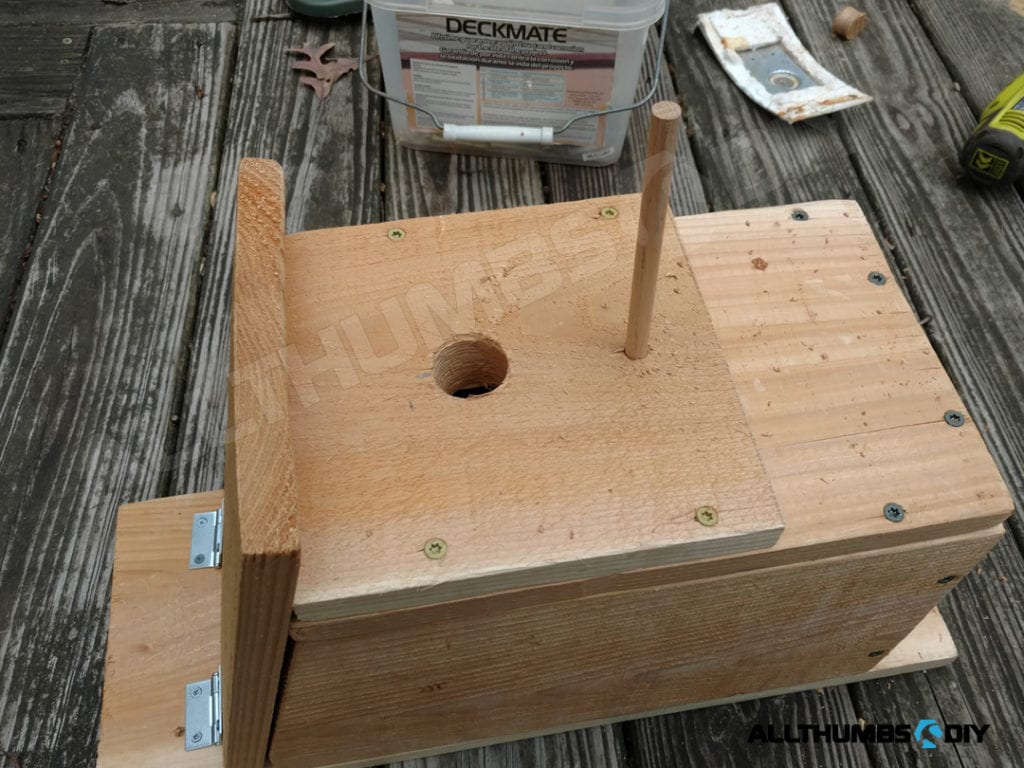
- STEP # 4 – Next, line up FRONT2 piece about 1/4″ below from the top and pre-drill then screw it in to the front plate; this extra plate will prevent other birds from trying to enlarge the hole and take over the house;
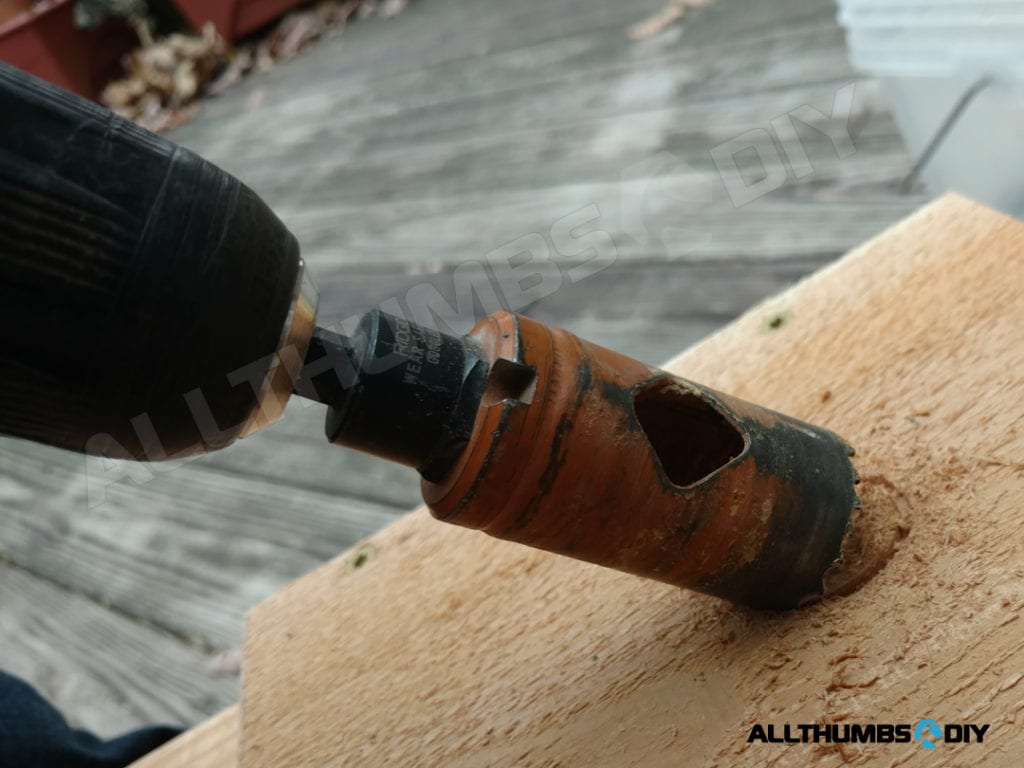
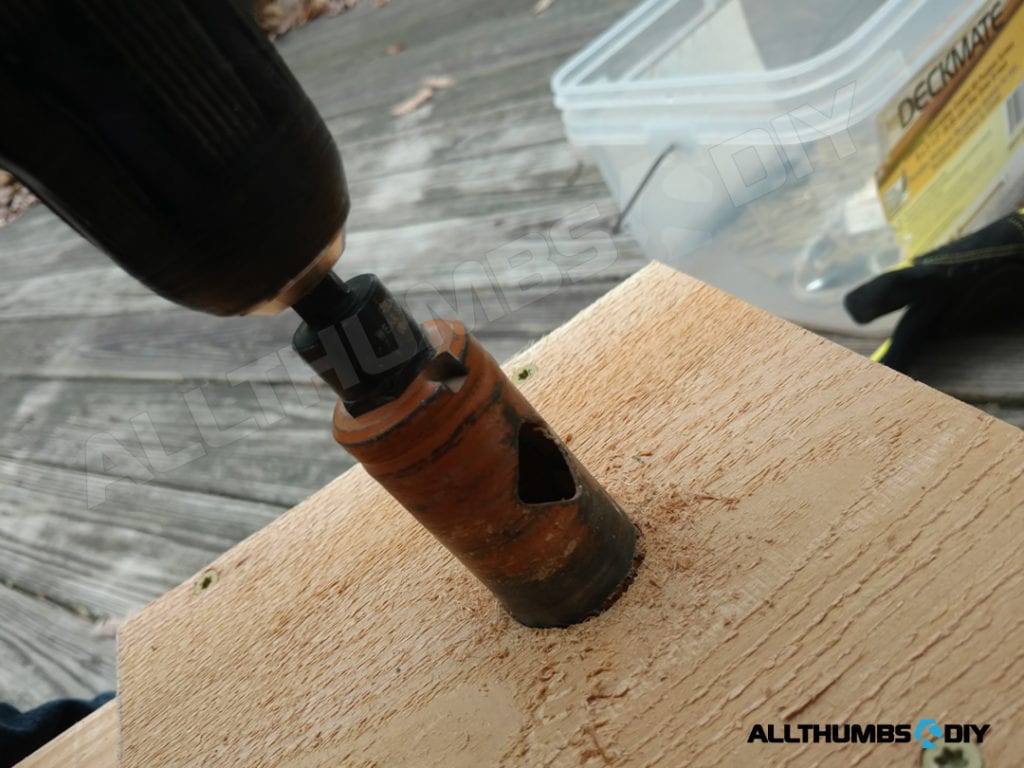
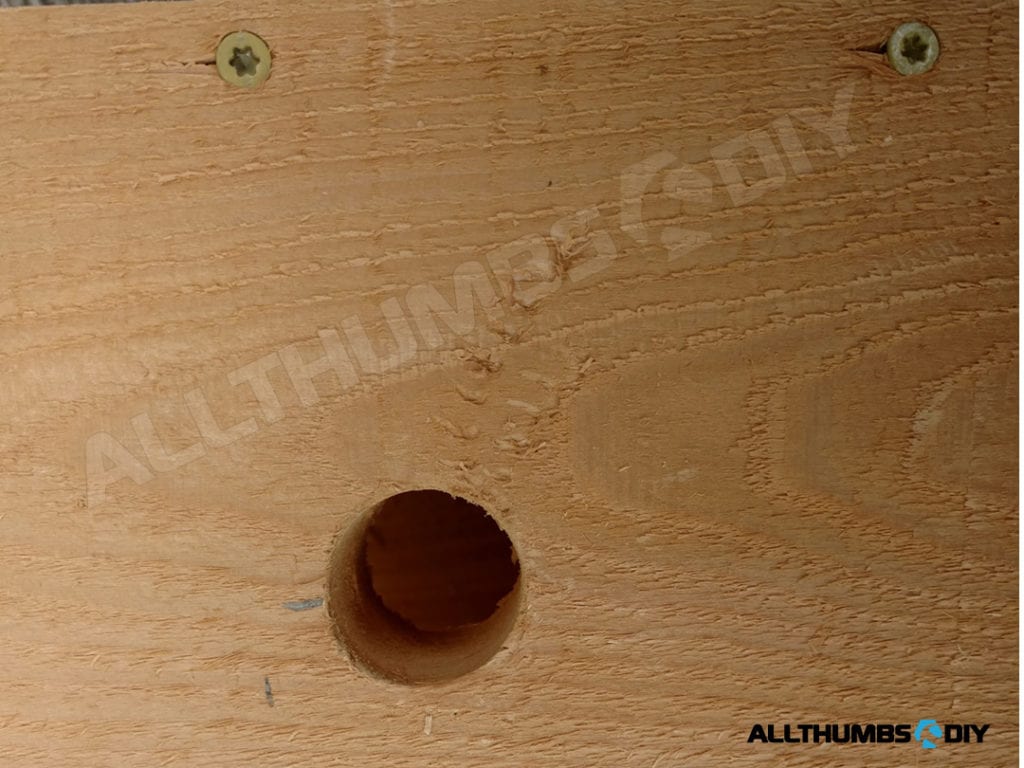
- STEP # 5 – Using a keyhole cutter (1.25″ diameter), drill a hole. If your cutter did not come with a centering drill bit (I didn’t have it either), make sure to angle it first and gently score the surface (to prevent skipping). Once you have a groove, you can straighten out and plunge it in. Also, because you are cutting through approximately 1″ of cedar, cutter tends to get bogged down. To prevent this, remove the cutter and blow out any debris from the hole frequently.
- STEP # 6 – For the roof, I was in a time crunch so I just did a straight cut and installed it using 2 piano hinges. Unfortunately, this created a small gap (where roof meets the backplate) so I had to attach a small pice of plastic to prevent water from running down. For my second woodpecker house, I will definitely do a side angle cut to make the joint flush and tight.

- STEP # 7 – Because the cedar plank is fairly smooth, I wanted to give him or her a perch to sit on so that they can work on the entrance hole. I simply used my 1/4″ drill bit to create a surface hole (just on the FRONT2 piece) and pushed in 1 1/4″ oak dowel
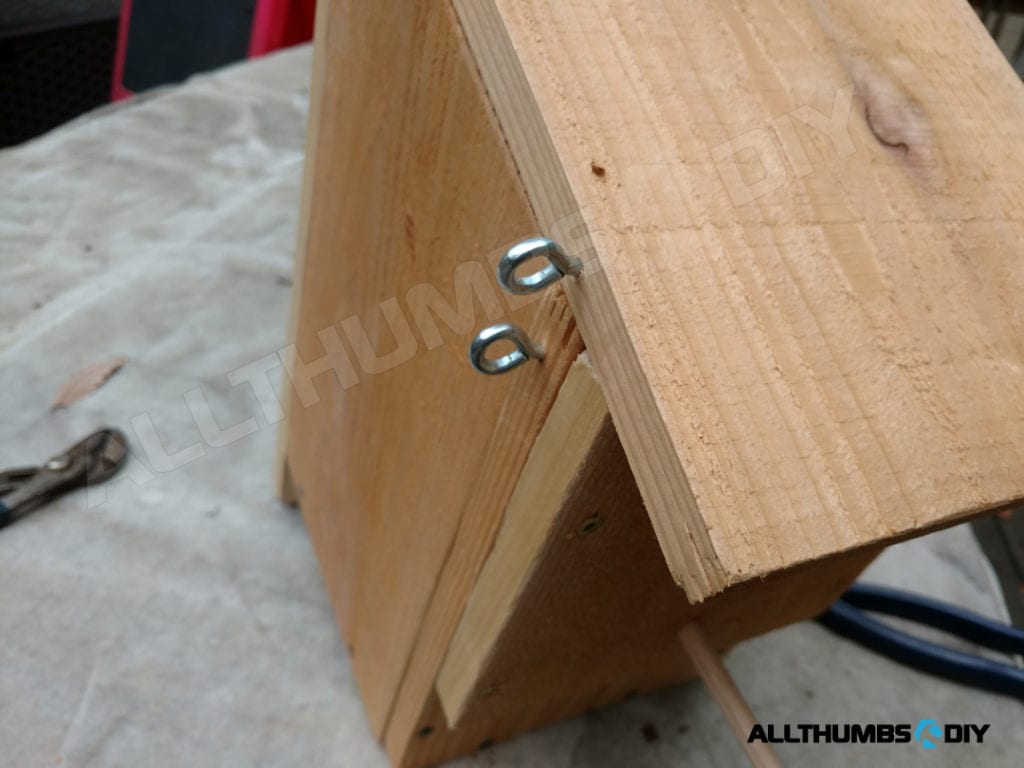
- STEP # 8 – Next, I installed 2 eyehooks per side and hand-wired them together to prevent the roof from lifting during a storm. This access will allow me to clean out the house if and when a woodpecker vacates the house
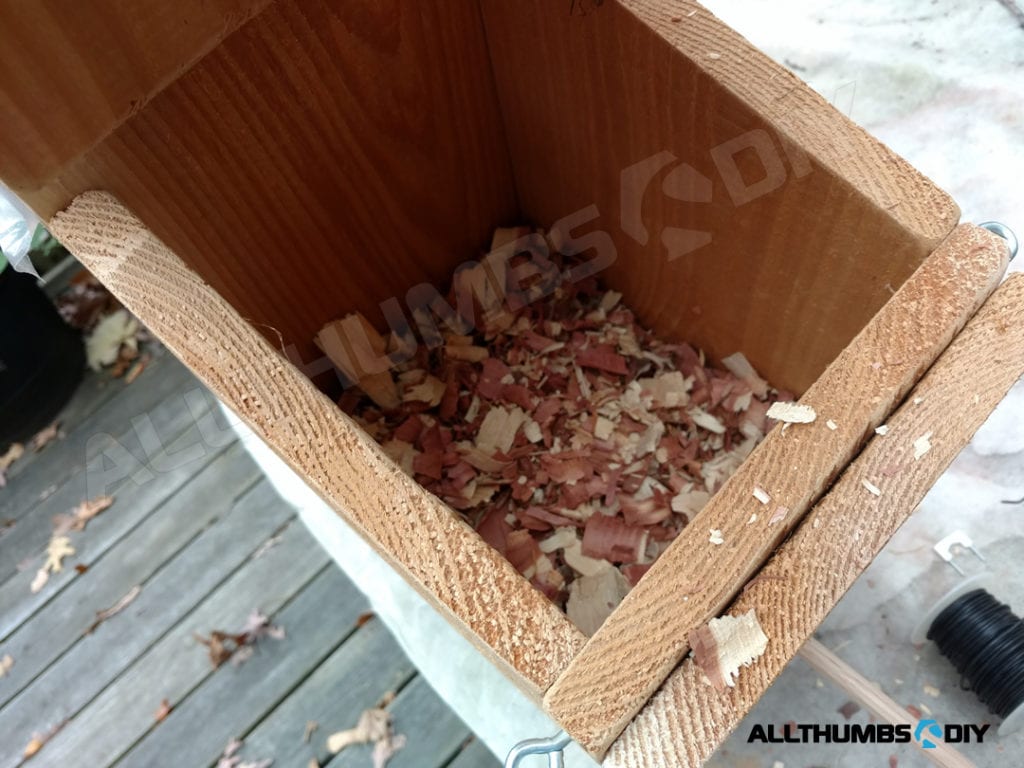
- STEP # 9 – Lastly, I dumped in about 3 cup full of cedar chips for bedding.
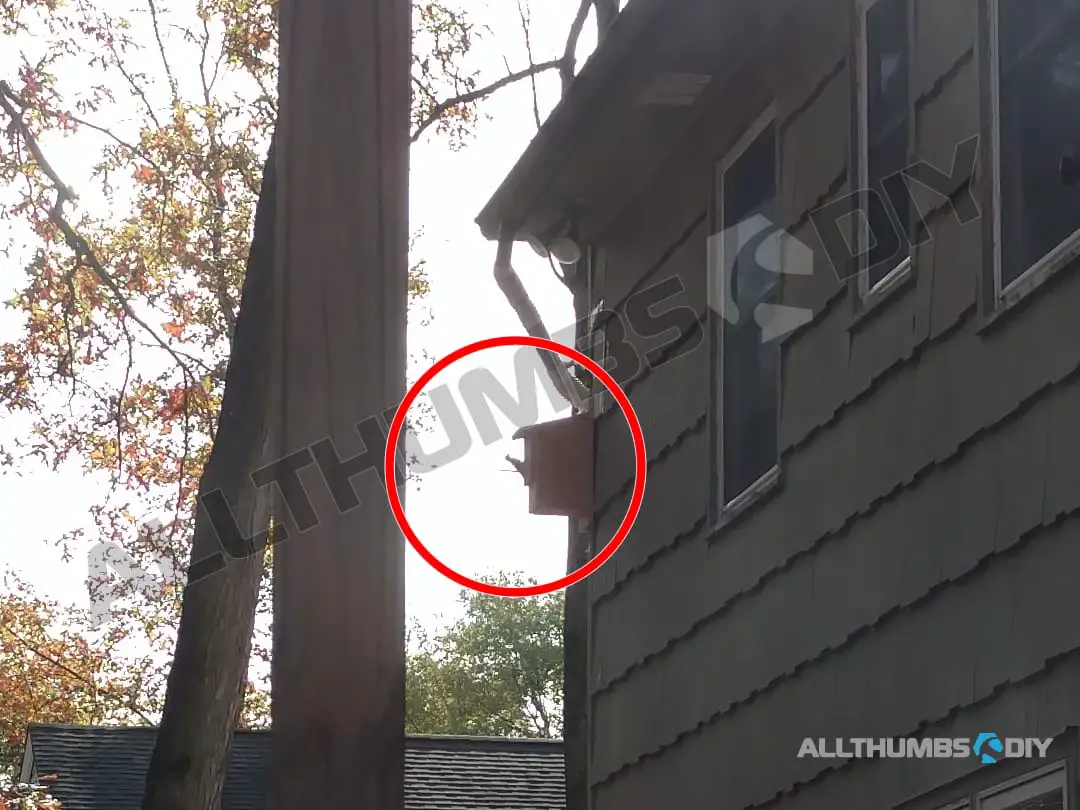
As far as the location is concerned, I would mount the birdhouse wherever it was pecking. Additional houses, should you decide to built them, should be located south, east and west side of the house. North side is probably too cold for them during winter so they most likely will not take residence on this side.
| Click here to read Woodpecker related articles |
Final Words
So what happened? After 2 days of anxious waiting, I happened to see a woodpecker checking out the house and even briefly pecking on the new house!
Unfortunately, this did not last as the woodpecker resumed pecking on my house, right below the new woodpecker house.
I am going to build a second woodpecker house with my kids and mount it on the west side of the wall but if this does not work, I will need to take some drastic actions.
I am hoping it does not come down to that.

Reference Links
- Connecticut Department of Energy and Environmental Protection – Woodpecker Nuisance Problems