
Key Points
- Refrigerator door seal or gaskets are susceptible to damage due to frequent use
- Failed door seal(s) can cause refrigerator problems
- This post will show you how you can determine the condition of the seals and outline maintain and repair steps
Symptoms Caused by Failing Door Seals
All refrigerator door seals are designed to maintain contact around the door frame. Keeping the seals clean and lubricated will ensure that the potential for air leaks are minimized.
Failing seals can cause problems on its own or worse, cause a cascading system failures that can cost you hundreds of dollars to fix ghost problems.
- Refrigerator (fresh food or freezer compartments) does not cool – if your GE refrigerator door does not seal properly, it could mean that the gasket failure is letting warm air into the compartment(s) or letting out cold air. That may trick the main control board into thinking that the door is not shut and initiate a “Linear Protection Mode” which will cause your refrigerator to extra hard to keep both fresh food and freezer compartments cold.
- Refrigerator is constantly operating – Your GE refrigerator is designed NOT to run 24/7. That means once the fridge is at target temperature, everything, including the compressor, condenser fan and evaporator fan should be quiet. Otherwise, abnormal wear and tear may result from excessive heat generated by a compressor. So if your refrigerator is running constantly.
- Condensation – If warm, moist air is getting into your refrigerator, you may end up with higher than normal humidity inside the refrigerator. that may cause the content of the refrigerator to spoil quicker as well as more work for the condenser and compressor to provide a proper temperature environment. It may also cause excessive frosting on the evaporator which will force your your GE refrigerator to perform more frequent defrosting cycles (which incidentally will warm up the refrigerator inside).
How to Test to See if Your Refrigerator Door Seal is failing (or not)
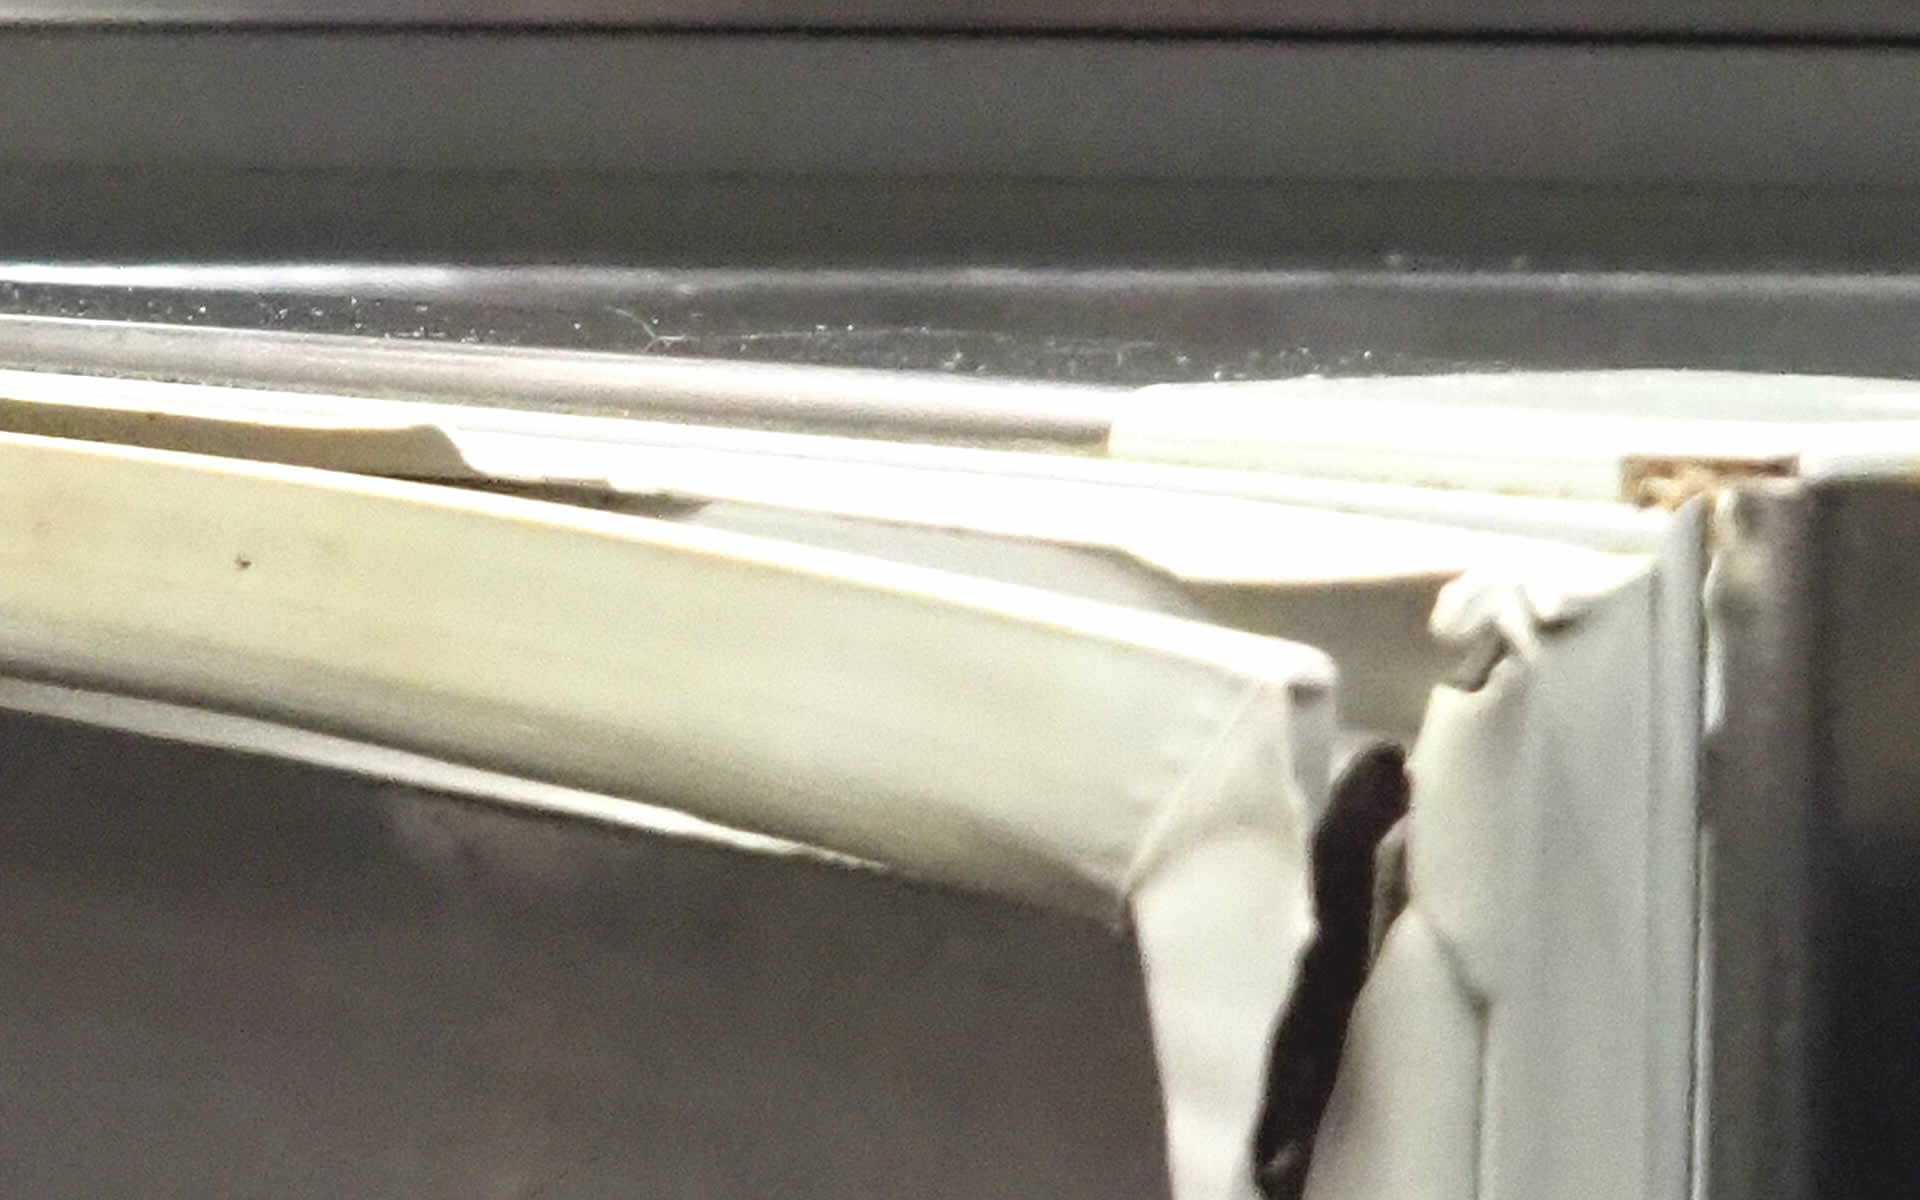
- Visual Inspection – take a careful look at the rubber door seals as well as all mating surfaces. What you are looking for is any kinds of deformities that may prevent the gasket from forming an airtight seal around mating surfaces. It’s very common to find food crumbs, mold or caked on dirt which all work to create micro gaps.
- Touch Inspection – some rips and deformities are difficult to detect by looking at them so you will need to run your fingers along the rubber gasket to look for damages in and around the folds. You also want to identify any rubber sections with dry rot (feels very stiff or brittle).
- Paper Test – open the refrigerator door and insert a small sheet of paper (or $1 bill) between the door and the refrigerator case and close the door. Gently pull out the paper. If the paper pulls out with no or minimal amount of resistance, your gasket is not sealing tight.
- Door Hinge Inspection – when a door is opened, there should be a slight resistance. Conversely, when you close the door, the last inch or so should be pulled away from your hand like a magnet pulling away a piece of metal. If the door is very loose, a hinge spring may be failing
- Door Inspection – when closing a door, it is not unusual to see another door a door pop open temporarily due to air pressure passing between air channels. But if a door opens every single time, it may indicate a failing door seal.
Possible Solutions
- Clean the gasket – You can wash the gasket by mixing a solution of 1 part baking soda with 3 parts warm water (you want to make sure that baking soda is completely dissolved), warm soapy water or Clorox/Lysol wipes. After cleaning, you will want to apply some paraffin wax (not candle wax) to prevent dry rot.
- Leveling Legs – Check the leveling legs. The front of the refrigerator should be slightly higher than the back, to allow the door to close normally. When properly adjusted, the door will close smoothly and firmly on its own. You can read more about adjusting the legs at the GE Refrigerator – How to Level (external link)
- Heavier Items on the door – Place heavier items in the freezer door compartments to provide some ballast (weight), since this is the smaller door and is more likely to pop open.Make sure there is nothing in the freezer or refrigerator that is preventing a door from closing tightly
- Replacing the gasket – If the gasket is cracked, split or warped, you will need to replace it. Go to my GE Refrigerator Parts page to get the latest part number (#WR14X10330 for the freezer door gasket, #WR14X10237 foe the french door gasket) and prices. The gasket on PFCF1NFW is held in by friction pressure (i.e. no screws) so pick a warm day so it would be easier to remove the old damaged gasket and install a new one.
Jeff Carbine
Friday 3rd of December 2021
I'm glad that you talk about if the gasket is cracked, split, or warped, you will need to replace it. This could prevent the cold from leaking anymore. Thank you for the information about the door gasket.