
With parts and tools on-hand, I am ready to begin installing my water filtration system under the kitchen sink.
| Note |
|---|
| If you arrived on this page via search engine, you will want to read this article first: How I Installed High Flow Under Sink Water Filter Filtration System for My Kitchen – Identifying Parts |
Step-by-Step Installation Guide
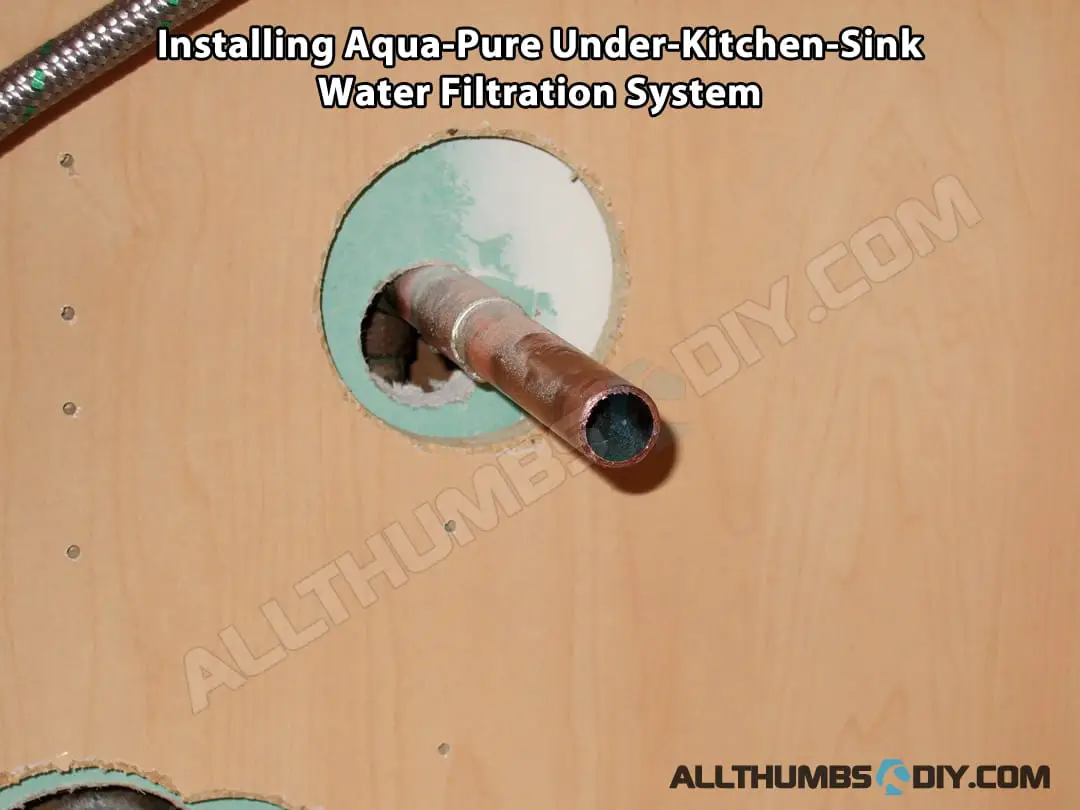
- Shutoff the water supply to the work area;
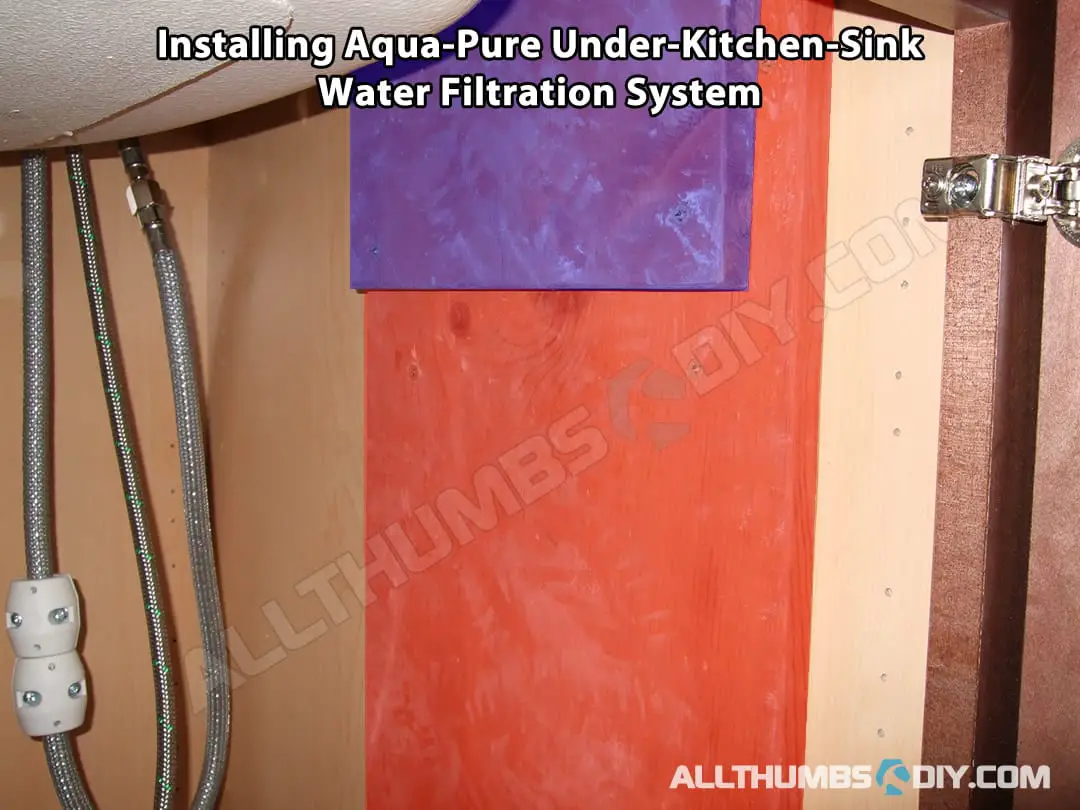
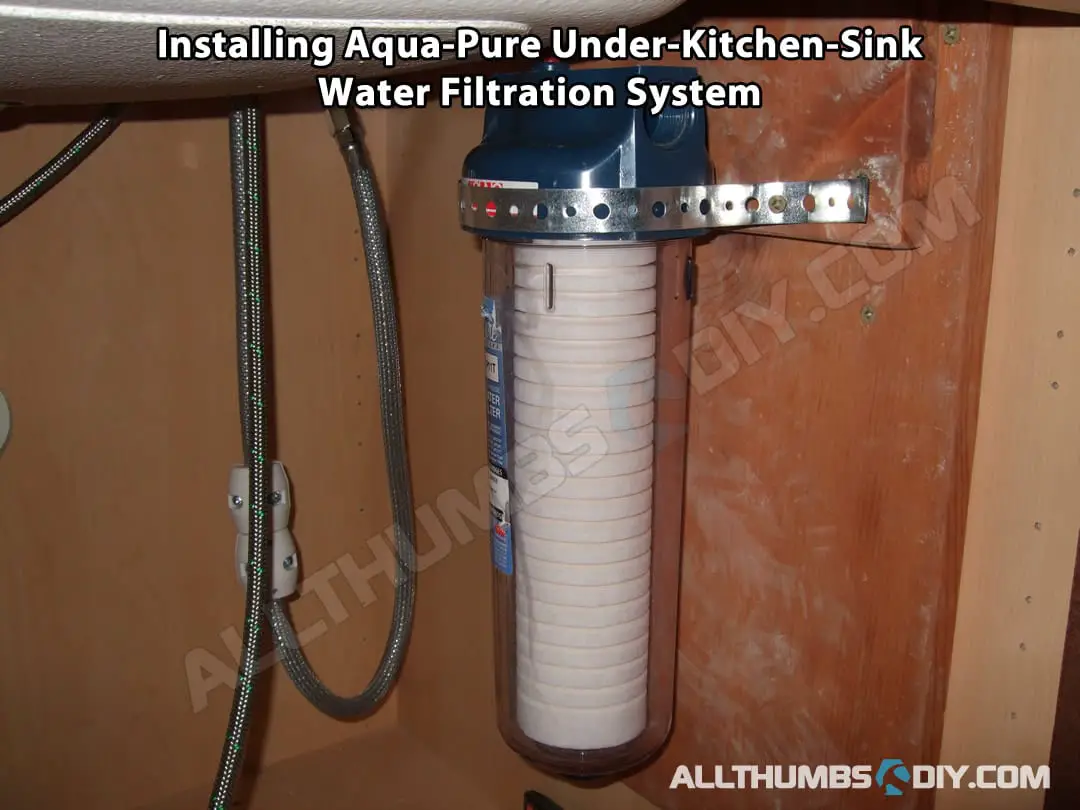
- Because the interior cabinet walls are thin and usually made of compressed fiber, I mount 2 solid pine blocks that are 1/2″ thick using 1″ Deck-Mate screws. The larger piece is attached to the wall first; then the smaller one is attached to this block on the upper portion. This is done so that the housing can easily be changed down the road (you will see later);
- I am going to dry fit various components so that I know everything will fit correctly first
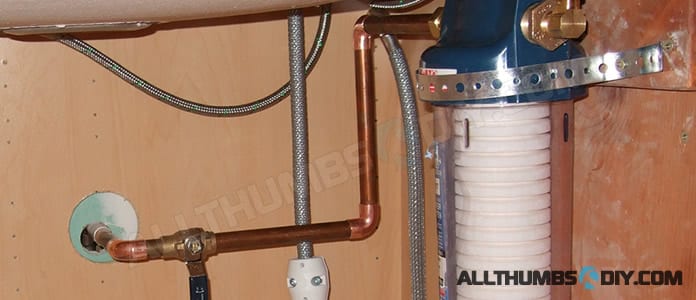
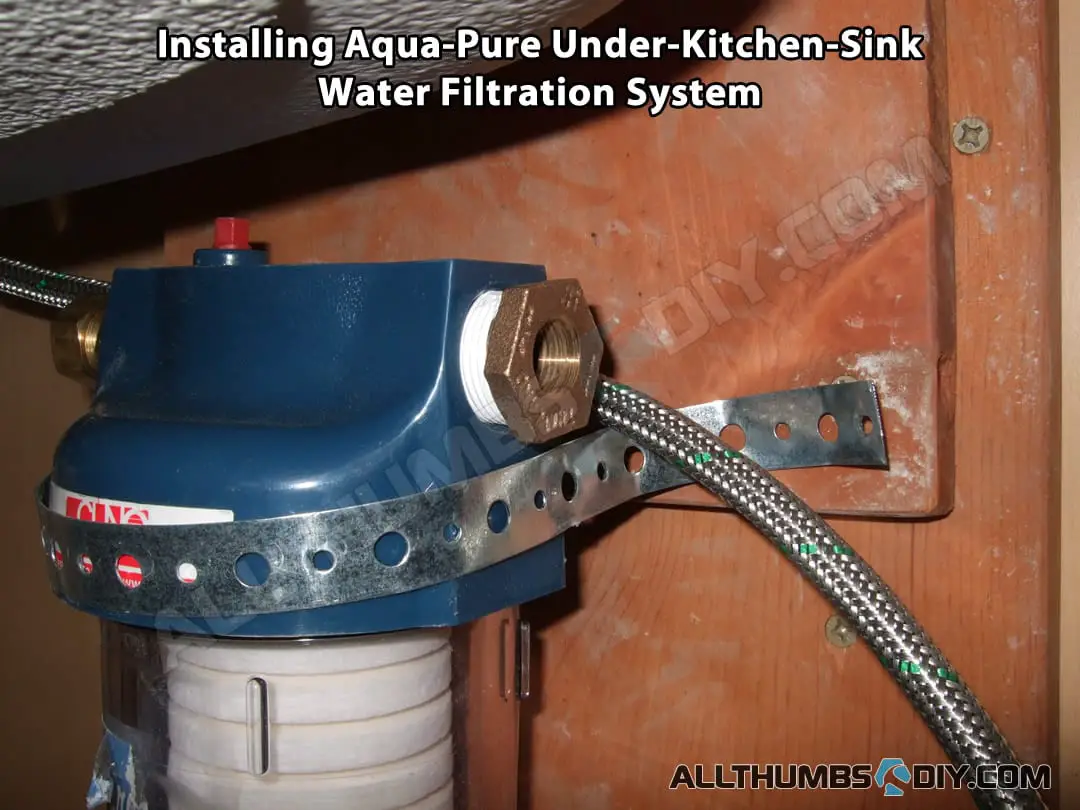
- Using approximately 15″ metal strap, I secure the filter housing to the backboard;
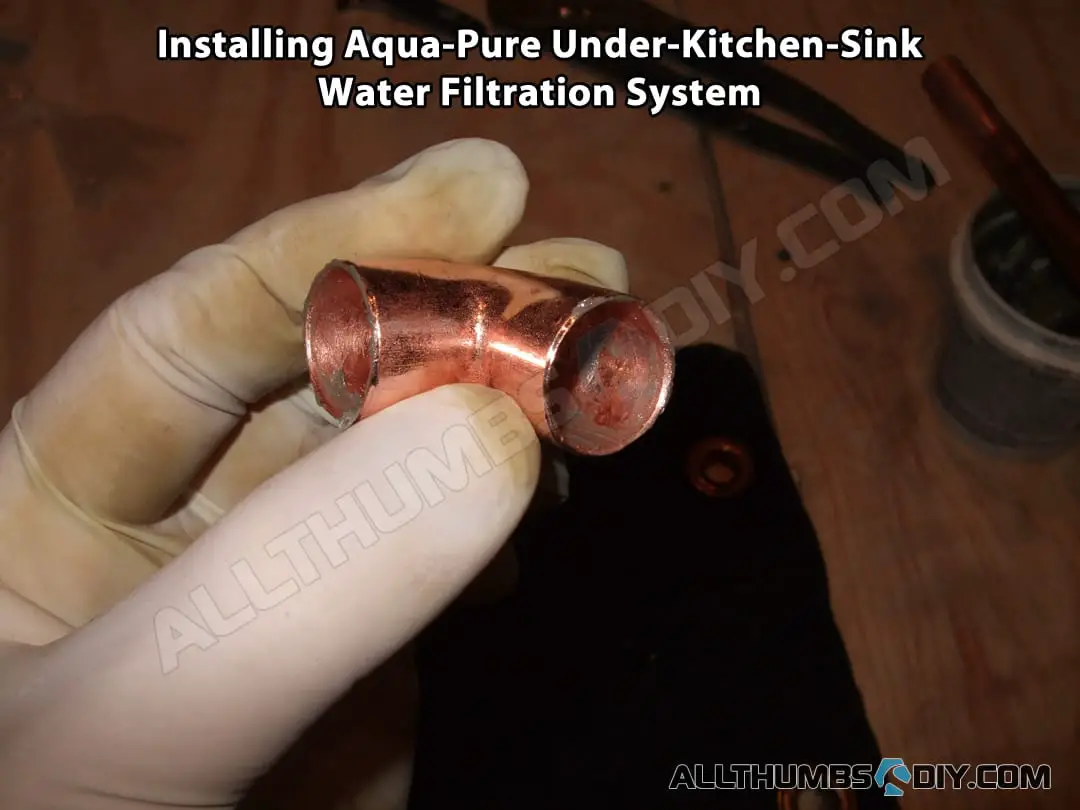
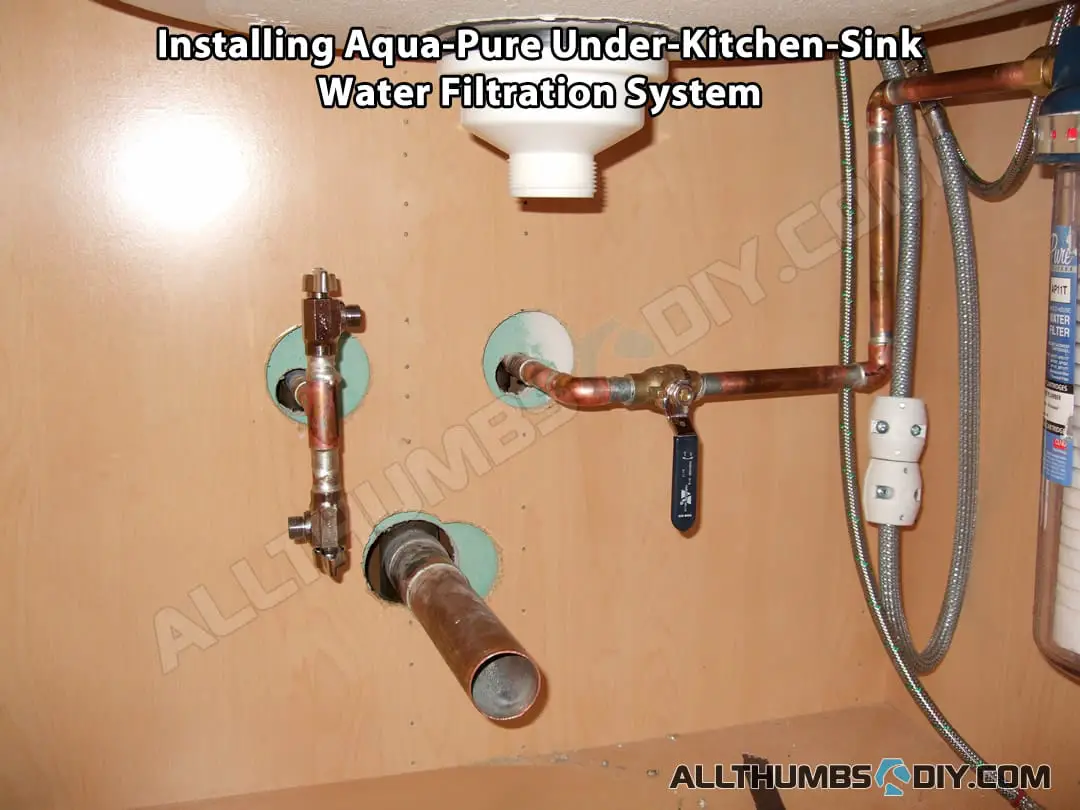
- I then added reducer/90 degree elbow assembly to the water outlet port;
- Attached 3/8″ inlet stem from the faucet;
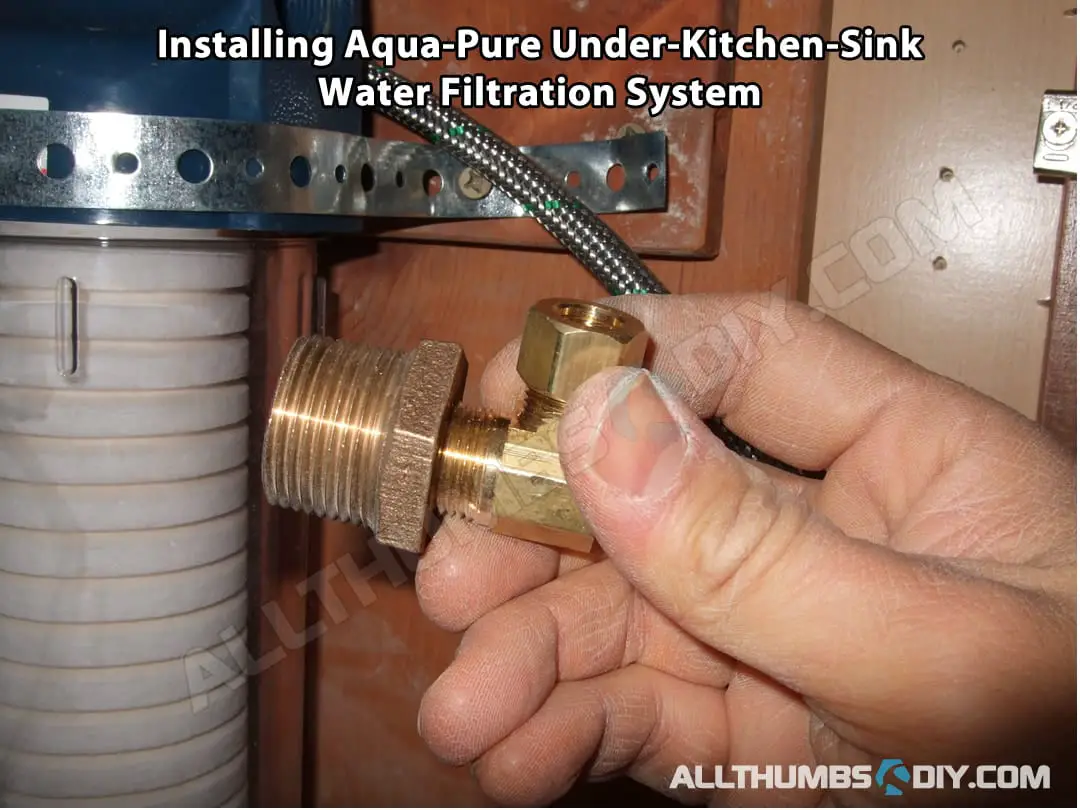

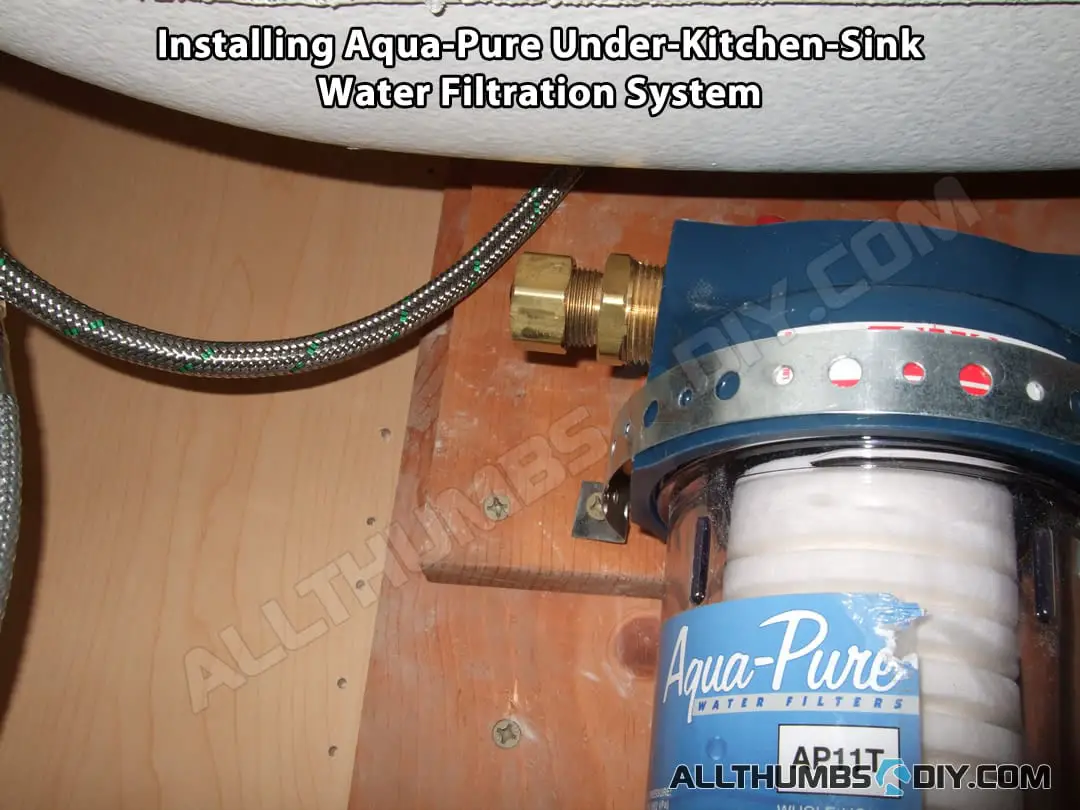
- Switching to the other water inlet port, I screwed in the 1/2 compression x 1 reducer assembly;

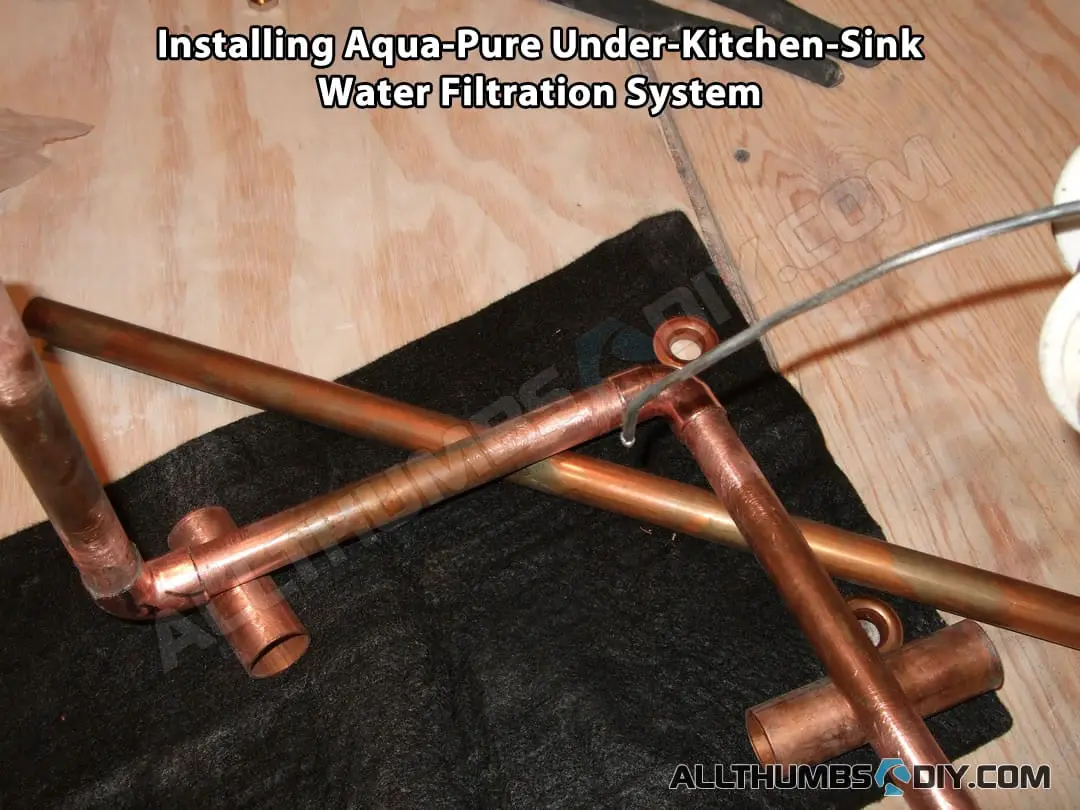
- I tested two different pipe routing method. One method where the pipe is at an angle (which will eliminate one 90 degree eblow). Second method which routes pipes near the wall.
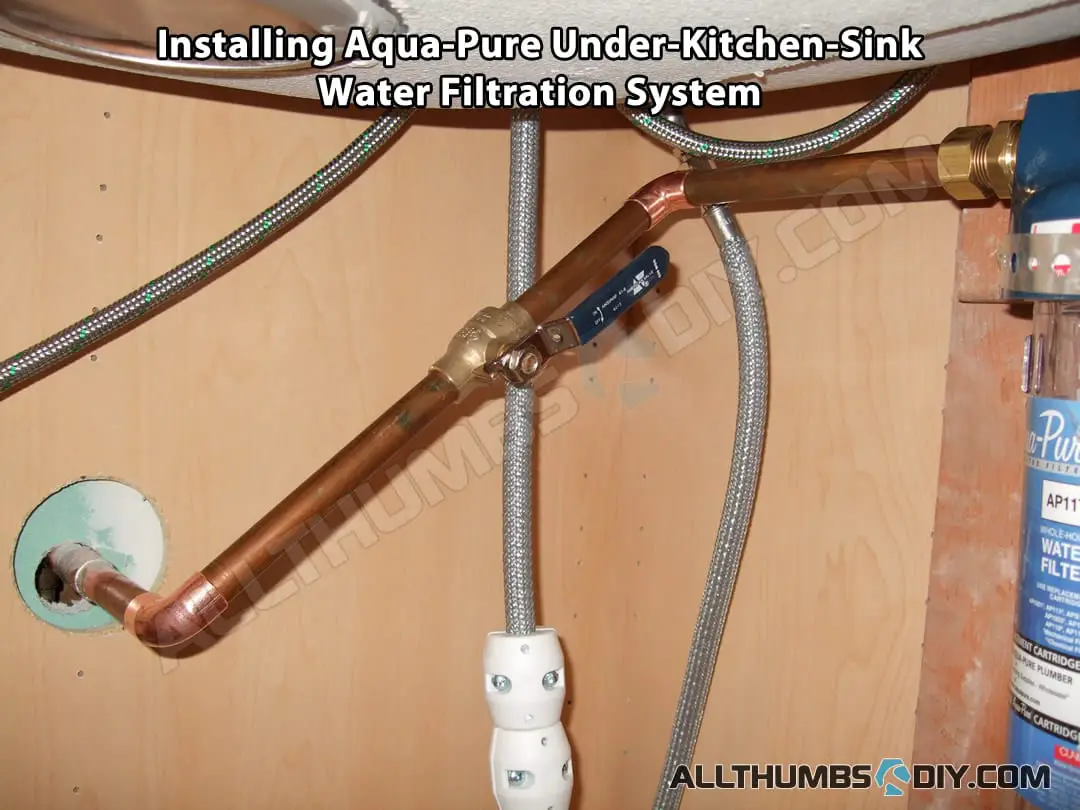

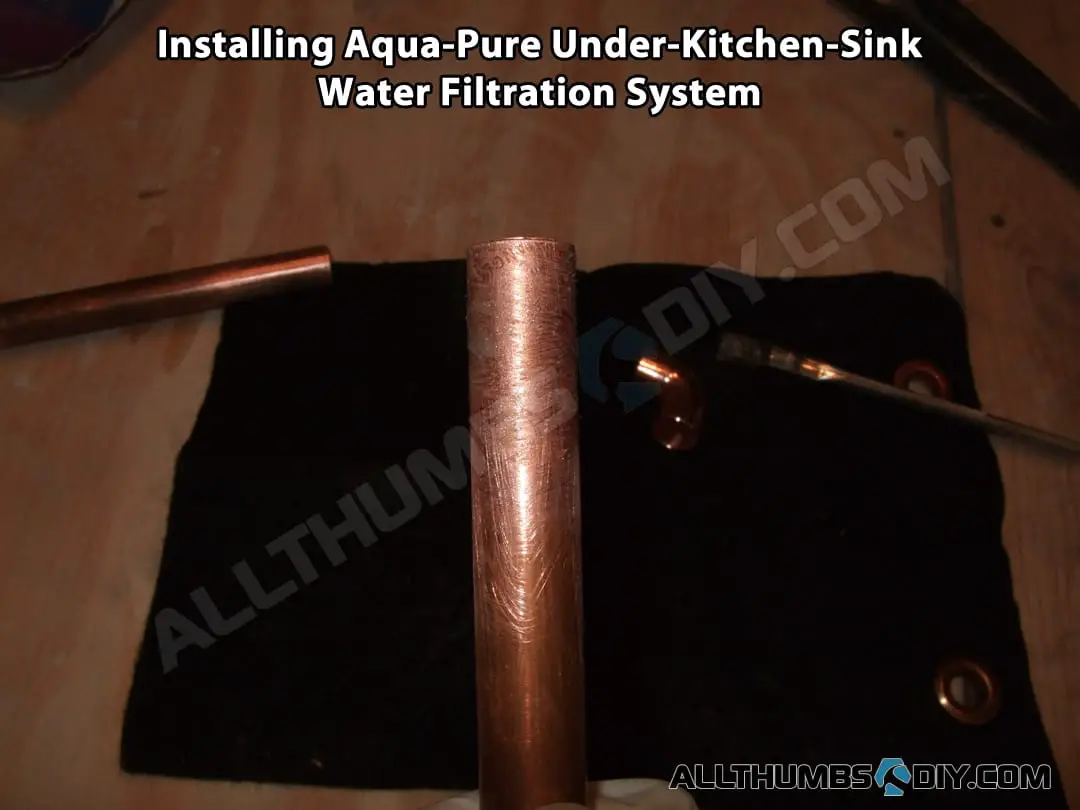
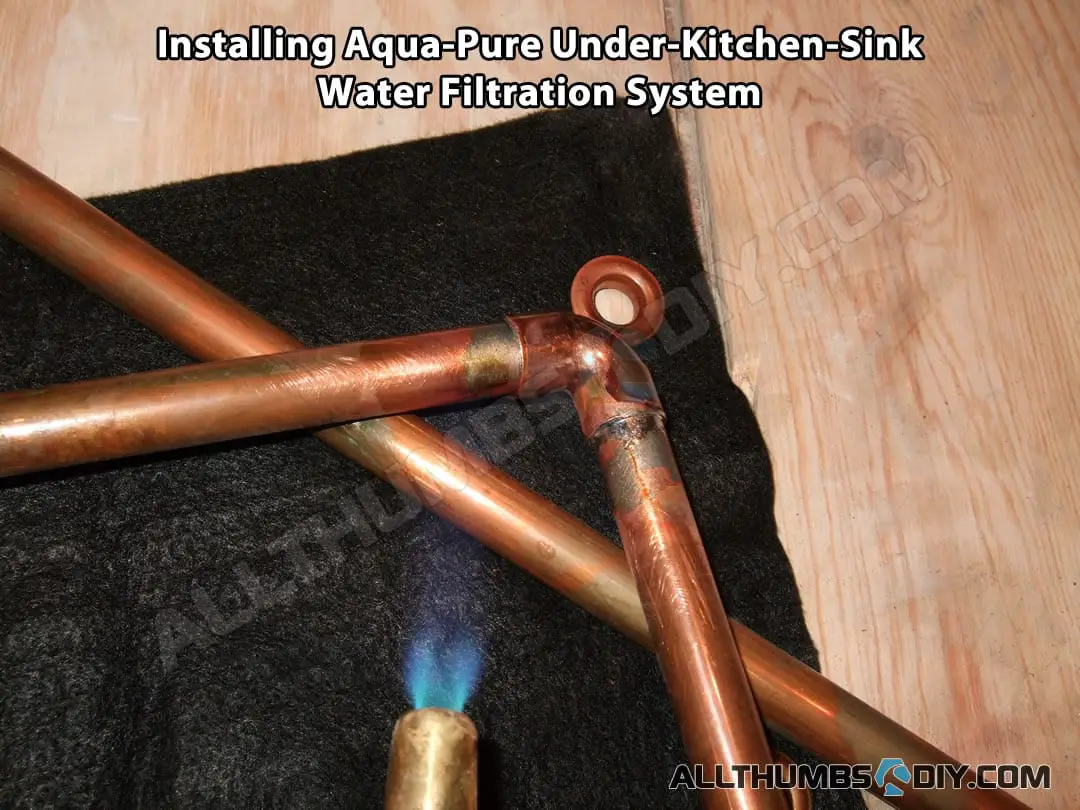
- With pipe configuration set, I then proceeded to cut, clean, apply flux, heat then solder pieces together.
- It might be helpful to mark various pieces before soldering to make sure that pieces are in correct places.
- Although soldering is not hard, it does take a lot of patience and practice.

- If you want to avoid soldering, you can always go with ShakrBite fittings as outlined in my previous post.
- With SharkBite fittings, you can push-and-fit like LEGO pieces directly under the sink
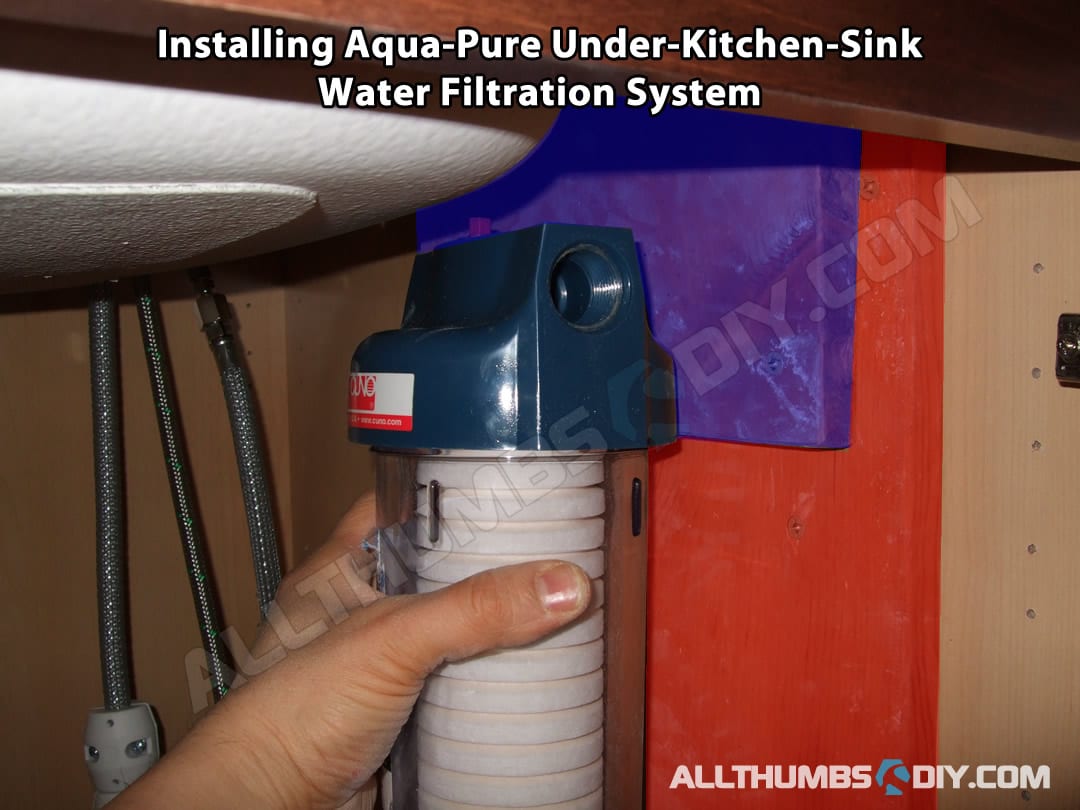
- With pipe assembly in place, I just need to assemble the reducer assemblies using water PTFE sealant tapes, making sure NOT to over-torque (which may crack the housing).
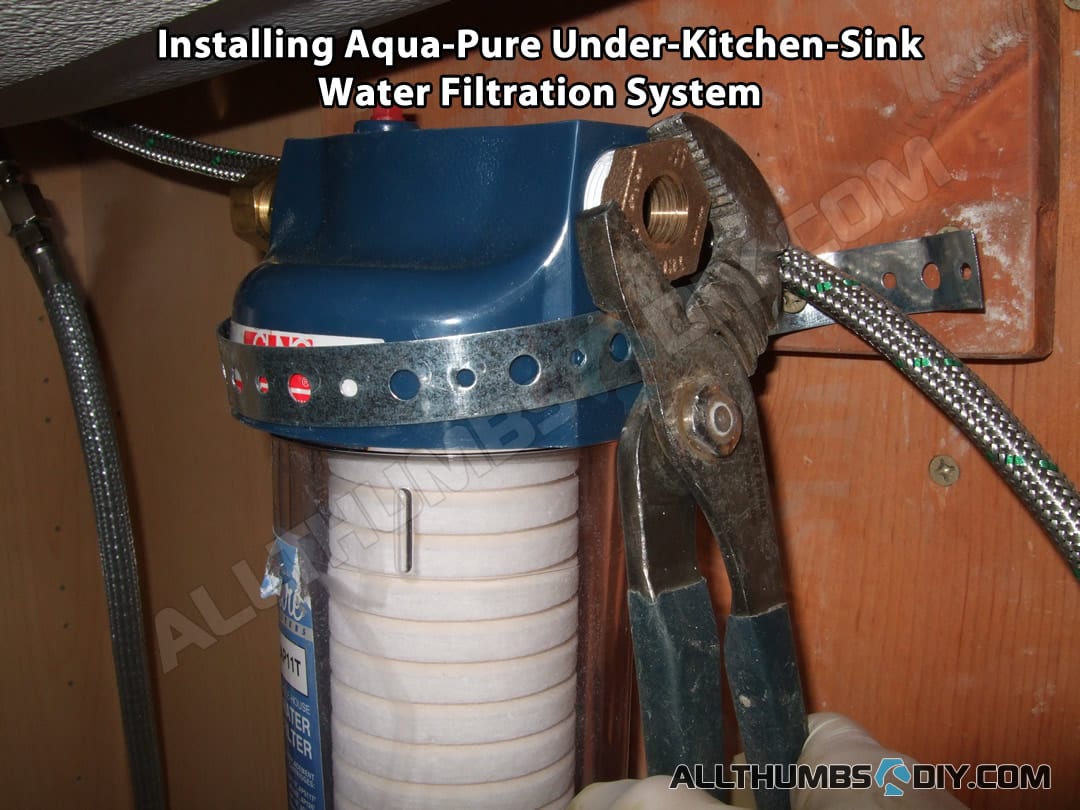
| Warning |
|---|
| It is important NOT to over-torque when installing the filter housing, as over-torqueing may cause upper part to crack. To avoid over-torqueing, hand-turn until fairly tight, then turn 1/4 incrementally while the water is turned on until the leak stops. |
Wrapping Up
After completion, I ran the water for approximately 15 minutes to clear out any debris without a filter. Once I confirmed that there were no debris, I installed AP420 (which was included in the original purchase) and used it for about 7 days before swapping out with AP117 filters.
With AP117 installed, the change in flow rate of my Grhoe kitchen faucet was imperceptible and my water tasted great! Because I have 2 young children, I still use Brita filter to further strain out any undesired chemicals.
Well, I hope you found this article to be useful and if you agree, can you do me a huge favor and sign up for my free newsletter? A signup form is found on the upper right hand side of your screen.
Thanks and good luck!

References
- Consumer Reports – Water Filter Buying Guide (direct external link to ConsumerReports.org)
- How to Install a Water Filter (direct external link to ThisOldHouse.com)