
I think we can all agree that is is frustrating to experience small components that fail on an otherwise highly rated (and well made product). This failure usually happens on a cheaply made product that a company decided to cut some corners to save few pennies.

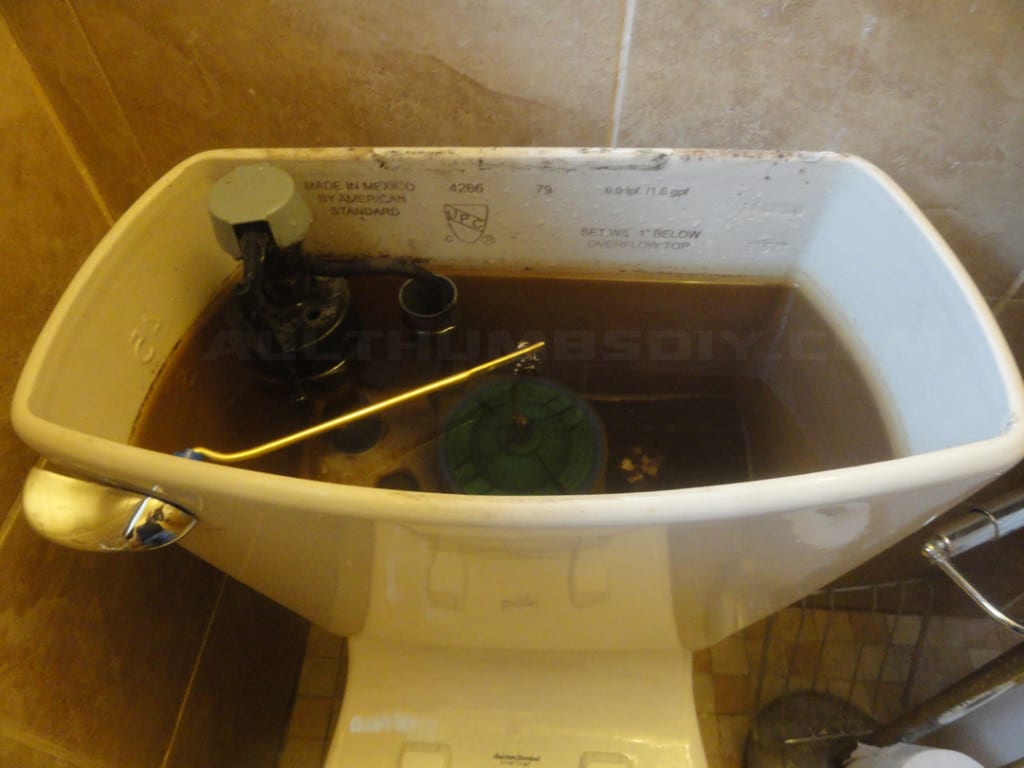
One such product is an American Standard Champion 4 – 2 piece toilet I purchased and installed back in 2009. I purchase it because it was rated “RECOMMENDED” by the Consumer Reports (and American Standard’s commercial where it flushed 30 ping pong balls were also very convincing).
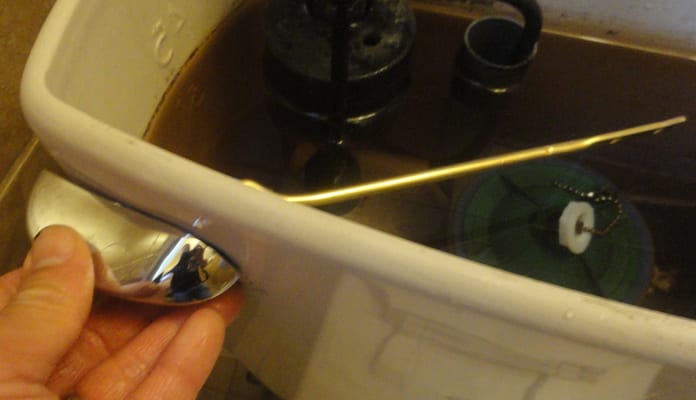
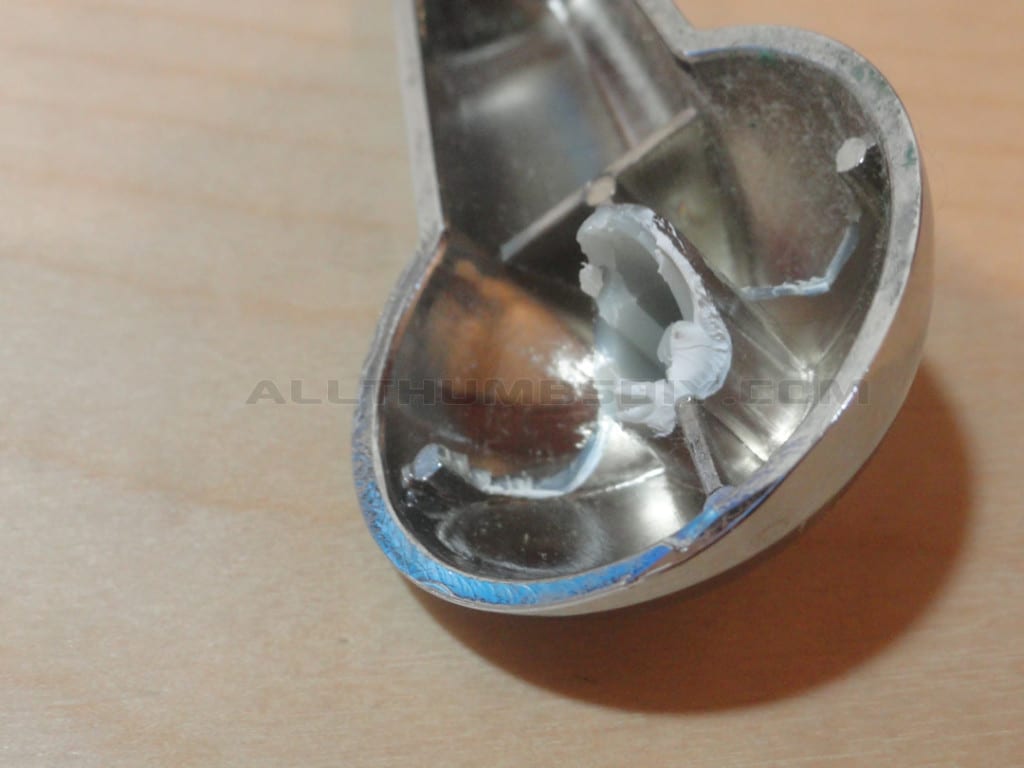
The only “flaw” I saw at the time was that the toilet flush handle seemed very light and it did not convey a solid feel when pressed compared to a handle on my other toilet from the 60’s. Lo and behold, fast forward a few years later and this part is exactly the part that failed (note: the toilet itself still performs very well).
PROBLEM
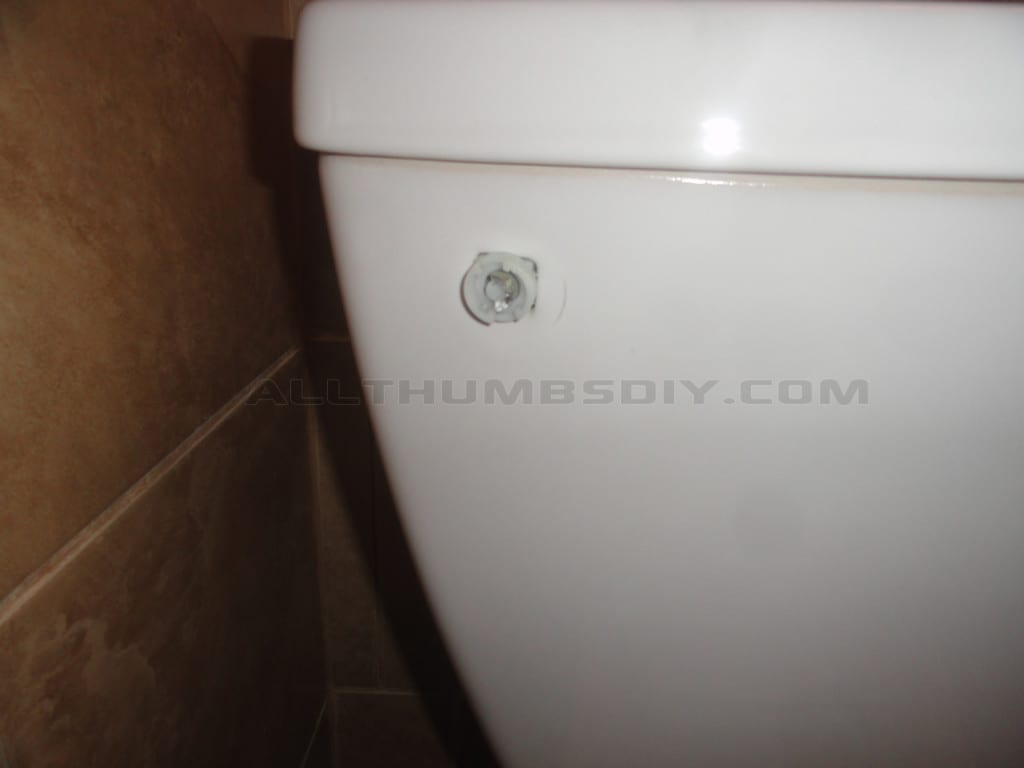
The problem arose a week ago when it was getting harder ad harder to press down on the toilet handle (a.k.a. trip lever) to get the toilet to flush. It felt like the plastic piece that joined the handle to the arm (inside the tank that was also made of plastic) was getting softer and softer. After few more uses, the handle finally broke off due to fatigue.
FINDING REPLACEMENT PARTS
Even though my Champion toilet came with a 10 year warranty, I decided not to get the same replacement parts (this is the part that broke off – American Standard Left Hand Plastic Trip Lever For Champion 4 Toilet Tank) even if was for free because I just did not want to revisit this problem few years down the road again.
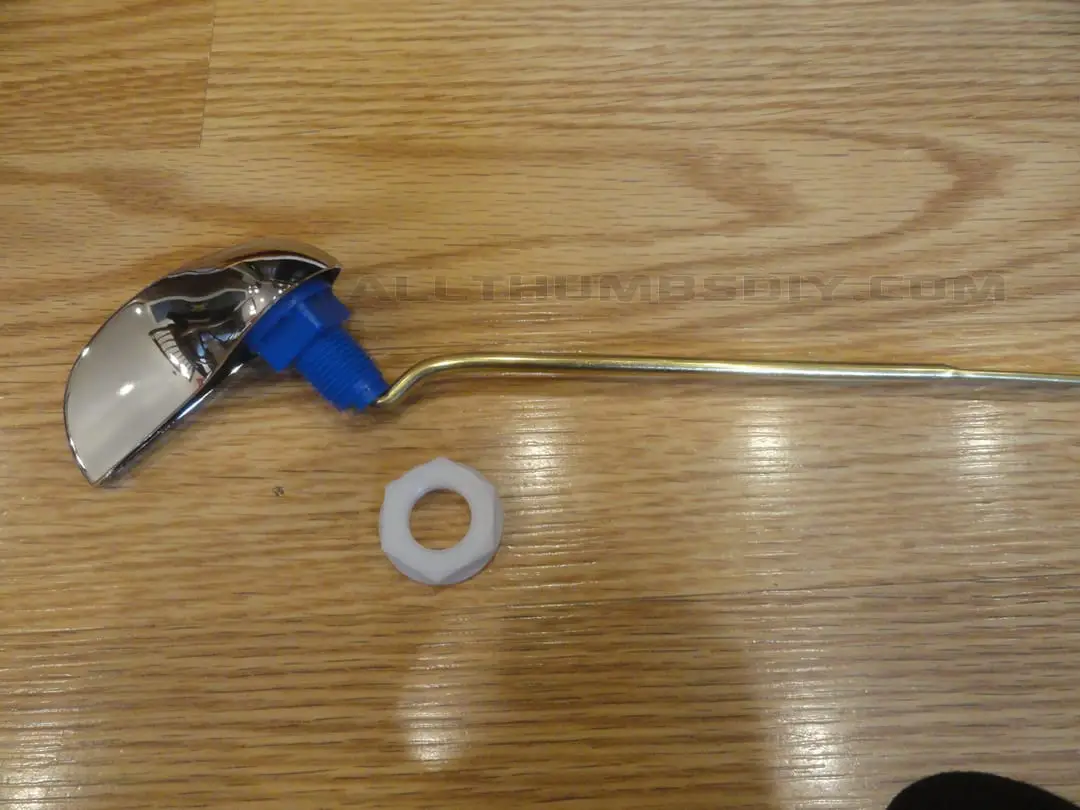
Instead, I wanted an alternative part that was made to last. At first I looked around to see what generic parts are available, but to my surprise, American Standard made a alternative replacement trip lever that was made of metal!
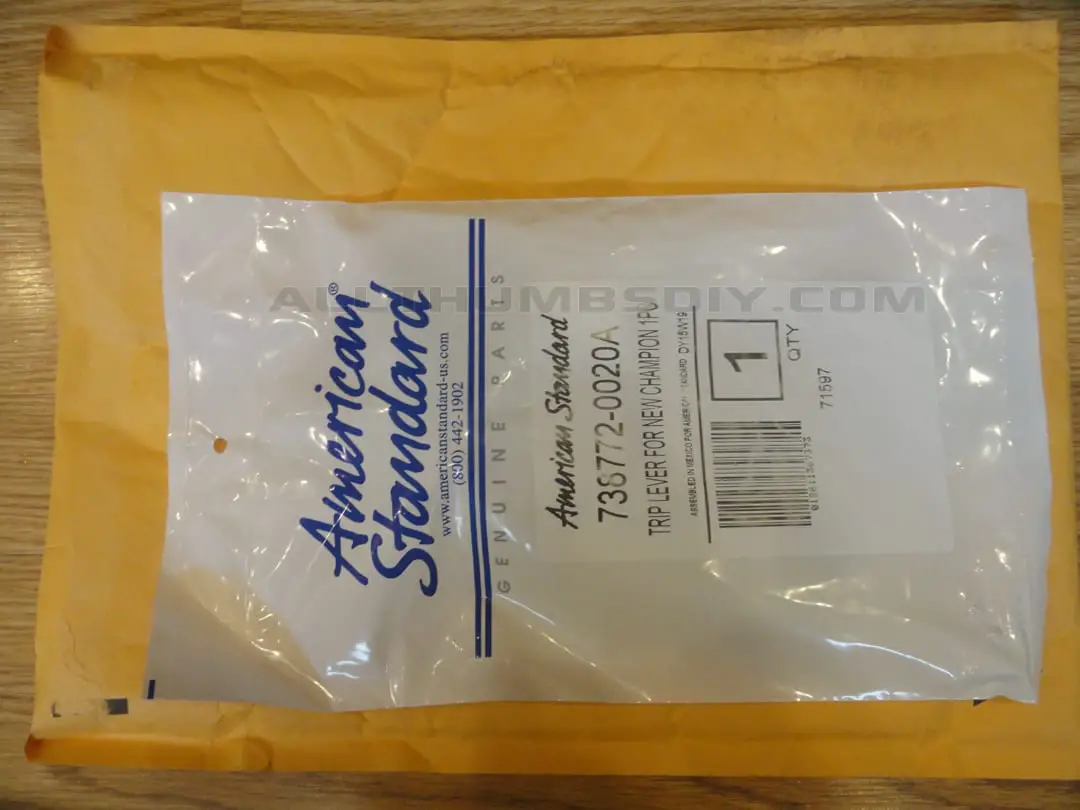
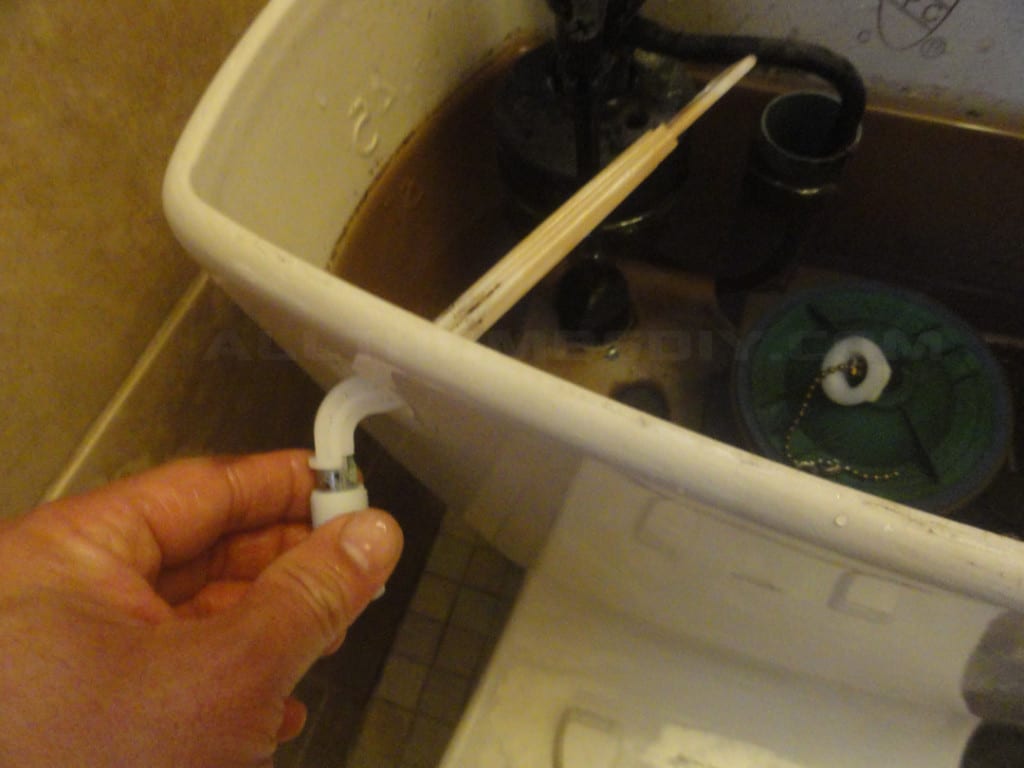
Although the parts description said it was designed for a Champion – 1 piece toilets, I decided to buy one and see if it would fit in my 2 piece model (American Standard 7387720020A Left Hand Metal Trip Lever For Champion One Piece Toilets, Polished Chrome).
The product arrived from Amazon in a bubble envelope so at first, I was concerned about the tank arm being bent or damaged but luckily everything was in good shape.
REQUIRED TOOLS / PARTS
This project is really simple and needed couple of common tools:
- Adjustable pliers (don’t have one? Read my reviews here)
- Needle nose pliers (this tool will help when removing a cotter pin – Channellock 3017 8-Inch Long Nose Plier)
- American Standard 7387720020A Left Hand Metal Trip Lever For Champion One Piece Toilets, Polished Chrome
ALLTHUMBSDIY STEPS
STEP 1 – life the toilet tank cover and set it aside (tip: move it far away from the work area; any accidental tool dropping will break it!!);
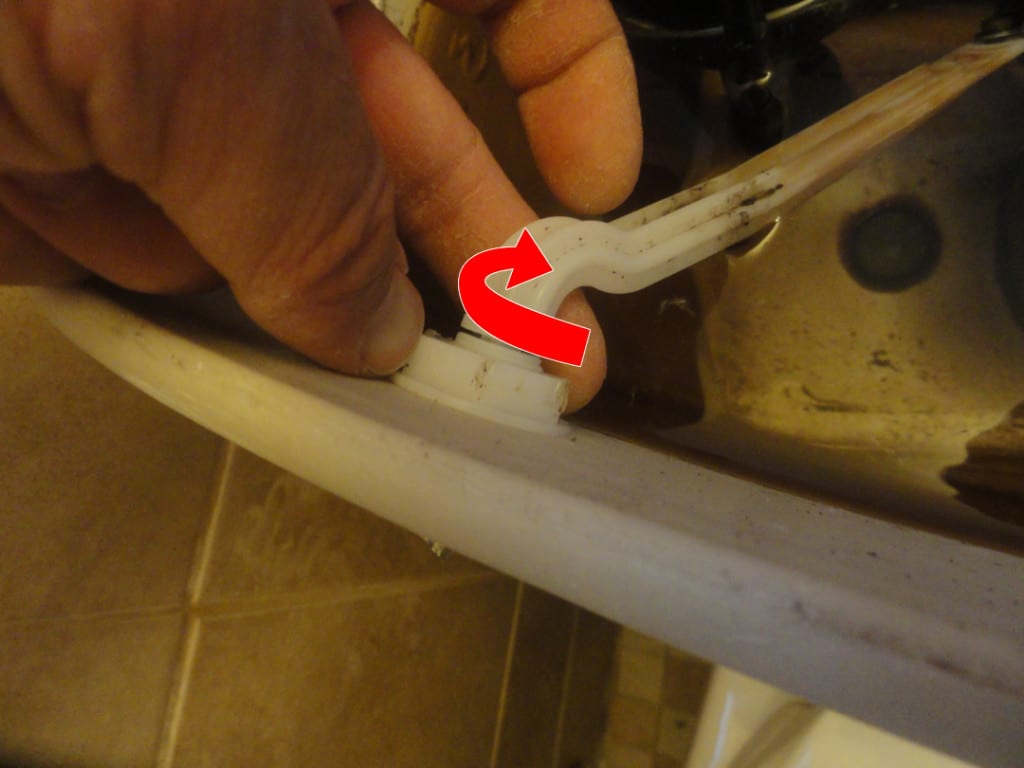
STEP 2 – locate the plastic hex nut/washer combo; using a pair of adjustable pliers, grip the nut tightly (it’s made of soft plastic) and turn CLOCK-WISE to loosen (fig. 4a);
STEP 3 – slide down the nut to the top of the flapper for now (fig. 4b – to be discarded later);
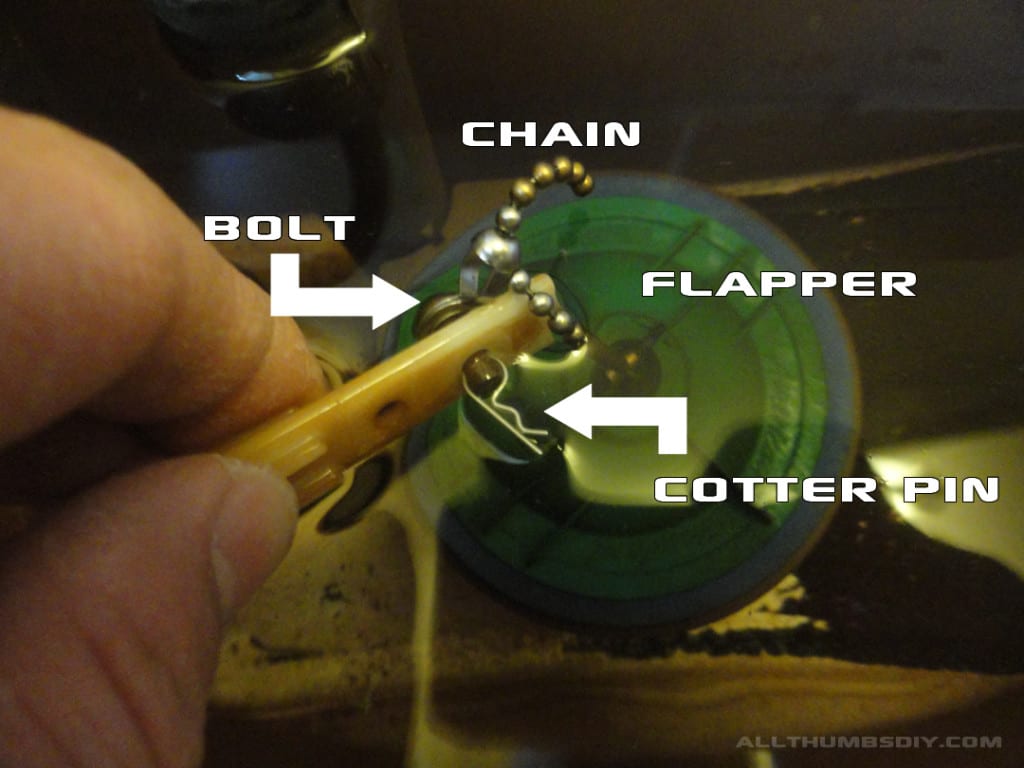
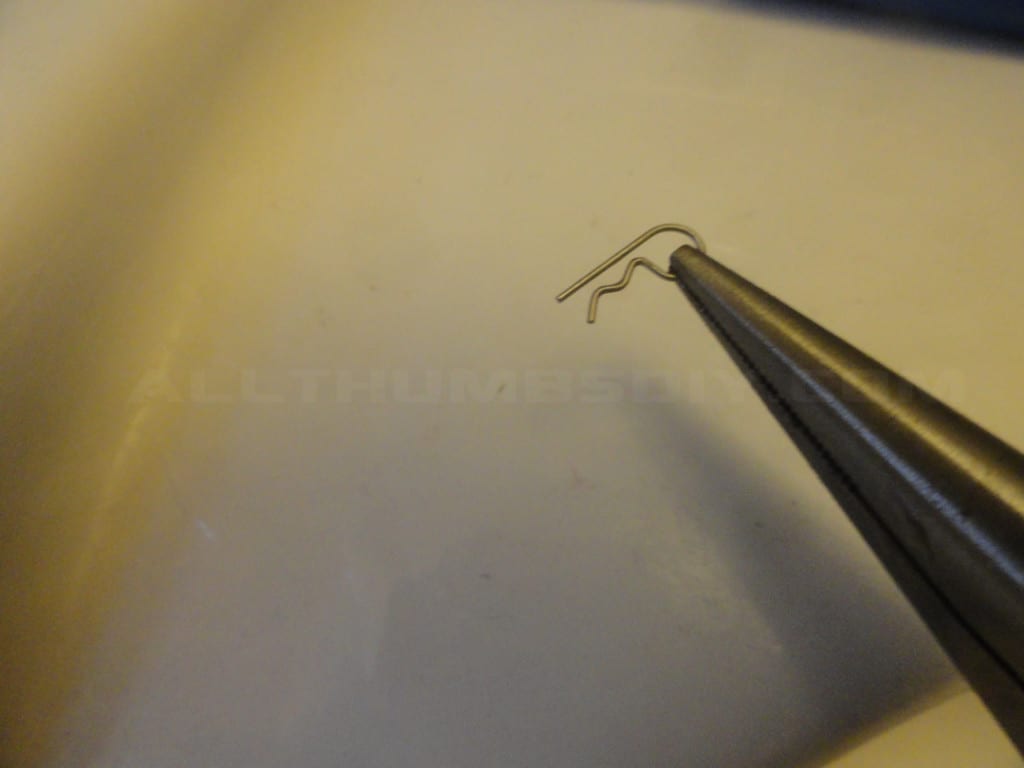
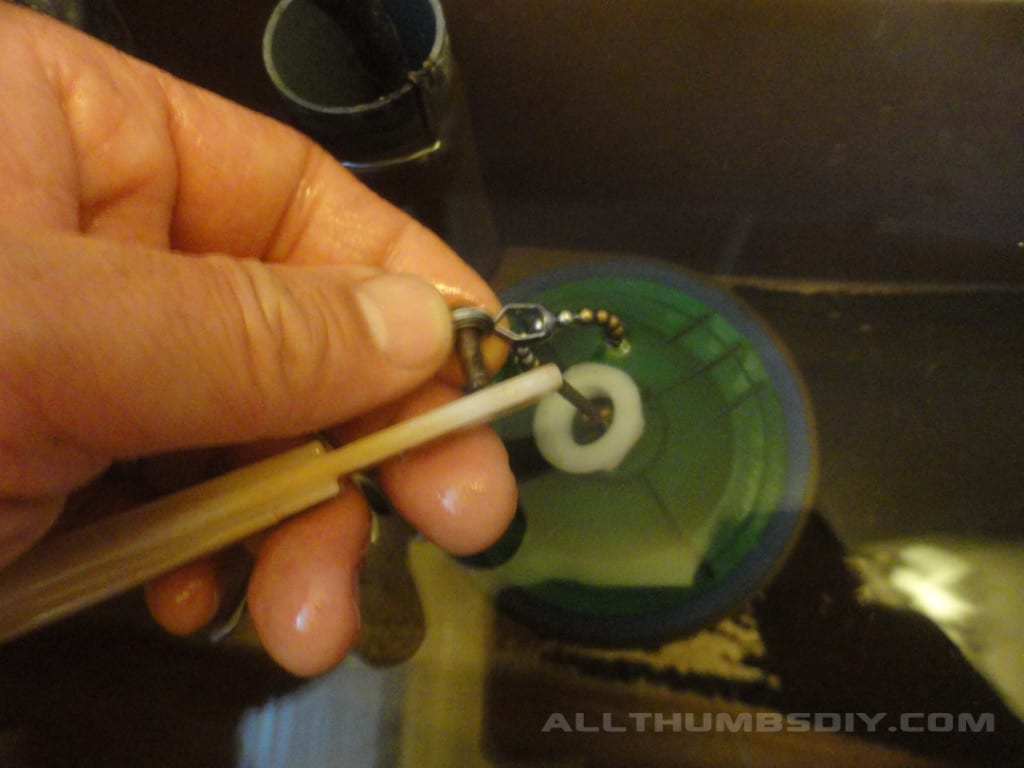
STEP 4 – use a pair of needle nose pliers to remove the cotter pin (fig. 4c; this part is very easy to lose so set it aside AWAY from the sink drain!);
STEP 5 – detach the small bolt from the chain; set is aside (fig. 5a);
STEP 6 – remove & discard the plastic arm assembly (fig. 5b);
STEP 7 – insert the new handle assembly through the square hole (fig. 5c);
STEP 8 – slide up a new plastic hex nut/washer to thread it COUNTER-CLOCKWISE to secure the handle to the tank;
STEP 9 – re-install the bolt to the chain and secure it by reinstalling the cotter pin;
STEP 10 – test flush
FINAL THOUGHTS
Please note that new brass arm is slightly higher than the original plastic arm when the handle is pressed (approx. 3/8″ or so), so it might hit the top of the your tank cover. I have found this NOT to be a problem but if it bothers you, you may want to bend the brass arm a little bit downward to prevent this from happening.
Otherwise, I am EXTREMELY happy with the feel and performance of the handle as it is far superior than the plastic handle assembly. Heck had I know earlier, I would have replaced it even if wasn’t broken! I am going to write to American Standard and suggest that they should do away with plastic handles today.
In the meantime, buy one today and get rid of that plastic handle before it gives you trouble. You won’ be disappointed!
Well, that it for this project. If you found this DIY article to be helpful, would you please do me a favor and sign up for my newsletter? Just look for a signup form on the upper right hand side of the screen.
Thanks and good luck!

USEFUL LINKS AND INFO
- American Standard – Customer Service, 1-800-442-1902, M-F, 8-8PM EST
Ashley
Monday 12th of March 2018
I'm stuck on step 2, can you help? The nut will NOT unscrew even though I am reasonably strong and am turning the adjustable wrench clockwise. Should I take a hacksaw to it? Is there another way to get it off? Thanks in advance for your help
kevin
Monday 12th of March 2018
@ Ashley-
Thread probably stripped off which means you will need to cut the nut off. Take a very sharp utility knife and make small incremental perpendicular cuts to thread. Please take your time! Don't want to create more work by possibly breaking the porcelain around the handle.
Please let us know how you make out.
Kevin