
KEY POINTS
- Due to supply chain issues, finding a carburetor gasket may be difficult
- This how-to article will show you how to make your own gaskets
Introduction
I own a variety of small-engine outdoor power equipment such as portable generator, snow blower, leaf blower, lawn mower, etc. To maintain maximum efficiency, I am constantly cleaning and disassembling engine parts.
One of the most annoying aspect of constant maintenance is that gaskets in small engines are the first thing to rip due to age/moisture/etc.
In addition, these replacement gaskets are rather expensive (that is if you can find a standalone replacement gasket that is not part of a carburetor rebuilt kit).
Problem
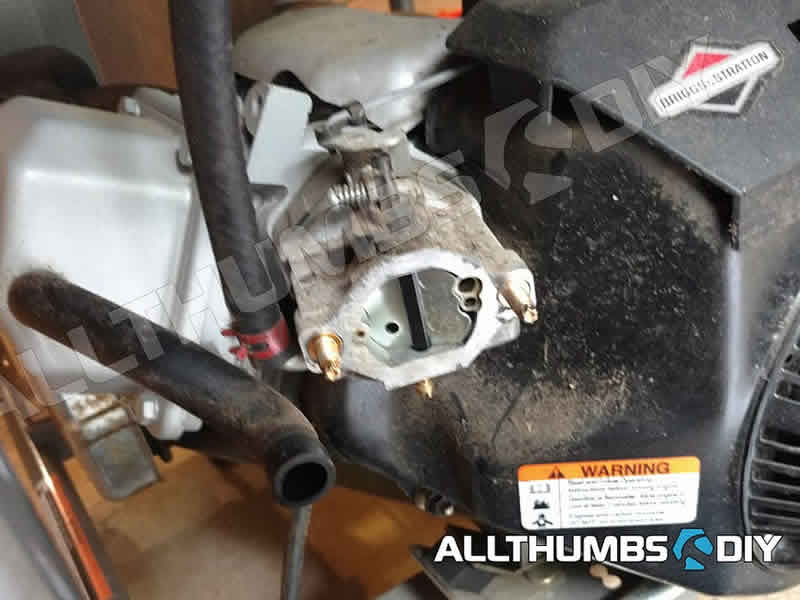
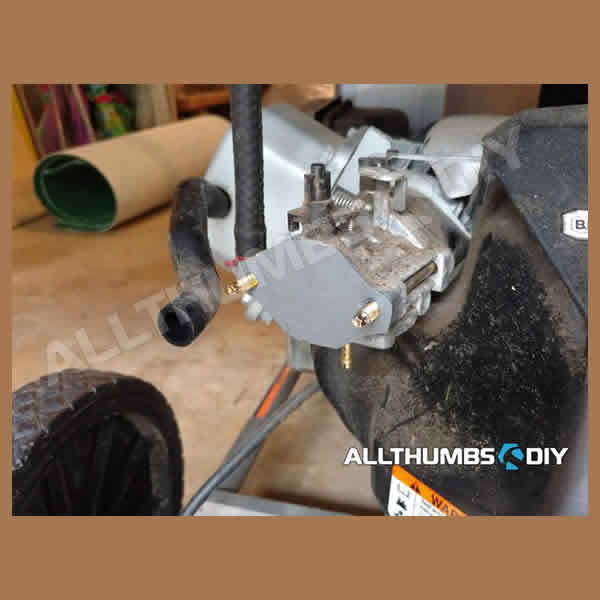
While troubleshooting my Briggs and Stratton Storm Responder 5500 portable generator, I needed to remove the air intake shroud to clean the carburetor.
Of course, the gasket was wet and sticky so half was stuck on the carburetor side and the (ripped) half stuck to the air shroud.
A single replacement gasket was priced around $ 4-7 so I decided to splurge on a large sheet of gasket material & set of hole punch-out tool to make my own going forward.
Required Materials and Tools
- FEL-PRO Gasket Materials – combo set comes with 4 sheets (click here to check the latest price)
- Cork-rubber sheet A = 10″ x 8″, 1/8″ thickness
- Cork-rubber sheet B = 9″ x 8″, 1/16″ thickness
- Rubber-cellulose sheet = 9″ x 8″, 3/64″ thickness
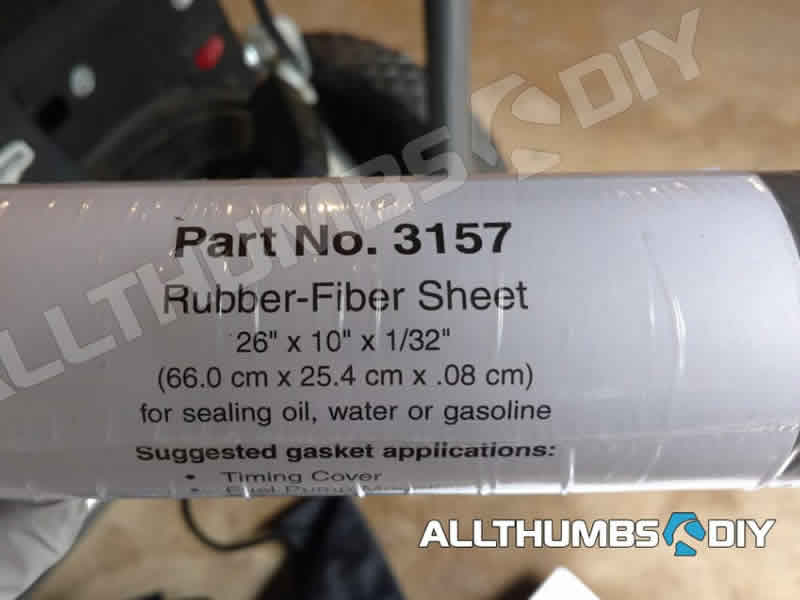
- Rubber-fiber sheet = 9″ x 8″, 1/32″ thickness <—This is what we will use
Required Tools
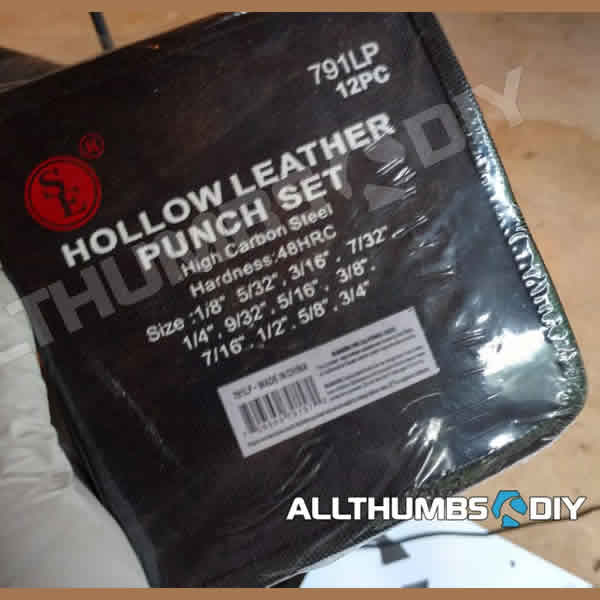
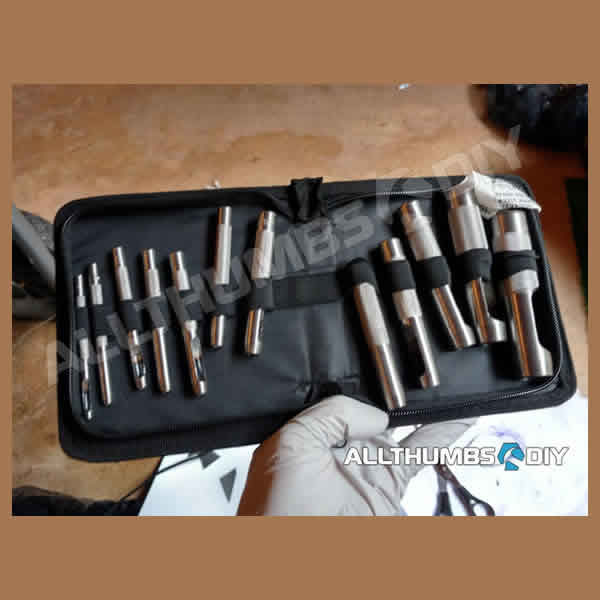
- Punch Tool – SE 791LP Heavy-Duty 12-Piece Hollow Punch Set with Zipper Pouch (check out the latest price here)
- Heavy-duty scissors – like this Fiskars PowerArc shears
- Utility knife with a sharp blade – like this Stanley utility knife
Step-by-Step Instructions
- STEP # 1 – Print & cutout the template shown below. Depending on your printer, you may have to increase or decrease the print size. I was not able to take an accurate measurement so grab a quarter and match the printed quarter size to ensure that your printout is scaled properly
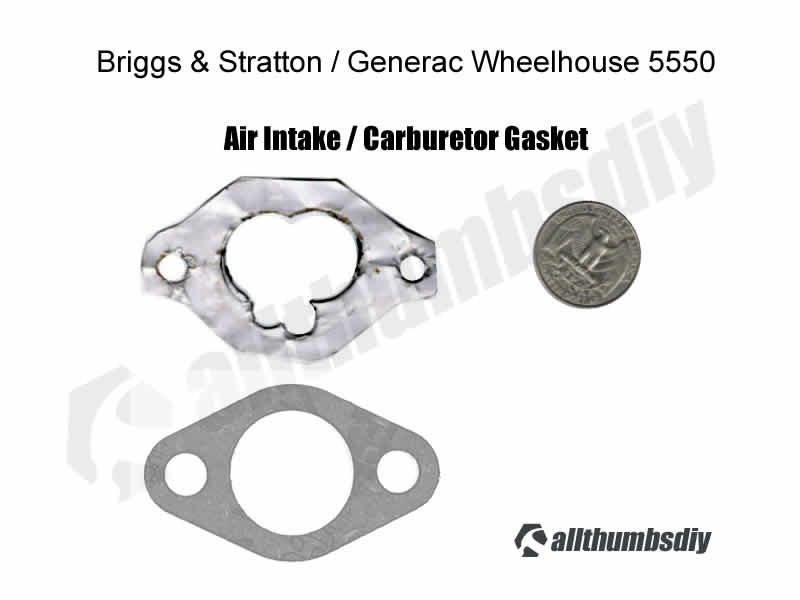
- STEP # 2 – Cut out a 3″ x 2″ square piece from the gasket material sheet (If you want to learn about alternative gasket materials, please read my post, Deciding on a Replacement Gasket Material)
- STEP # 3 – Using the template from above, cut the excess material around the new gasket

- STEP # 4 – Using 7/32″ punch, punch out 2 mounting bracket holes

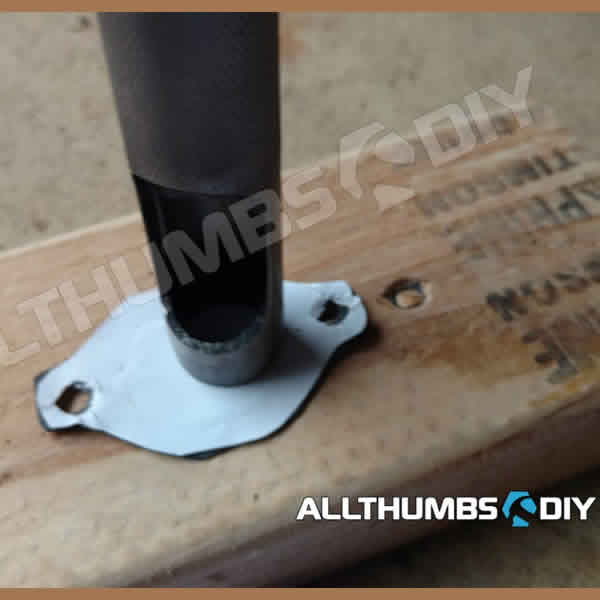
- STEP # 5 – Temporarily mount the new gasket to check for fit and alignment
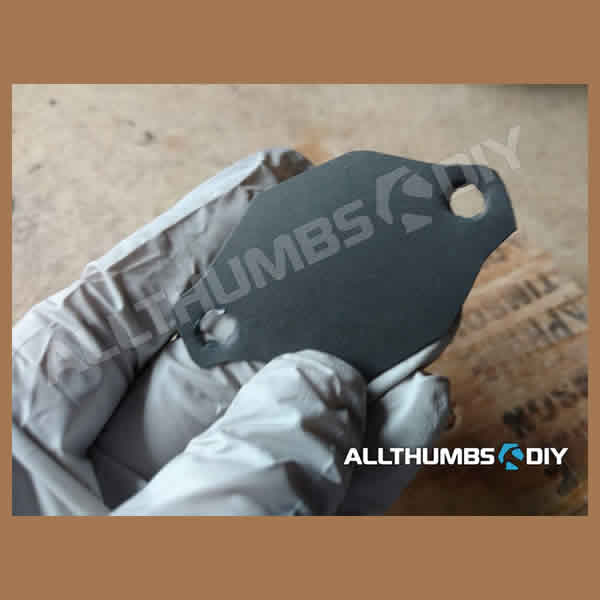
- STEP # 6 – Using 3/4″ punch, make punch out a series of holes to follow the carburetor opening
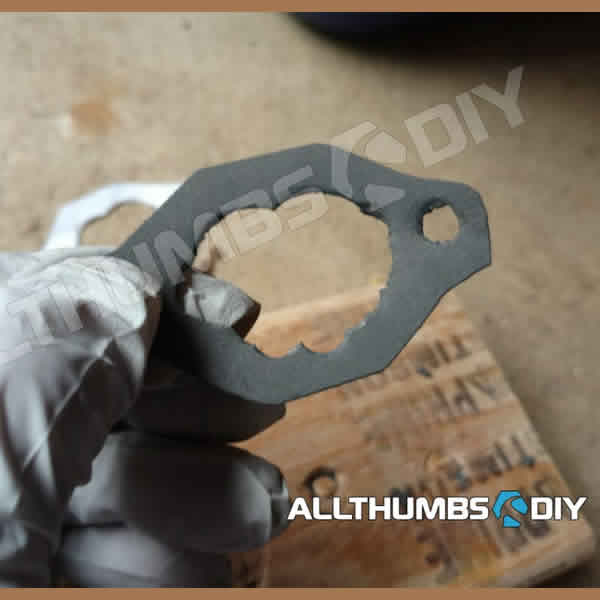
- STEP # 7 – To make sure that there are no obstructions to air flow, carefully trim off all excess materials from perimeter from the inner hole
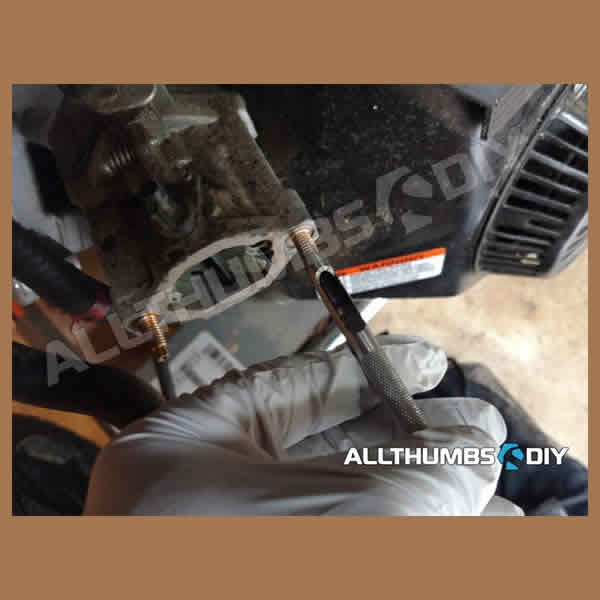
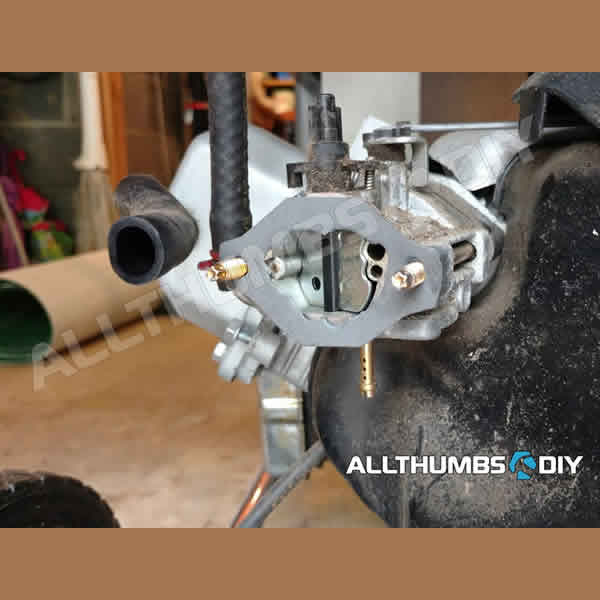
- STEP # 8 – Mount the new gasket for final assembly
Summary
My generator ran without any issues after replacing a faulty air intake gasket with my DIY gasket,
It was bit cumbersome and messy to cut the inner hole with a punch tool but I think it turned out great.
I now have leftover gasket materials as well as a tool on hand to replace any failing gaskets in the future, allowing me to save time and money
Thanks and good luck with your repairs!

Related Articles
- Deciding on a Replacement Gasket Material
- Complete Troubleshooting Guide for Caterpillar RP7500E Portable Generators
- Rebuilding a Nikki Carburetor on John Deere 1330SE Snowblower
- Resource Page for Echo PB-413H Backpack Leaf Blower
- Fast and Easy Fix for Your Generac Wheelhouse 5500 / 5550 Portable Generator